
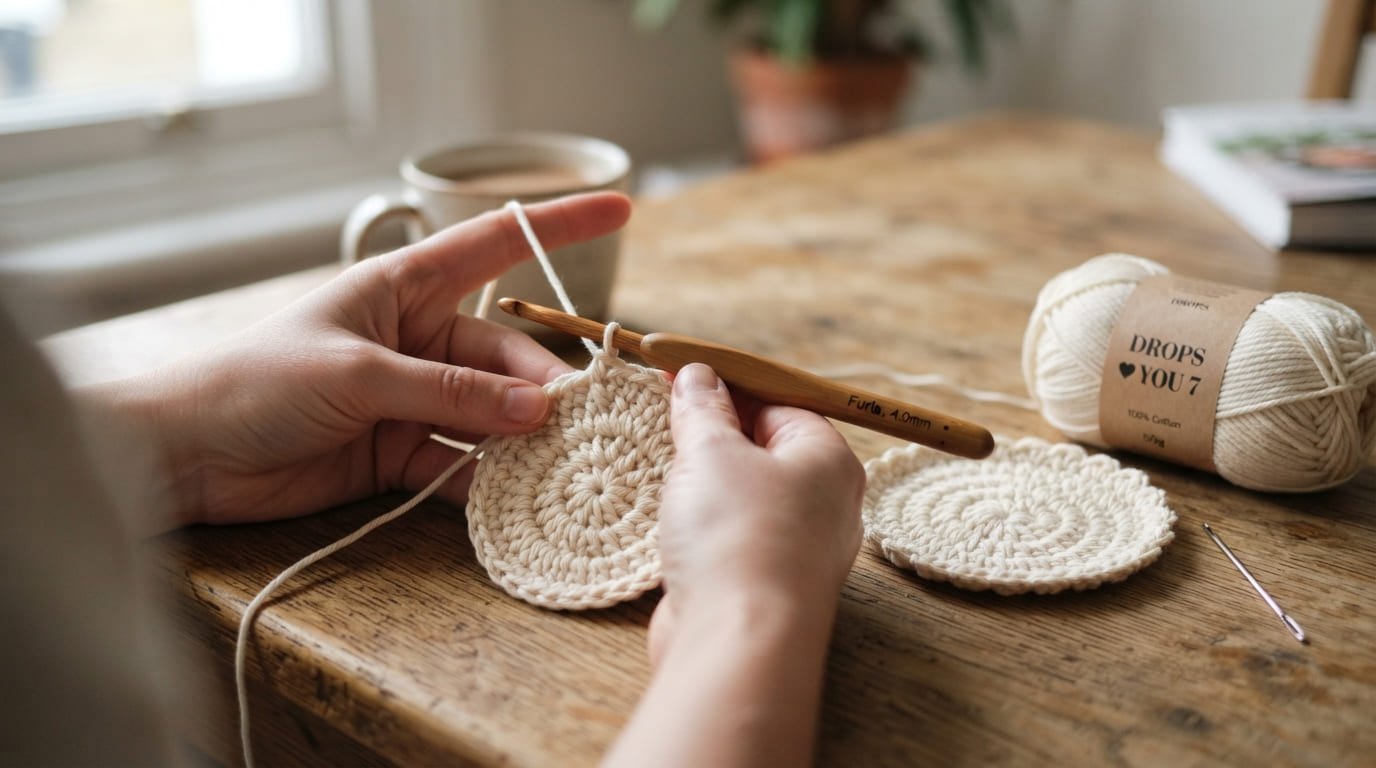
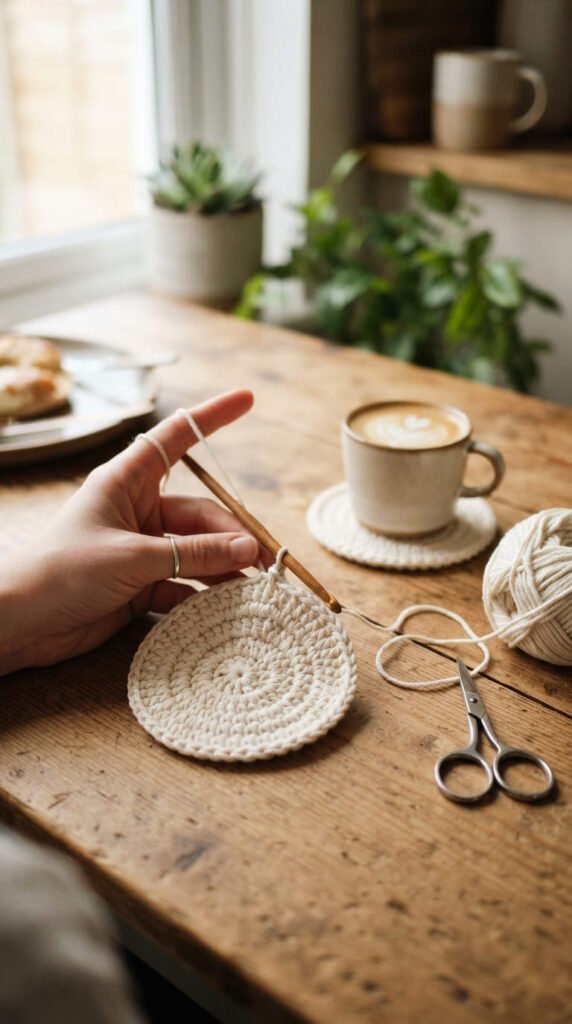
Not every crochet project has to take a weekend, and mug coasters are proof of that. A single round or square usually comes together in under half an hour, which makes them one of the fastest ways to see a finished, useful result from just a hook and a small amount of yarn. This list is built around speed and simplicity rather than shape or theme — it covers 23 ways to make easy crochet coasters faster, with fewer mistakes, and with results that hold up to daily use. You’ll find basic stitch formulas you can memorize after one try, shortcuts that skip fiddly techniques, and small adjustments that shave real minutes off a project without cutting corners on quality. If you’re new to crochet or just want a quick, satisfying project between bigger ones, start with whichever idea here matches the tools and yarn you already have within reach.
1. The Perfect Circle Formula: 6-12-18-24
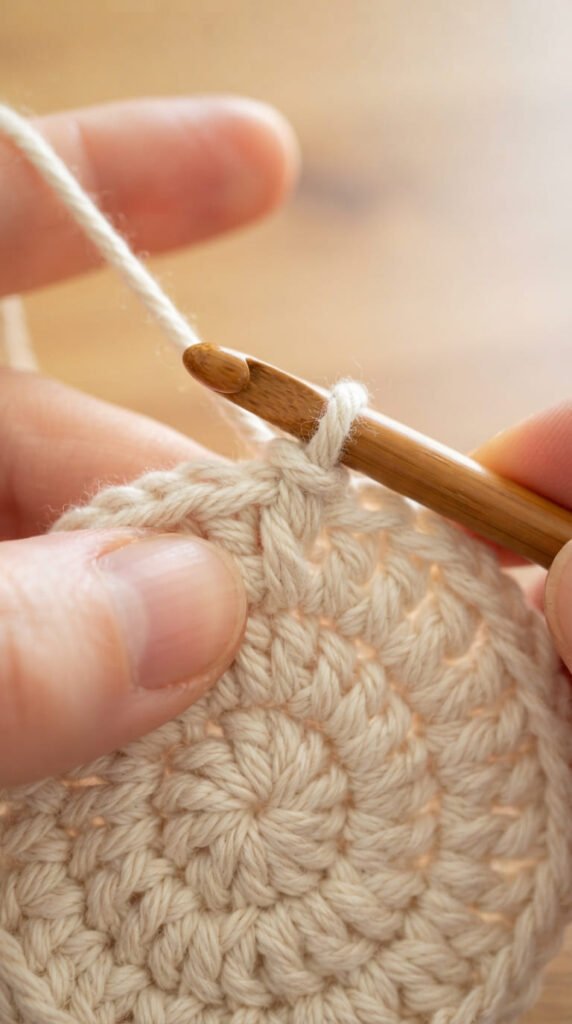
Most round coasters fall apart visually because the increases aren’t spaced correctly, and the circle starts to ripple or cup instead of lying flat. The fix is a simple formula: add six stitches every round, keeping the increases evenly spaced around the circle rather than clustered together.
How the formula works in practice:
- Round 1: 6 single crochet into a ring
- Round 2: increase in every stitch (12 total)
- Round 3: increase in every other stitch (18 total)
- Round 4: increase in every third stitch (24 total)
Once this pattern clicks, you don’t have to count rounds carefully or check a written pattern at all — the formula scales on its own as the circle grows. A coaster finished at round 4 or 5 lands right around 4 inches across in worsted-weight cotton, which is the standard size for most mugs.
This is worth memorizing before trying any other coaster idea on this list, since almost every round shape builds on the same increase logic underneath, whether it’s plain, textured, or colorwork.
2. The One-Row-Repeat Square
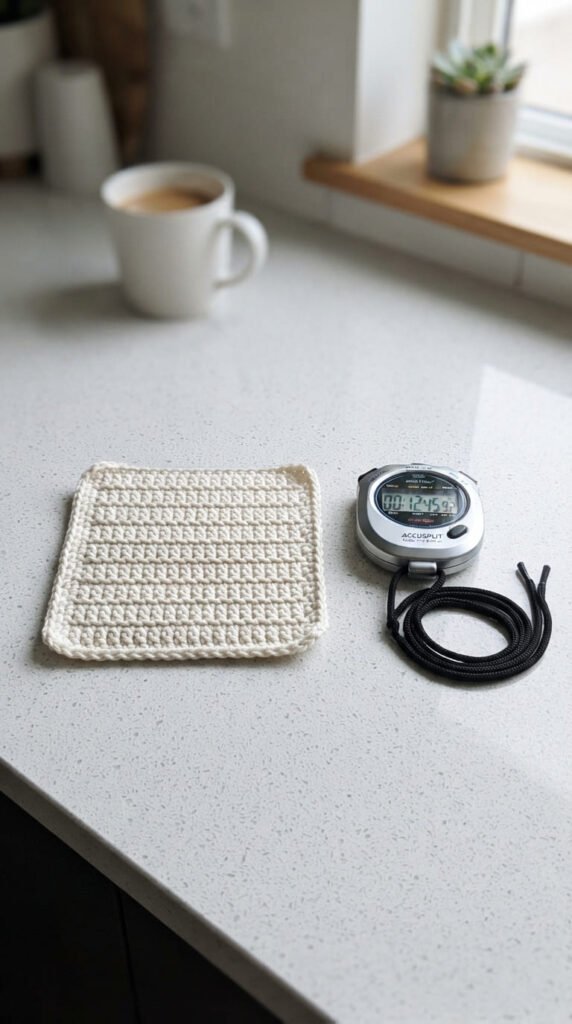
A square coaster doesn’t need a complicated stitch pattern to look finished. Chaining a starting row, then working half double crochet straight across every row after that, produces a clean, dense square with almost no risk of a counting mistake, since every row is identical to the last.
Why half double crochet specifically:
- Taller than single crochet, so fewer rows are needed to reach coaster height
- Shorter than double crochet, so the fabric stays dense rather than loose and gappy
- Produces a slightly textured, ridged surface without any extra technique
A 4.5-inch square usually finishes in about 9 to 10 rows once you’ve chained a foundation row of matching width. Because every row uses the exact same stitch and count, this is a project you can pick up and put down without losing your place, which makes it a genuinely relaxing option for evenings when you don’t want to concentrate hard on a pattern.
This square also serves as a blank canvas if you want to add a border, a contrasting edge round, or a small embroidered detail once the base is finished.
3. The Continuous Spiral Round
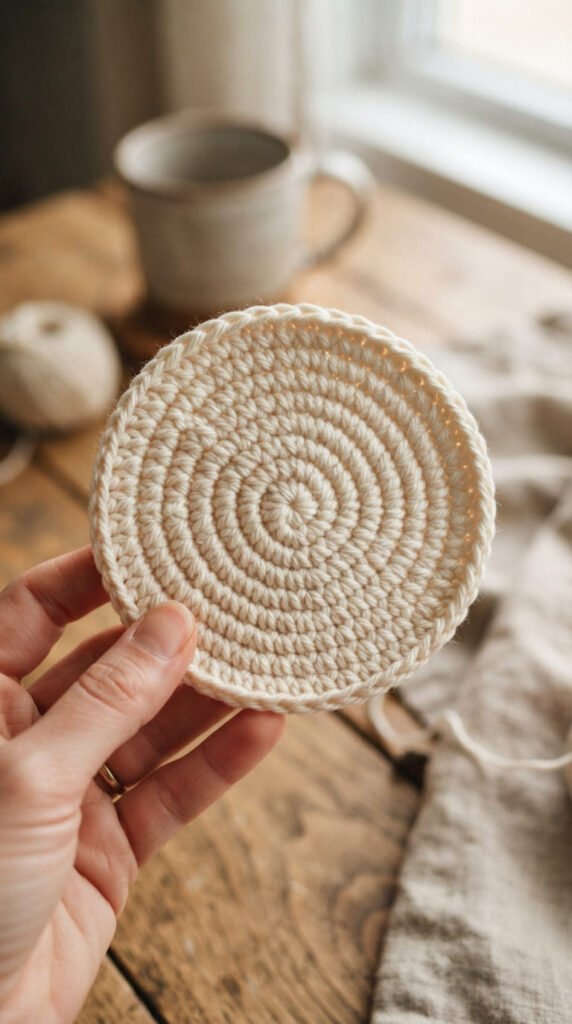
Most round patterns ask you to join each round with a slip stitch before starting the next one, which adds a small seam and a chance to lose count. Working in a continuous spiral skips that step entirely — you just keep going around and around, using a stitch marker to flag where each round begins.
Setting up a spiral round:
- Start with a magic ring or chain ring as usual
- Place a stitch marker in the first stitch of round one
- Keep crocheting around without joining, moving the marker up each time you pass it
- Stop and fasten off once you reach your target diameter
Because there’s no seam, the fabric has a smoother, more continuous look than a joined-round coaster, and there’s no bump or step where one round meets the next. It’s also slightly faster to work, since you skip the slip stitch and starting chain at the top of every round.
This method takes a little getting used to if you’re used to joined rounds, mainly because it’s easy to lose track of where you are without the marker. Once that habit is in place, it’s a faster default for almost any round coaster.
4. The Turning-Chain-Only Rectangle
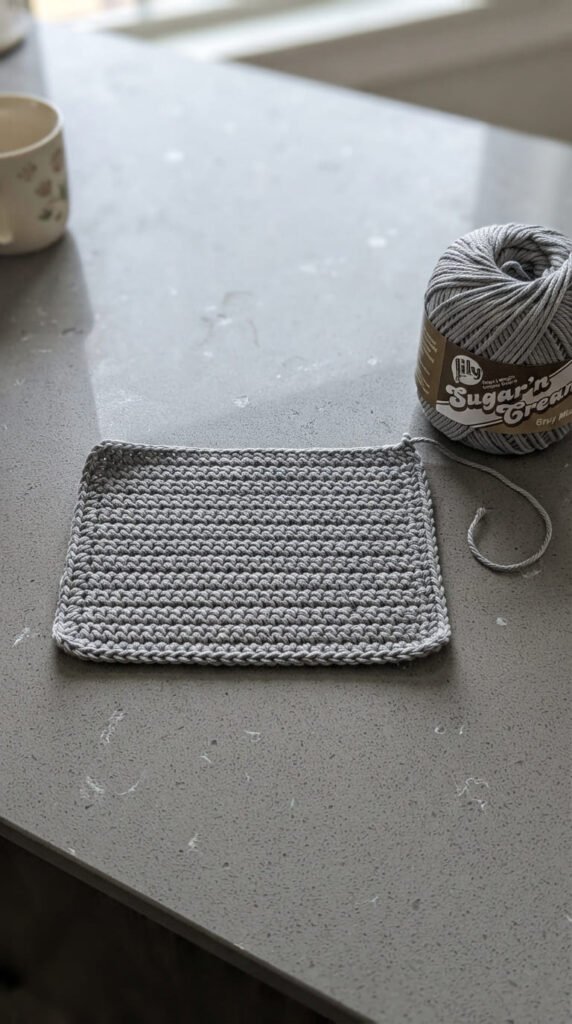
This is close to the simplest coaster shape you can make: a plain rectangle worked back and forth in single crochet, using nothing but a foundation chain and a turning chain at the start of each row. There’s no increasing, no decreasing, and no shaping decisions to make at any point.
What makes this the easiest possible project:
- Every row is worked into the row below at the same stitch count
- No math beyond counting your original foundation chain
- Mistakes are easy to spot, since the edges should stay perfectly straight
A rectangle around 4 by 6 inches works well as a mug rug rather than a strict coaster, giving a little extra room for a spoon or a small cookie beside the mug. Because the shape is so predictable, this is a good pattern to practice tension on, since any unevenness in your stitches shows up clearly along a straight edge in a way it wouldn’t in a busier design.
Once this shape feels automatic, it becomes the fastest option on this list for using up an odd amount of leftover yarn, since you can simply stop whenever you run low.
5. The Two-Stitch Repeat Texture
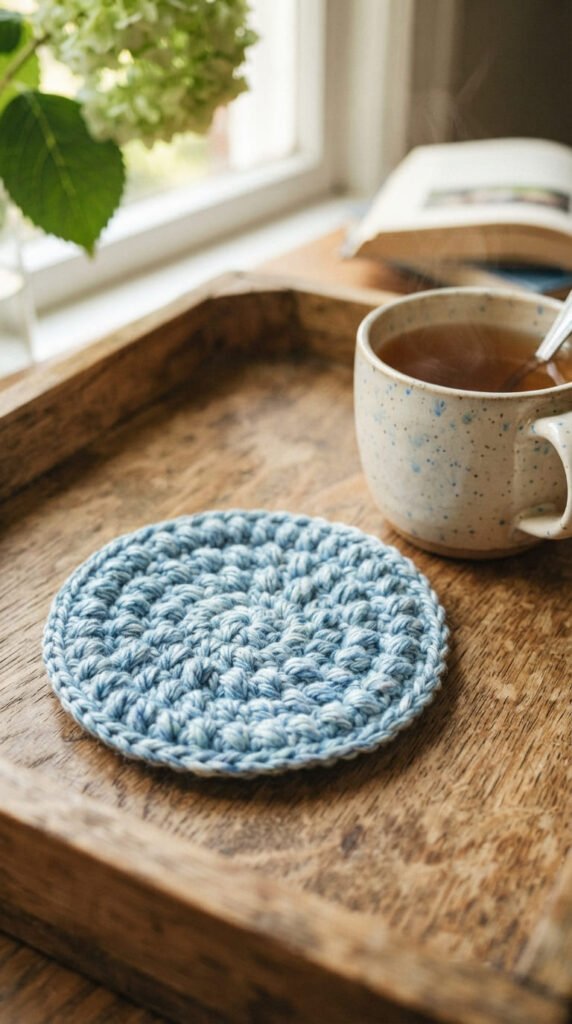
A textured coaster sounds more advanced than a plain one, but this particular pattern only alternates two stitches — single crochet and chain one — the entire way through. Once you’ve worked the first row, every following row repeats the exact same two-stitch sequence with no changes.
Why this beats a plain stitch for beginners:
- The bumpy texture disguises small tension inconsistencies
- Only one repeat to memorize, rather than a multi-row pattern
- Naturally dense fabric that resists curling without extra blocking
Because the repeat is so short, you rarely need to glance back at written instructions after the first row, which makes this a good project for working while half-watching something else. The texture also gives the coaster a slightly more finished, intentional look than a flat single-crochet round, despite requiring no more skill.
A 4-inch square in this pattern takes roughly the same time as a plain half double crochet square, but the visual payoff is noticeably better for almost no added effort.
6. The Five-Minute Chunky Yarn Coaster

Swapping standard worsted-weight cotton for super bulky yarn and a much larger hook — typically 8mm or bigger — shrinks a coaster project down to just a few minutes. Because each stitch covers far more area, you need only two or three rounds to reach a usable size instead of five or six.
Adjusting a standard pattern for bulky yarn:
- Use a hook roughly two to three sizes larger than the yarn label suggests
- Expect to stop one or two rounds earlier than a normal pattern calls for
- Check size often by holding the piece under an actual mug as you go
The trade-off is texture and absorbency. Bulky yarn coasters tend to be looser and less dense than fine cotton ones, so they’re better suited to protecting a table from scratches and heat than from actual spills or condensation. They also use noticeably more yardage per coaster than a fine-weight version.
This is a good option specifically when speed matters more than daily practicality — a last-minute gift, a craft-fair sample, or a quick project to test a new yarn before committing to something bigger.
7. Weaving Ends As You Go
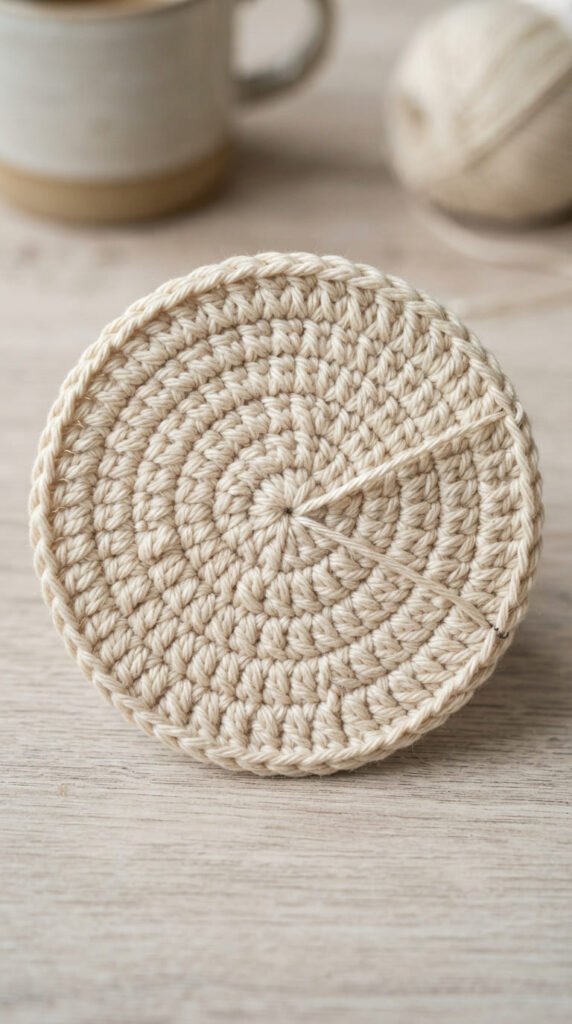
Finishing a coaster often takes longer than making it, mostly because of loose yarn tails left to weave in at the very end. Weaving each tail in as soon as it appears, rather than saving a pile of them for later, removes that entire finishing step from the process.
How to build this into your workflow:
- Weave in a starting tail during the first round, working stitches over it as you go
- Do the same with any color-change tails the moment they occur
- Only the final tail, at the very end of the piece, calls for a separate finishing pass
This habit takes a little longer within each round, since you’re working two strands at once for a few stitches, but it eliminates the tedious batch-finishing session that usually follows a stack of coasters. For anyone making a full set at once, this adds up to real time saved rather than a small convenience.
It also produces a cleaner back side on the finished coaster, since tails woven in gradually tend to sit flatter than ones stitched in all at once after blocking.
8. The Invisible Join for a Seamless Edge
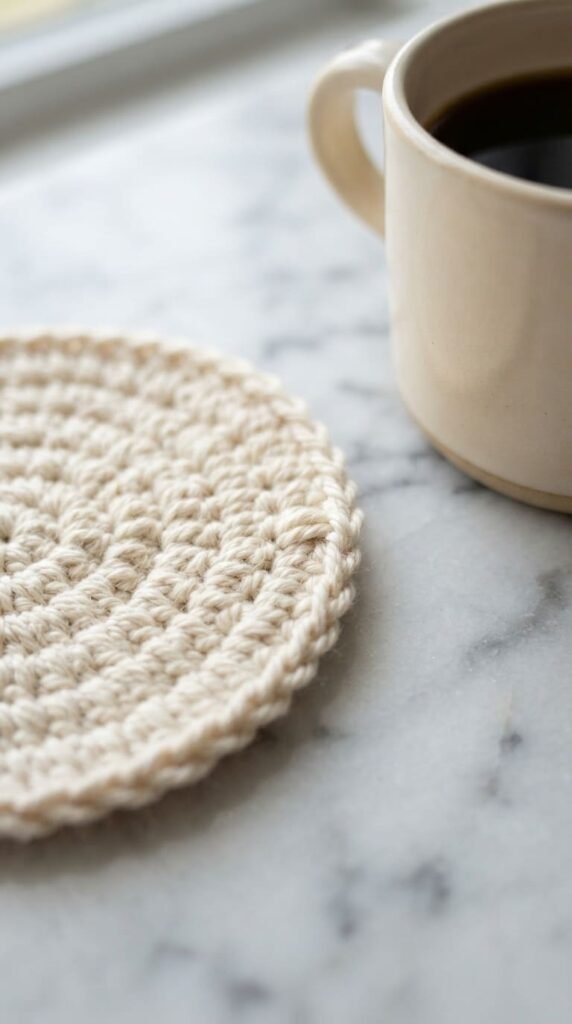
A standard slip-stitch join at the end of a round often leaves a small visible bump or a slight step where the last stitch meets the first. The invisible join method replaces that slip stitch with a technique that mimics the look of the stitch pattern itself, so the seam disappears into the round.
The basic invisible join steps:
- Cut the yarn, leaving a 6-inch tail
- Thread the tail onto a tapestry needle
- Skip the first stitch of the round and insert the needle through the second stitch
- Bring the needle back through the center of the last stitch worked, then weave in the tail
This takes a few extra seconds compared to a regular join, but the payoff is a coaster that looks noticeably more polished, especially on solid-color pieces where a visible seam stands out clearly. It’s a small technique with a disproportionate effect on how finished a project looks.
Once practiced a few times, this join becomes just as quick as a slip stitch, so there’s very little reason not to use it on every round coaster going forward.
9. The One-Hook-Size-Up Trick
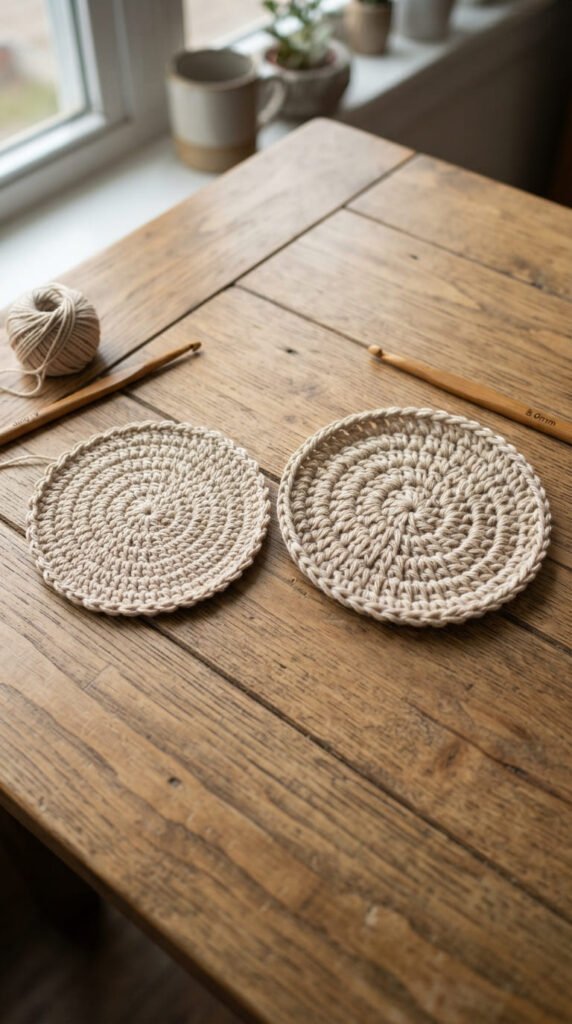
Sizing up your hook by half a millimeter or a full size, without changing the yarn or the pattern, is one of the fastest ways to finish a coaster sooner. Larger stitches mean fewer rounds or rows are required to reach the same finished diameter.
What changes when you size up:
- Fewer total stitches needed to reach a 4-inch coaster
- Slightly looser, more open fabric than the pattern’s default gauge
- Faster overall working time with no change to the stitch pattern itself
This trick works best on coasters meant for light daily use rather than ones that need to be extremely dense and absorbent, since a looser gauge lets a bit more moisture through than a tightly worked piece. For anyone making a large batch — a full set of six or eight — the time saved across every single piece adds up quickly.
A quick swatch first is worth the extra two minutes, just to confirm the looser stitches still hold their shape and don’t leave visible gaps once you’re a few rounds in. If the fabric still lies flat and feels reasonably firm, the larger hook is doing its job.
10. The Six-Sided Beginner Hexagon

A hexagon coaster sounds more advanced than a plain circle, but it actually uses the same basic increase logic, just with six fixed increase points instead of evenly rotating ones. Because those six points stay in the exact same spot every round, the shape is genuinely easier to track than a standard circle.
Working the hexagon shape:
- Start with 6 stitches into a ring, same as a round coaster
- Mark each of the six original stitches with a stitch marker
- Work two stitches into each marked stitch every round, one stitch elsewhere
- Keep markers moved up into the new increase stitch each round
Because the increase points are fixed rather than shifting, a hexagon is genuinely a good next step once you’ve mastered the basic circle formula. The flat sides between each point also make it easier to see immediately if a round has gone off track, since a lopsided hexagon is more visually obvious than a slightly uneven circle.
This shape stands out in a set mixed with plain rounds, so even a single hexagon coaster added to an otherwise simple stack gives the group a bit more visual variety.
11. The Simplest Two-Color Stripe
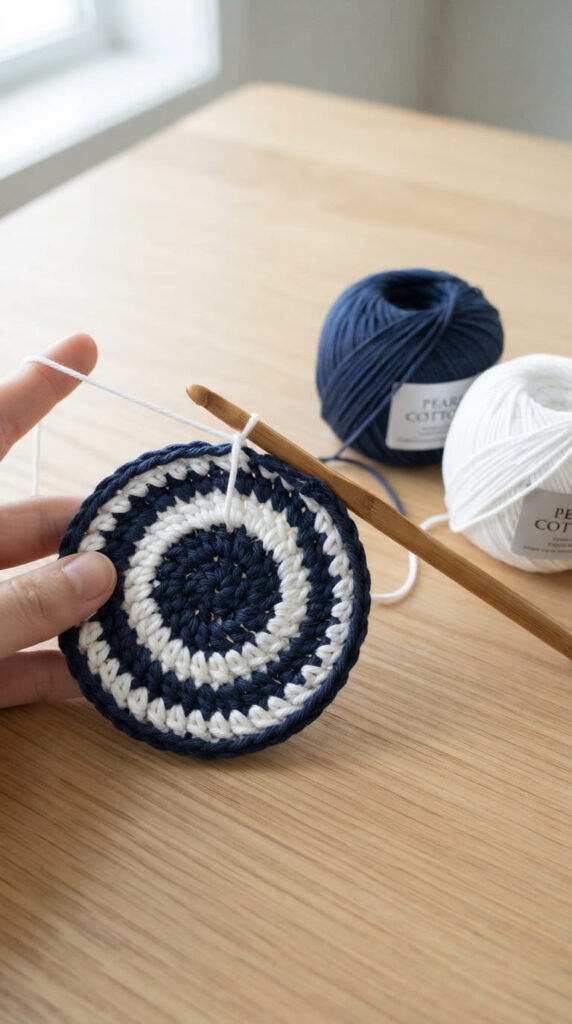
Colorwork tends to sound intimidating, but a basic stripe pattern only asks you to change yarn at the start of a new round or row, with no carrying, no charts, and no tension adjustments to manage. It’s the easiest possible entry point into working with more than one color.
Keeping stripes clean and simple:
- Change color at the very start of a round, not partway through
- Cut the old color rather than carrying it, unless you’ll use it again soon
- Alternate every one or two rounds for the clearest visual stripe effect
Because each color is worked in a solid block, there’s no risk of the muddled look that comes from more complex colorwork techniques like tapestry or mosaic crochet. A coaster with three or four stripes in contrasting colors reads as intentional and graphic rather than accidental.
This is a good first colorwork project specifically because a mistake is easy to fix — if a stripe comes out a round too long or short, it’s barely noticeable in the finished piece, unlike a miscounted motif or picture design.
12. The Half-Granny Square Shortcut
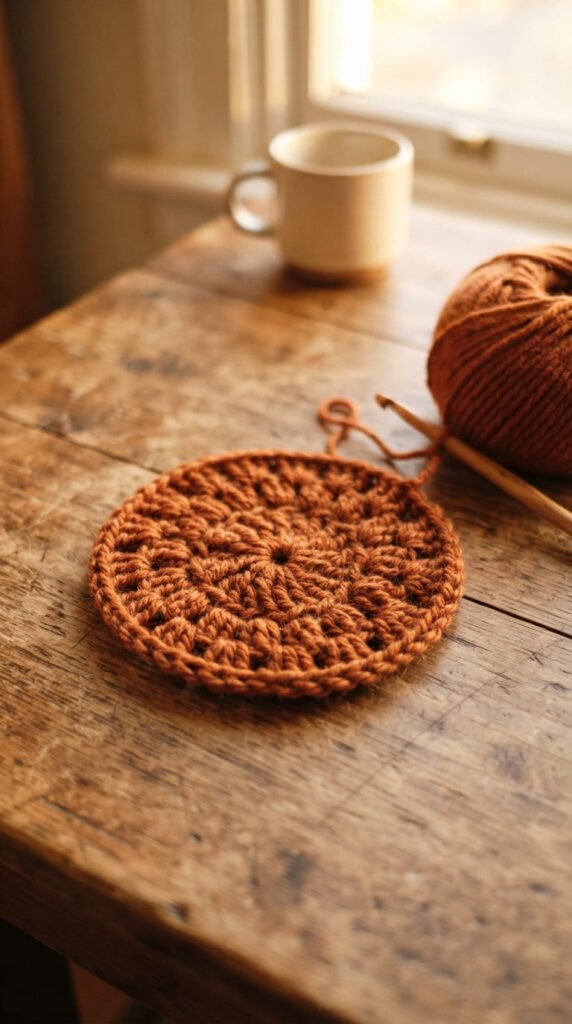
A full granny square usually builds up over four or five rounds with multiple color changes, but a coaster doesn’t need nearly that much size or complexity. Working just two rounds of granny clusters in a single color gets you to coaster size in a fraction of the usual time.
Simplifying the classic granny pattern:
- Round 1: work granny clusters into a ring as usual
- Round 2: work clusters into every chain space, adding corner increases
- Stop here — most yarn weights reach 4 inches by round two
- Add a single round of single crochet around the edge to clean up the border
Skipping the color changes that granny squares are known for removes most of the finishing work — no extra ends to weave in, no planning which color goes where. The clusters alone still give the coaster the familiar granny texture and look, just without the multi-round commitment.
This is a good option for anyone who already loves the granny square look but doesn’t want a coaster project to take as long as an actual granny square block does.
13. The No-Pin Blocking Shortcut
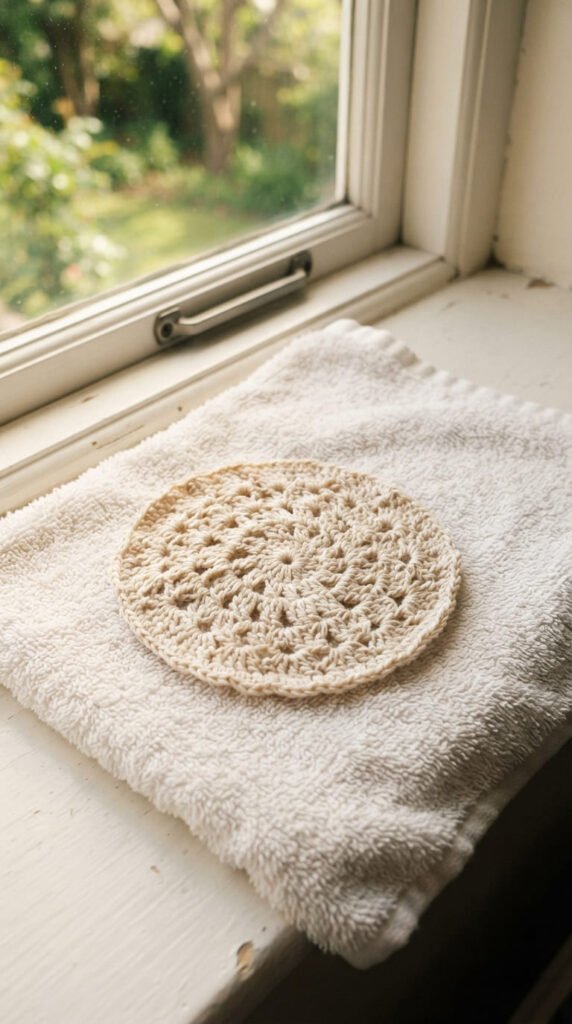
Full blocking, with pins and a blocking mat, produces the flattest possible coaster, but it’s overkill for a small project you want finished today. Laying a slightly damp coaster flat on a towel, smoothing it gently by hand, and letting it air dry gets most of the same benefit with none of the setup.
When this shortcut works well:
- Dense stitches like single crochet or moss stitch, which hold their shape naturally
- Coasters under 5 inches, where minor curling is easy to smooth by hand
- Projects where “good enough” is genuinely good enough for daily use
When it’s worth pinning properly instead:
- Lace or open-mesh patterns prone to visible curling
- Novelty shapes like leaves or stars with points that need to hold a specific angle
For most plain round or square coasters worked in a firm stitch, this shortcut is honestly indistinguishable from full pin-blocking once the piece is dry. Saving the pins and blocking mat for projects that actually need that level of shaping keeps a quick coaster project quick from start to finish.
14. The Reversible Pattern With No Wrong Side
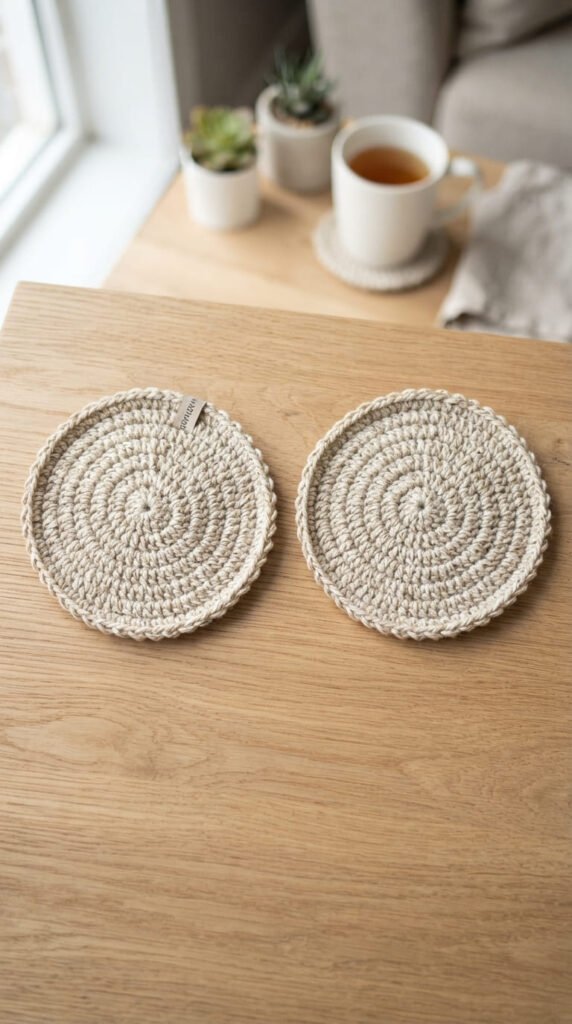
Some stitch patterns look identical on both sides, which removes an entire category of small mistakes — no accidentally starting a row on the wrong side, no visible seam where the “right side” was tracked incorrectly. Single crochet and moss stitch both behave this way when worked flat.
Why a reversible pattern saves real time:
- No need to mark or remember which side is which
- Coasters can be flipped freely without one side looking unfinished
- Simplifies working a set, since every piece behaves the same way regardless of orientation
This matters more than it sounds like it would once you’re making several coasters in a row, since keeping track of “right side facing” across multiple in-progress pieces is an easy place to lose focus and make a mistake. A reversible stitch removes that mental overhead entirely.
Choosing a reversible pattern is a small decision that pays off gradually rather than all at once — it won’t change how any single coaster looks, but it makes a batch of them noticeably faster and less error-prone to produce.
15. The Five-Round Formula Worth Memorizing
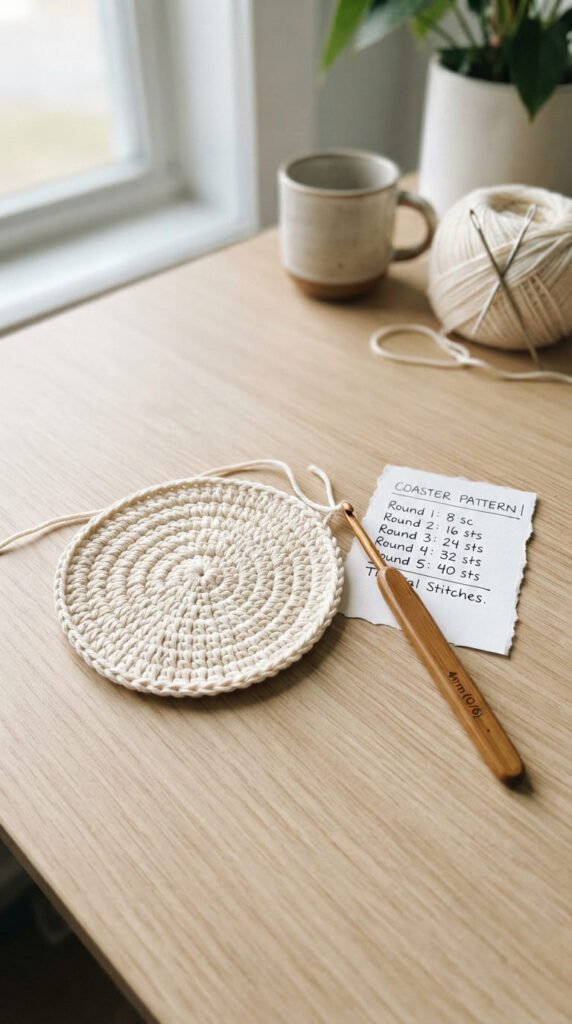
Beyond the basic 6-12-18-24 increase pattern, a slightly more detailed five-round formula gets you to a firmer, more standard 4.5-inch coaster with a clean finishing round included. Writing this formula down once means never needing to look up a basic round coaster pattern again.
The five-round breakdown:
- Round 1: 6 single crochet into a ring
- Round 2: increase in every stitch (12 total)
- Round 3: 1 single crochet, increase repeated around (18 total)
- Round 4: 2 single crochet, increase repeated around (24 total)
- Round 5: single crochet in every stitch, no increases, for a clean border
That final round without increases is what gives the coaster a firm, defined edge rather than leaving the last increase round as the visible border. It’s a small addition, but it noticeably improves how finished the edge looks compared to stopping right after an increase round.
Once this five-round sequence is memorized, a coaster becomes a project you can start without any written pattern in front of you at all, which is part of what makes it such a fast, low-friction project to return to repeatedly.
16. The Leftover Sock Yarn Coaster
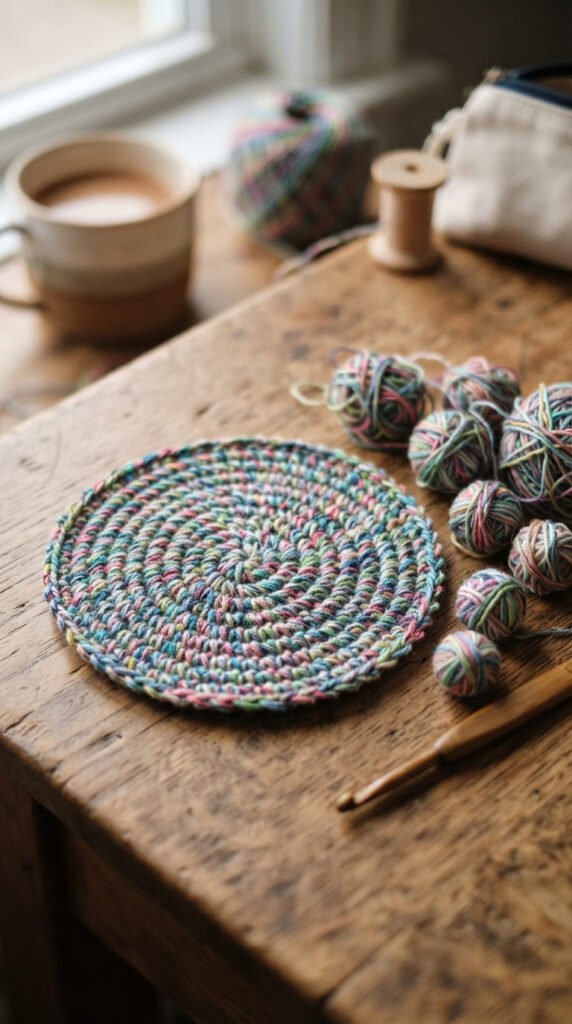
Sock yarn is thinner than standard worsted cotton, which normally means more rounds and more time to reach coaster size. Used in small leftover amounts, though, it becomes a fast way to use up scraps that are too small for an actual sock or shawl but too nice to throw away.
Working with thin scraps efficiently:
- Hold two strands together to approximate a worsted weight
- Use a hook sized for the doubled thickness rather than the thin single strand
- Switch scrap colors freely every round without worrying about matching
Because sock yarn scraps are usually leftover from multiple different projects, no two coasters made this way ever come out quite the same, which is part of the appeal rather than a drawback. The doubled-strand approach also means this project moves at a normal pace despite starting with thin yarn, rather than taking the extra time thin yarn alone would require.
This is one of the more genuinely “free” projects on this list, since it uses yarn that would otherwise sit unused in a scrap bin indefinitely.
17. The Easiest Non-Round Shape: The Oval
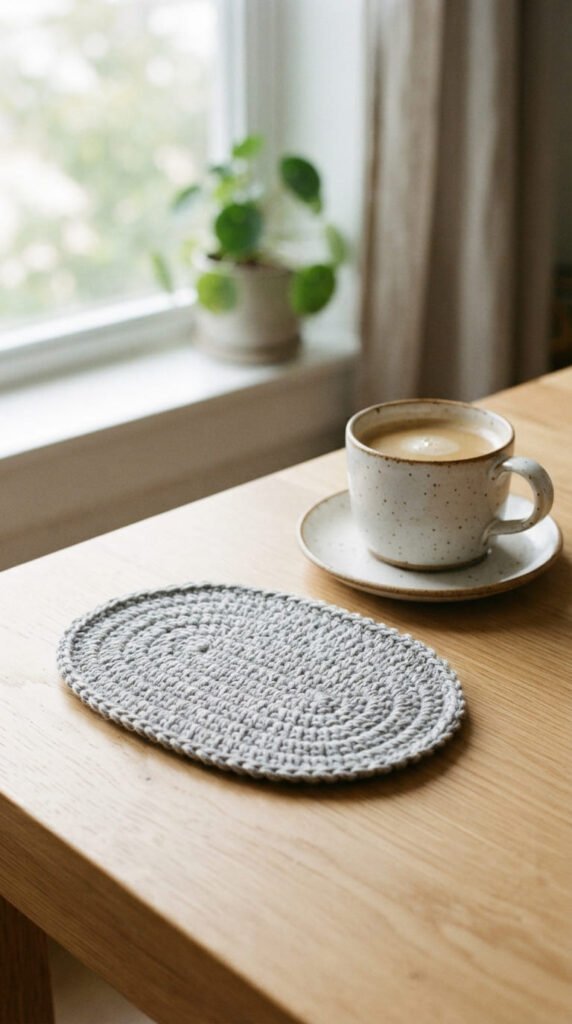
Ovals have a reputation for being trickier than circles, but a simple oval coaster only calls for two fixed increase points instead of the many rotating increase points a circle requires. Starting from a slightly elongated foundation chain rather than a ring is what creates the shape.
Building a basic oval:
- Chain a short foundation row, about 2 inches long
- Work single crochet around the entire chain, increasing 3 stitches at each rounded end
- Repeat that same increase pattern at both ends every round
- Stop once the oval reaches your target length and width
Because the increases only happen at the two ends rather than throughout the whole round, an oval is genuinely simpler to track than it looks, and mistakes are easy to spot since the straight sides should stay perfectly parallel.
This shape works especially well for a mug-and-spoon combination, since the elongated shape gives a little extra length beyond what a round coaster offers, without needing the more complex shaping a rectangle or leaf shape calls for.
18. The One-Evening Set of Six
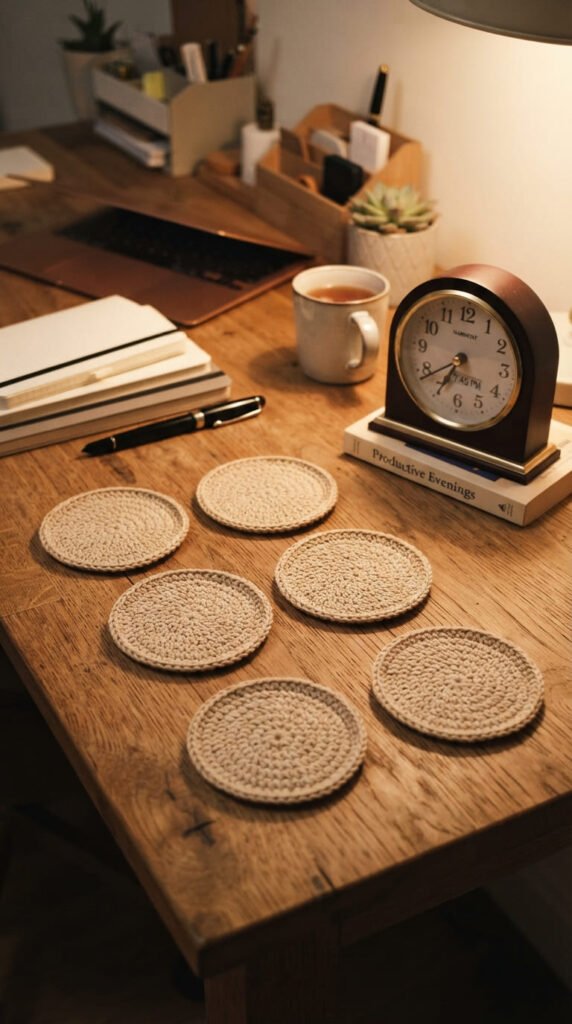
Rather than treating a coaster set as six separate projects, this idea treats it as one continuous session: work all six pieces back to back in the same plain stitch, using the muscle memory from the first coaster to speed up every one after it. By the fourth or fifth piece, most people are moving noticeably faster than they were on the first.
Making the most of a single session:
- Choose the simplest stitch pattern on this list, not a textured or colorwork one
- Keep the yarn and hook the same throughout to avoid re-adjusting tension
- Weave in ends as you go, rather than saving all six for later
Working this way front-loads the slower, more careful part of the process into the first coaster, when you’re still getting a feel for the yarn and hook combination. Every piece after that moves faster simply because the decisions have already been made once.
A set finished in one sitting also tends to come out more visually consistent than pieces made over several separate days, since your tension naturally stays steadier within a single session than it does across a longer stretch of time.
19. The Slip-Stitch Border Upgrade
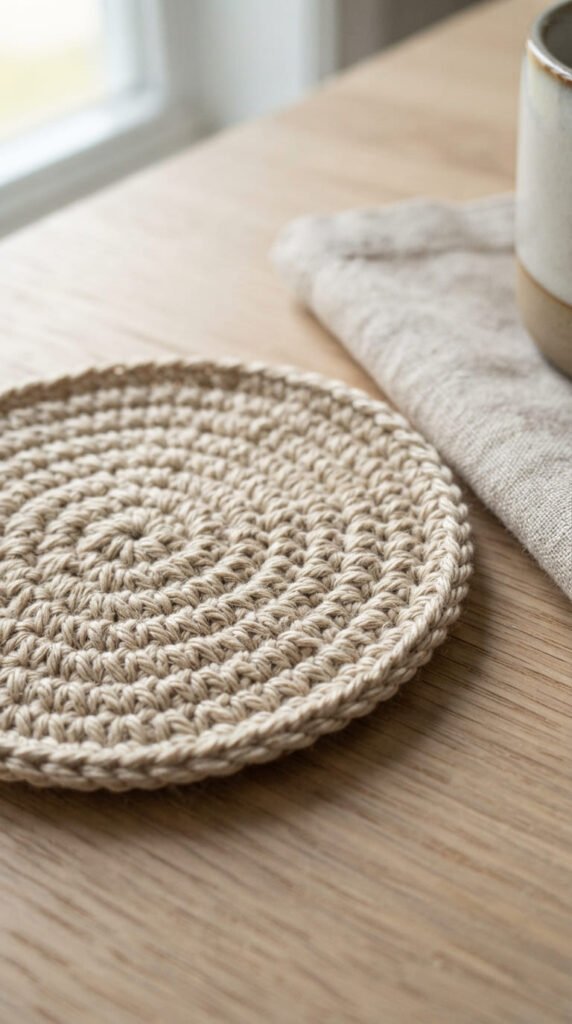
A plain coaster with no border at all still works fine, but a single round of slip stitches worked around the outer edge takes less than two minutes and gives the piece a noticeably cleaner, more deliberate-looking finish. It’s the fastest border option available, well ahead of anything involving picots or shells.
Adding the border correctly:
- Work one slip stitch into each stitch around the entire outer edge
- Keep tension slightly looser than your regular slip stitch to avoid puckering
- Join to the first slip stitch and fasten off
Because a slip stitch is so shallow, this border barely adds any height or bulk to the coaster, which keeps the overall size close to what it was before the border round. It mainly affects how the raw edge reads visually, smoothing out any slight unevenness from the last round of the main pattern.
This is worth doing as a default final step on almost any coaster from this list, since the time cost is minimal compared to how much more finished the edge looks once it’s there.
20. The No-Pattern-Needed Approach
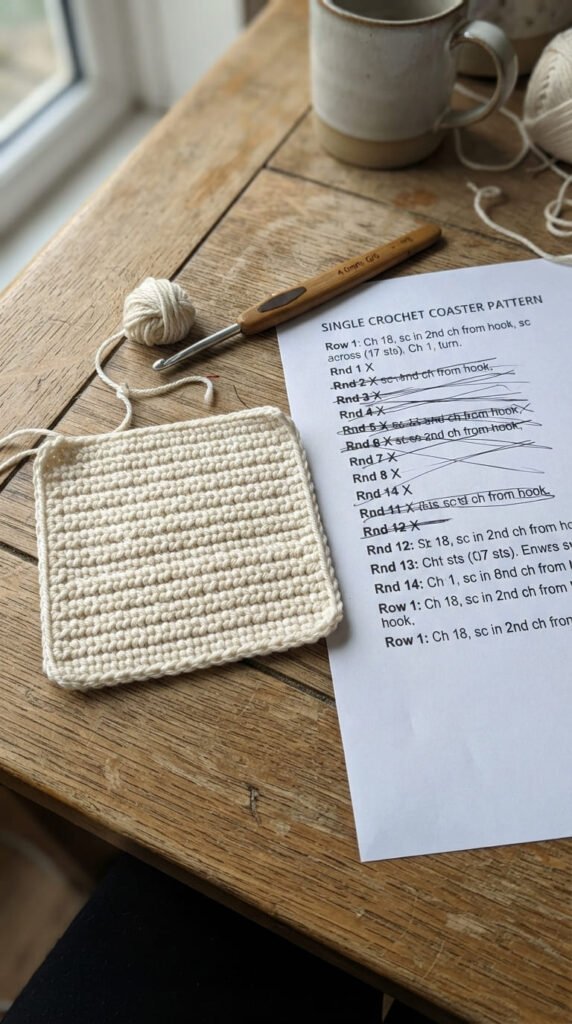
At a certain point, a plain single crochet coaster becomes something you can improvise entirely from memory, without a written pattern, a chart, or a video open on your phone. This idea is less a specific technique and more a mindset: trust the basic shape logic you already know and adjust as you go.
Working without a pattern:
- Chain a foundation length or ring based on your desired finished size
- Use the increase formulas from earlier in this list as a mental guide
- Check size against an actual mug every round or two rather than counting rows precisely
- Stop whenever the piece looks and measures right, rather than at a fixed round number
This approach only works once you’ve made a handful of coasters already and have a feel for how quickly single crochet grows, but once you’re there, it removes the last bit of friction from starting a project. There’s no pattern to find, print, or scroll through on a phone mid-stitch.
This is really the end goal of learning the formulas and shortcuts throughout this list: reaching a point where a coaster is something you can start the moment you have five spare minutes and a bit of yarn nearby.
21. The Felt-Backing Shortcut
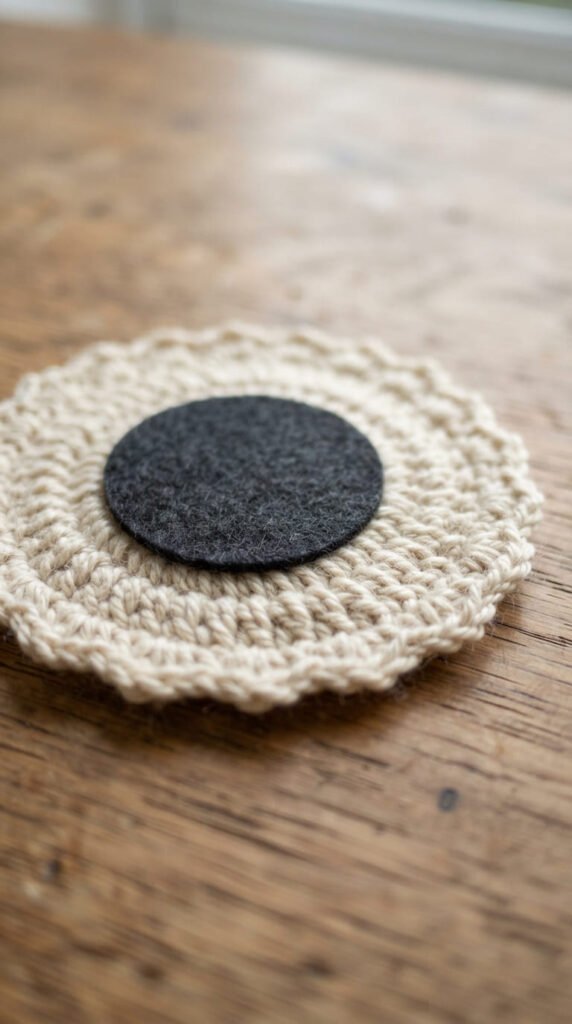
Adding a circle of adhesive felt to the underside of a finished coaster takes under a minute and solves two problems at once: it keeps the coaster from sliding on a smooth table, and it adds a layer of protection between the crochet fabric and the surface underneath.
Applying a felt backing quickly:
- Trace the coaster’s outline onto felt using the finished piece as a guide
- Cut slightly inside the traced line so the felt stays hidden from the front
- Use fabric glue or iron-on adhesive felt for a no-sew option
- Press firmly and let it set flat for a few minutes before use
This step is easy to skip entirely, and plenty of coasters work fine without it, but it’s worth doing for any coaster that will sit on a glass or polished wood table where sliding is more likely. Adhesive-backed felt sheets, sold precut into circles or in sheets you cut yourself, make this a genuinely fast add-on rather than a separate craft project.
Doing this on a full set at once, rather than one coaster at a time, keeps the extra step from feeling like a chore tacked onto an otherwise quick project.
22. The Half-Skein Coaster Math
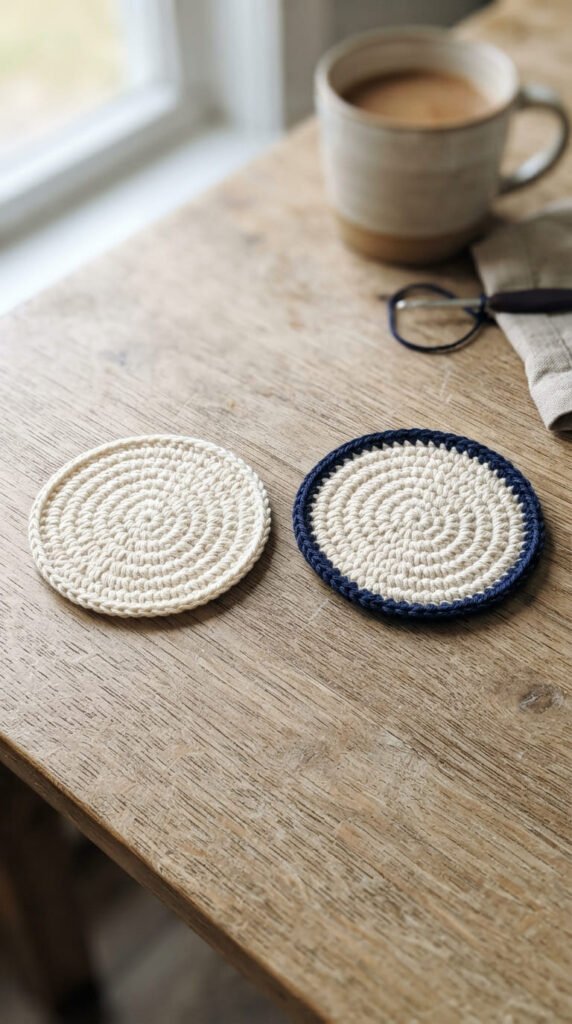
Knowing roughly how much yarn a coaster takes before starting means never running out mid-round or guessing at leftover scraps. A standard 4-inch round in worsted cotton takes about 30 to 40 yards, which means a single 150-yard skein comfortably covers a set of four with yarn left over.
Quick yardage checkpoints as you work:
- A finished round 1 through 3 should use well under a quarter of a small skein
- If you’re past the halfway point on your yarn by round 4, size down your target diameter
- Weigh leftover yarn before and after one coaster to calculate your personal rate for future projects
This kind of quick math matters most when working from a single skein you don’t want to run out on partway through a set, or when planning exactly how many coasters a specific amount of leftover yarn can realistically produce. A kitchen scale makes this fast — weigh the full skein, make one coaster, then weigh what’s left to get an exact number rather than a guess.
Once you know your personal yardage rate for a given yarn and hook combination, planning a full set in advance takes seconds instead of guesswork.
Conclusion
Speed and simplicity don’t have to come at the cost of a coaster that actually looks finished — a memorized increase formula, a reversible stitch, and a quick invisible join get you most of the way to a genuinely polished result without adding real time to the project. Pick two or three shortcuts from this list that fit how you already like to work, try them on your next coaster, and keep whichever ones save you the most fuss. Grab whatever yarn is closest to hand and start a round tonight — you’ll likely have a finished coaster before your next cup of coffee cools down.