
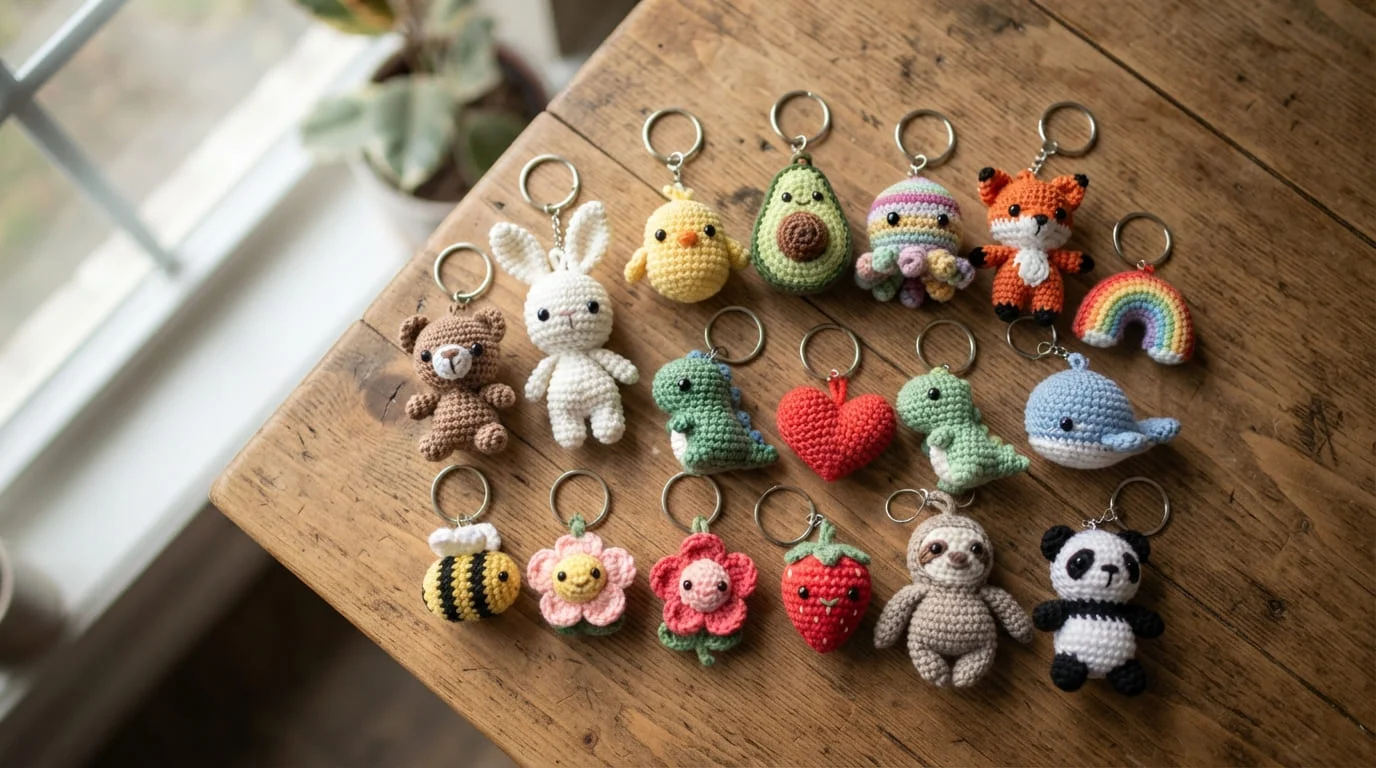
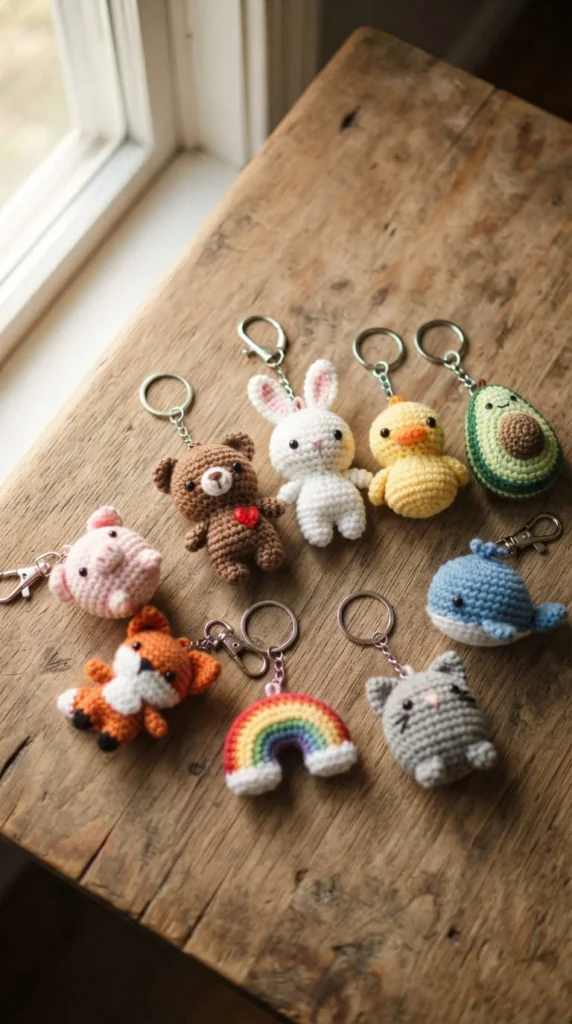
If your keys, backpack, or tote bag could use a little personality, crochet keychain plushies are one of the easiest ways to add it. These small amigurumi pieces work up fast, use very little yarn, and double as gifts, bag charms, or items you can sell at a craft fair. Below is a mix of animal faces, food-shaped charms, seasonal designs, and a few practical builds that focus on things people often skip, like durable hardware and yarn that actually survives daily wear. Whether you’re picking your first project or looking for new ideas to add to a shop lineup, this list covers a wide range of styles you can crochet in an afternoon.
1. The Friendly Ghost Charm
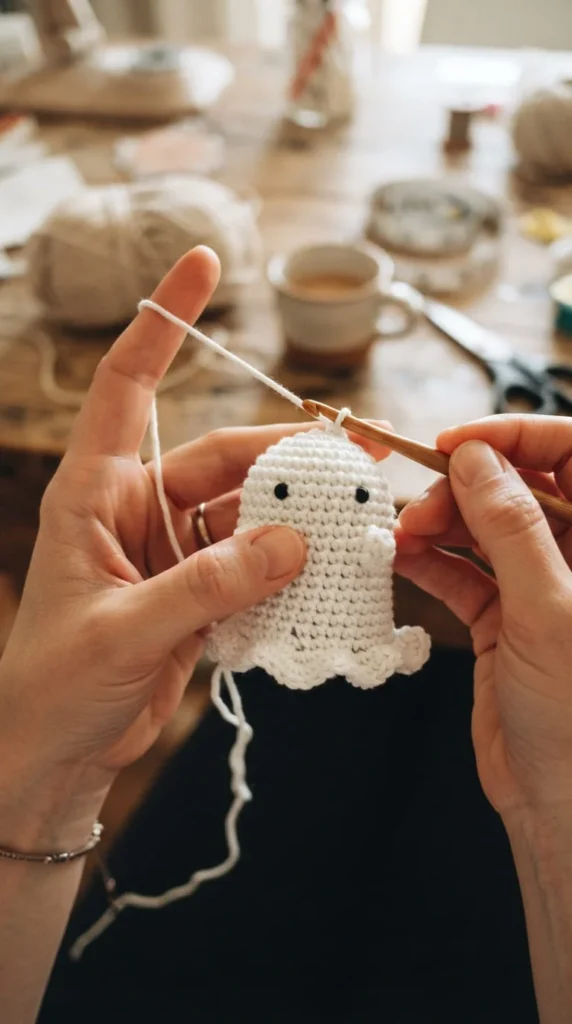
A round ghost shape is one of the simplest bag charms to crochet, which is why it shows up so often as a beginner project. You work a small sphere in white or cream yarn, pinch the bottom into a wavy edge instead of closing it flat, and stitch on a simple face with black thread. No safety eyes are required, which keeps the whole build sewing-light.
This charm works well in cotton yarn because the fabric holds its shape without going floppy after a few weeks of bag use. Add a short chain loop at the top, thread it through a key ring, and it’s ready to attach.
Practical tip: keep the stuffing light so the ghost stays soft to the touch rather than firm and bead-like. A slightly underfilled shape also swings more naturally when it’s clipped to a zipper pull or backpack strap.
2. Witch Hat Ghost Variant
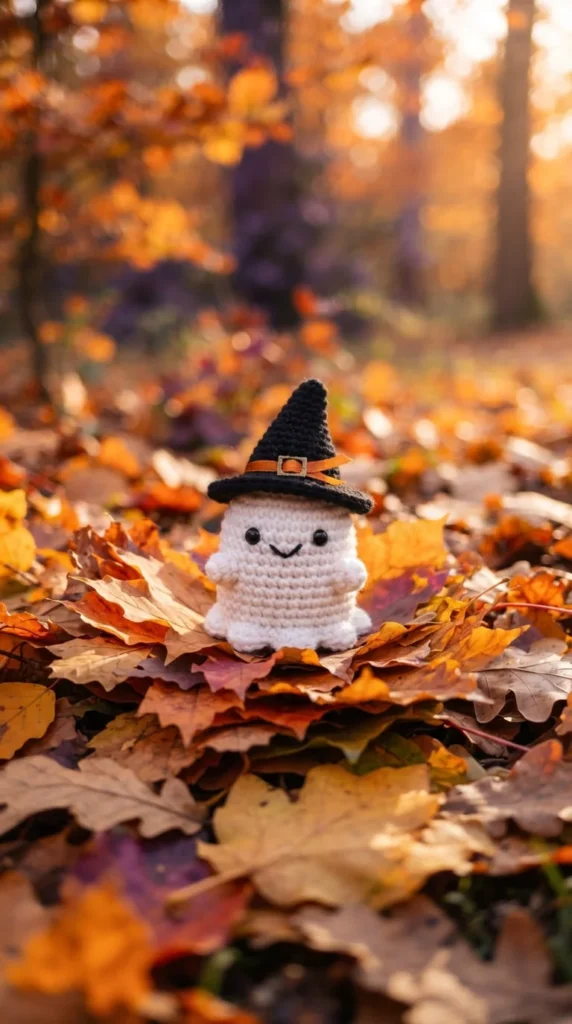
Once you’ve made the basic ghost, a witch hat turns it into a full seasonal charm. The hat is just a small cone shape with a flat brim, worked separately and glued or stitched to the top of the ghost’s head. Purple, black, or deep green all read as “witchy” without looking childish.
This variant is popular because it takes an already-easy pattern and gives it a seasonal twist without adding real difficulty. You’re not learning a new technique, just adding one small extra piece.
If you’re making these for a market table, keep three or four hat colors on hand so shoppers can pick a favorite. Bundling a plain ghost with a witch-hat ghost as a two-pack is an easy way to raise the average sale without extra design work.
For hardware, a soldered jump ring holds up better than a delicate clasp, since Halloween charms tend to get pulled and tugged more than everyday accessories.
3. Classic Pumpkin Bag Charm
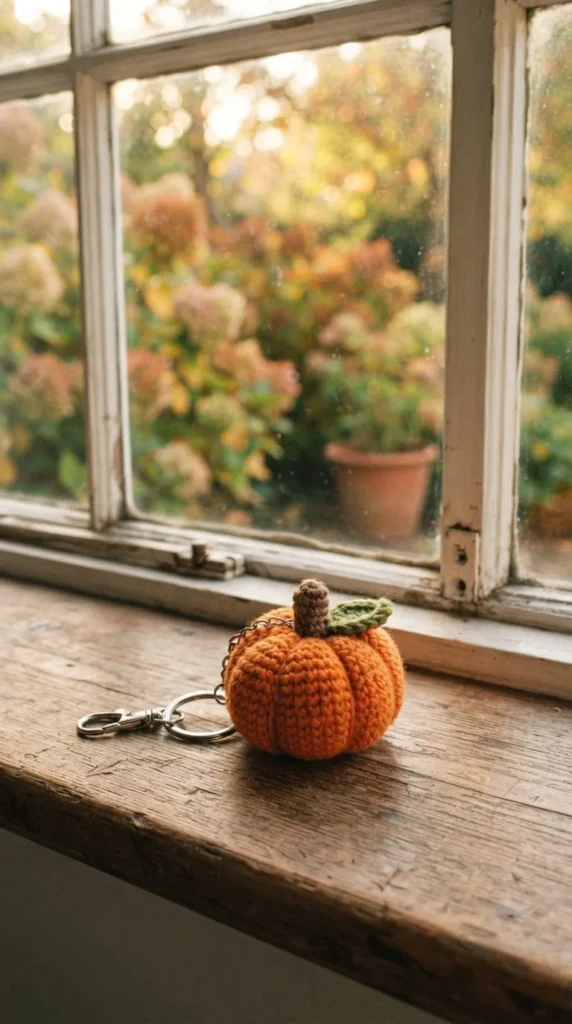
A pumpkin charm is built the same way as the ghost, just worked in rounds of orange with visible ridge lines added using front-post or back-post stitches to mimic pumpkin grooves. A short brown chain or i-cord stem finishes the look.
This shape is forgiving for new crocheters because a slightly uneven round still reads as “pumpkin” rather than looking like a mistake. It’s a good confidence-building project before moving on to more detailed animal faces.
Use a firmer yarn weight for the stem so it doesn’t flop over. A worsted-weight cotton or acrylic blend holds its shape better here than a soft chenille, which tends to bend under its own weight.
Color variation matters: try a cream “white pumpkin” or a deep green one alongside the classic orange. Offering three pumpkin colors as a small trio is an easy way to fill out a fall-themed lineup without designing anything new.
4. Candy Corn Mini Keychain
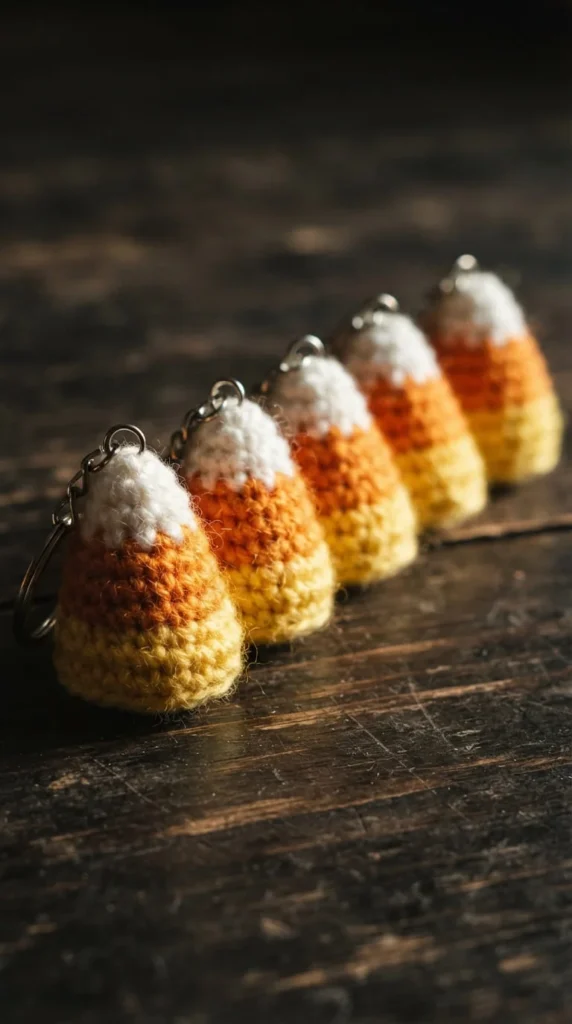
Candy corn is a striped triangle shape, and it’s one of the more satisfying quick makes because the color changes do most of the visual work. You crochet three short color bands, seam the edges into a rounded triangle, stuff lightly, and close.
Because it’s so small, this project uses barely any yarn, which makes it a good way to use up leftover scraps in yellow, orange, and white or cream. It’s also fast enough to make a full set of five or six in one sitting.
These work well strung on a single ring in groups of three, since one candy corn alone can look a little plain. A trio on a shared ring reads as a finished accessory rather than a loose charm.
Assembly note: weave in color-change ends carefully on a shape this small, since loose tails are more visible on tiny pieces than on larger amigurumi.
5. Bat Silhouette Charm
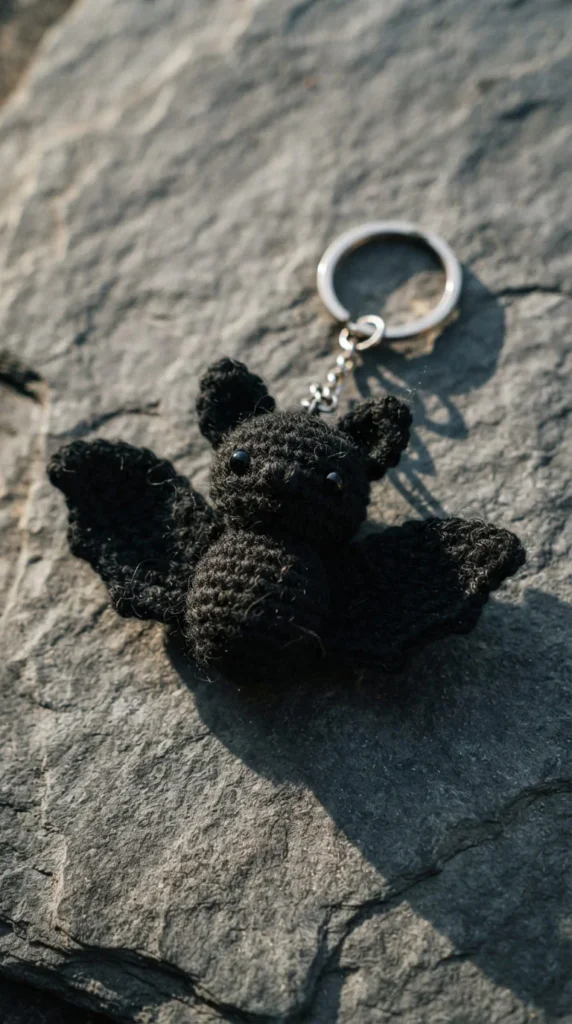
A bat charm is flatter than most of the other shapes on this list, since the wings are worked as two joined pieces rather than a stuffed round body. This makes it a good introduction to working flat amigurumi shapes instead of only spheres.
Black yarn with a smooth finish photographs better than a fuzzy texture for this one, since the wing details tend to disappear in bouclé or eyelash yarns. Small white or yellow eyes stitched close together give the bat its expression.
Because the wings are flatter, this charm sits nicely against a bag pocket instead of dangling and spinning like a rounder shape. It’s a good option for someone who wants a Halloween charm without the bulk of a fully stuffed piece.
Attach the ring through a small loop at the top center, between the wings, so the bat hangs level rather than tilting to one side.
6. Mummy Wrap Charm
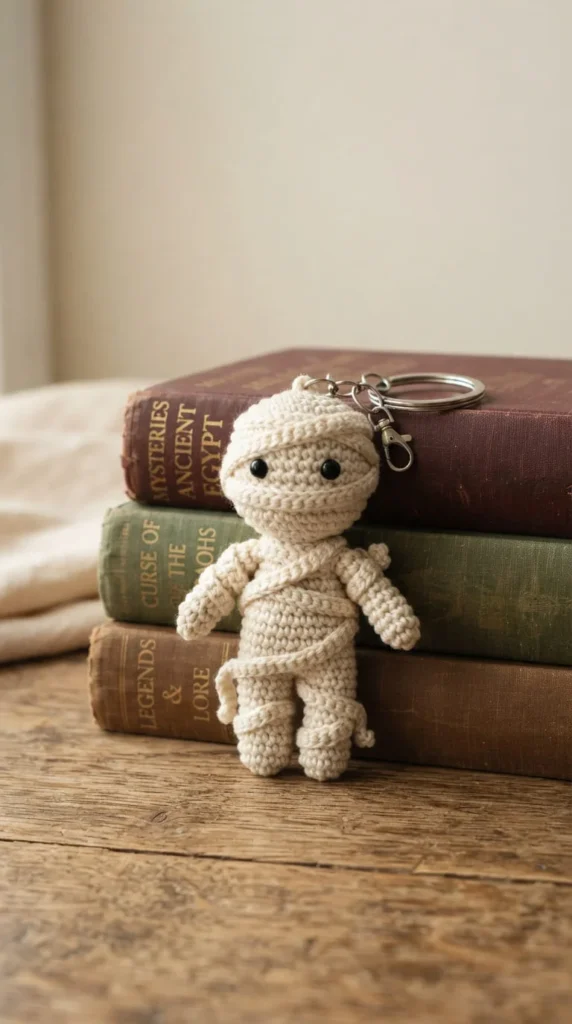
The mummy design starts as a basic rounded body, then gets “wrapped” using a separate strip of crochet fabric wound around it in a criss-cross pattern and tacked down in a few spots. It’s a fun way to practice working a long, narrow rectangle piece.
Cream or off-white yarn works best for the wrap strip, since a slightly uneven, off-white color reads as more authentically “bandage-like” than a bright white.
This charm tends to stand out on a shop table because it looks more hand-detailed than a plain round shape, even though the actual stitch count isn’t much higher. The wrapping step is where the extra time goes, not the base body.
Tip for consistency: cut the wrap strip to roughly the same length each time if you’re making several, so your finished mummies look like a matched set rather than each one being wrapped differently.
7. Chubby Cat Face Charm
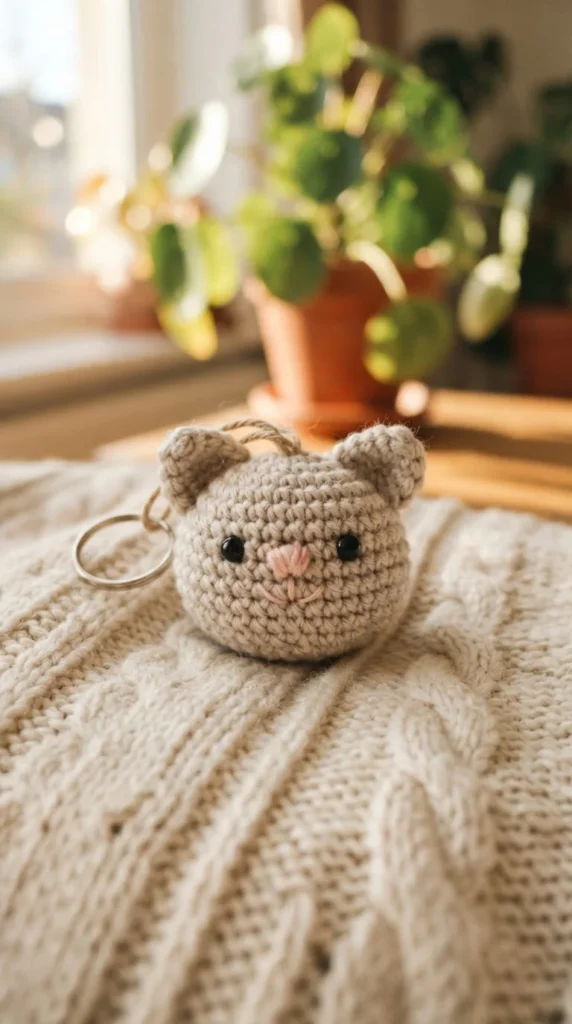
A round cat face with two triangle ears and simple embroidered features is one of the most requested animal designs, and it’s easy to see why. The proportions are forgiving, the face reads clearly even at a small size, and color variations are endless.
Work the base as a flattened sphere rather than a full round ball, which keeps the charm from being too bulky against a bag. Add the ears in a contrasting color for extra visual interest.
For a child-safe version, skip plastic safety eyes and embroider small French knots instead. This removes any small parts that could come loose, which matters if the charm might end up on a kid’s backpack.
Color idea: a gray cat with pink inner ears, or an orange tabby with tiny embroidered stripes, both sell well because they resemble a specific, recognizable cat rather than a generic shape.
8. Kitten Bag Charm
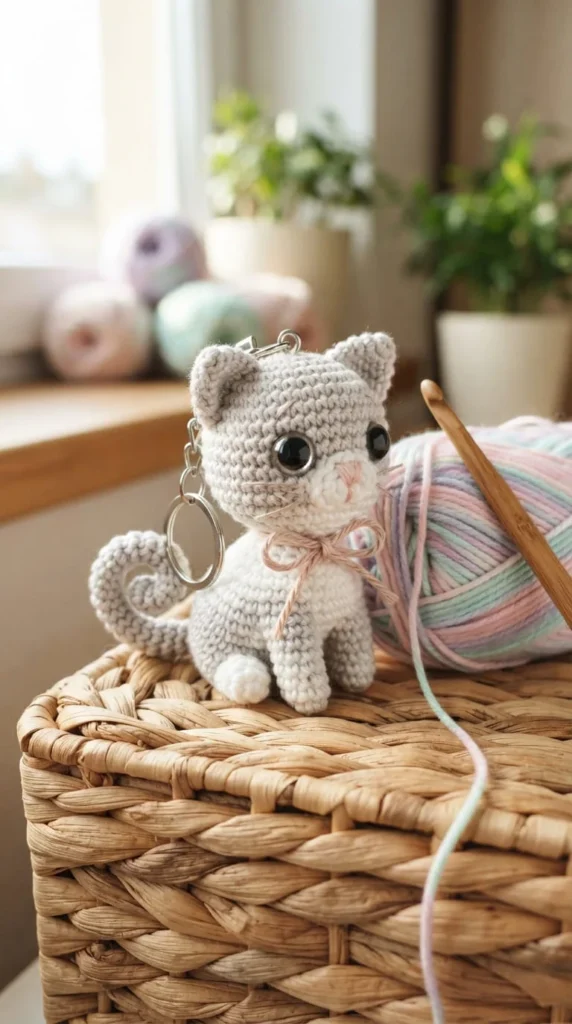
A kitten charm is a smaller, rounder version of the cat face above, with the addition of a curled tail stitched separately and attached at the back. The tail adds movement and makes the charm feel more like a full character rather than just a head.
Because the body is tiny, this is a good project for testing new stitch markers, hook sizes, or yarn brands without committing a lot of time or material. If something goes wrong, you’ve only lost a few grams of yarn.
Pastel yarn shades (lavender, mint, baby pink) tend to outsell plain gray or brown for this style, since the kitten reads as more of a decorative accessory than a realistic animal replica.
Keep the tail’s wire or stuffing minimal so it stays soft and won’t poke through the crochet fabric after repeated handling in a bag or pocket.
9. Baby Bear in Overalls
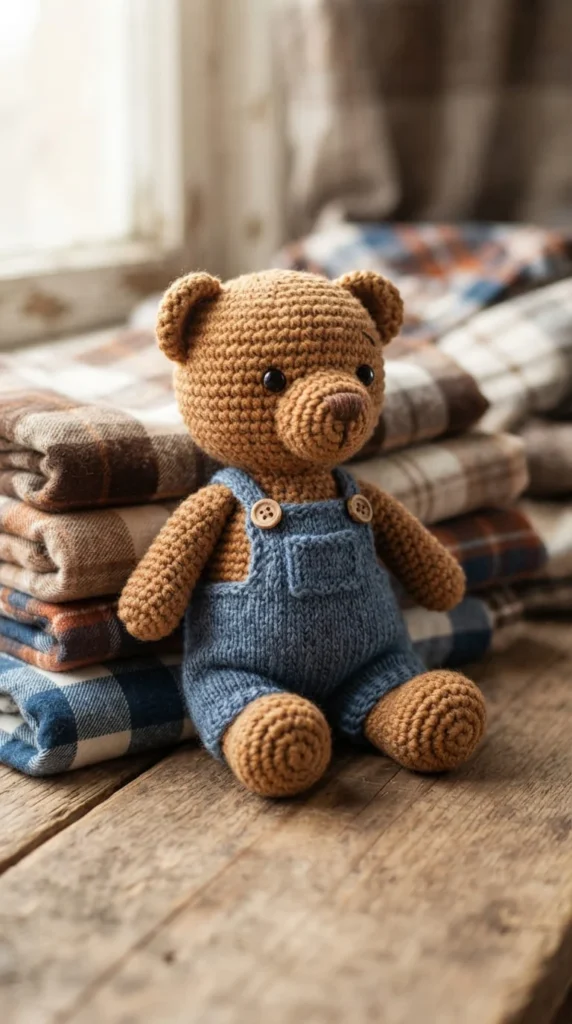
This design layers a simple accessory, tiny overalls, onto a basic bear-shaped body. The overalls are two small rectangles joined at the shoulders with thin straps, worked separately and slipped over the bear’s body before the final seam is closed.
It takes a little longer than a plain bear charm, but the extra ten minutes of assembly makes a noticeably more detailed final piece. This is a good project once you’re comfortable with basic amigurumi shaping and want to try adding “clothing” to a charm.
Denim-blue or corduroy-toned yarn for the overalls contrasts nicely against a tan or brown bear body. A single yellow button stitched to the front strap adds a small realistic detail without much extra work.
Selling tip: charms with an added “outfit” element like this one are usually worth a slightly higher price than a plain animal face, since the extra construction time is visible to the buyer.
10. Mini Whale Charm
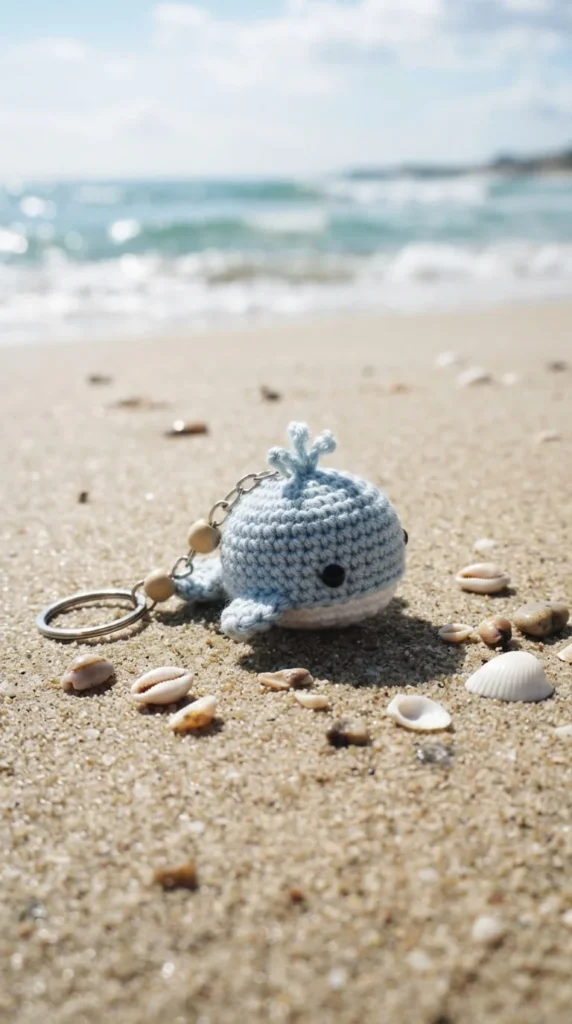
A whale charm is built from an oval body with a small triangle tail fin and two side fins stitched on separately. The rounded shape makes it forgiving to work even if your gauge isn’t perfectly even, since a slightly lumpy oval still reads clearly as a whale.
Light blue, gray, or even a soft pastel pink give this charm a friendly, non-realistic look that fits well with the mini amigurumi style rather than trying to be an anatomically accurate sea creature.
A small embroidered water-spout detail on top, three or four straight stitches in white, adds character without requiring any extra crochet pieces.
This is a good project to practice attaching multiple small pieces at once, since you’re sewing on a tail and two fins in one sitting. Once you’re comfortable with this level of assembly, jellyfish and other multi-part sea creatures become much easier.
11. Pastel Jellyfish Keychain
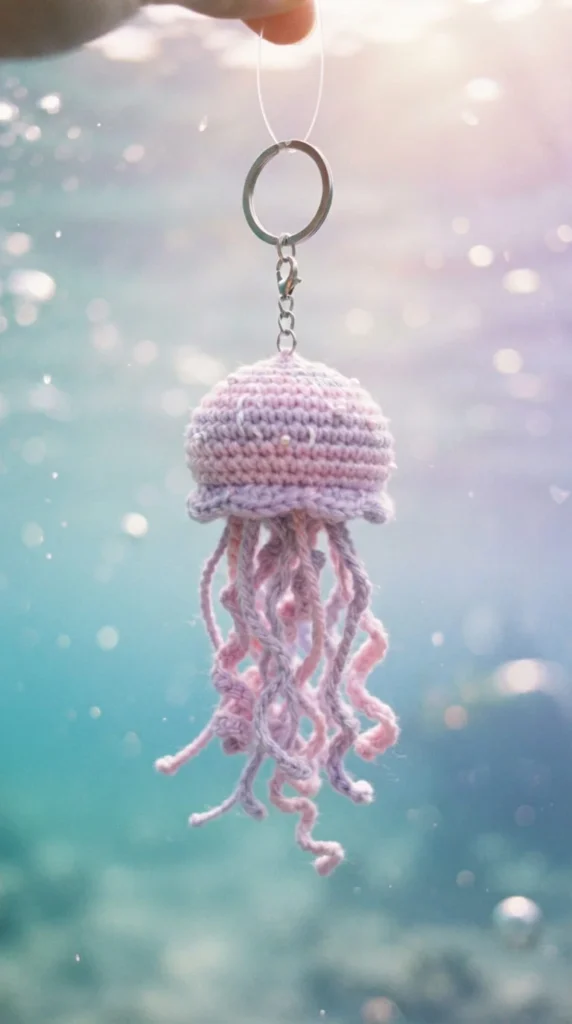
A jellyfish charm has a rounded dome-shaped head and a set of thin crocheted or braided strand “tentacles” hanging below it. The dome is worked the same way as most other round charms, but the tentacles are what make this design stand out visually.
Because the tentacles are thin single strands rather than full crochet pieces, this charm tends to take a little longer than a solid shape, generally in the range of a few hours for someone with basic amigurumi experience.
Ombre or gradient yarn works especially well for the dome, since a light-to-dark pastel fade mimics the translucent look of a real jellyfish without any extra shaping.
Durability note: braid or twist two strands together for each tentacle instead of using a single thin thread. A single strand is more likely to snag or fray with regular handling, while a light braid holds up much better over time.
12. Cherry Duo Charm
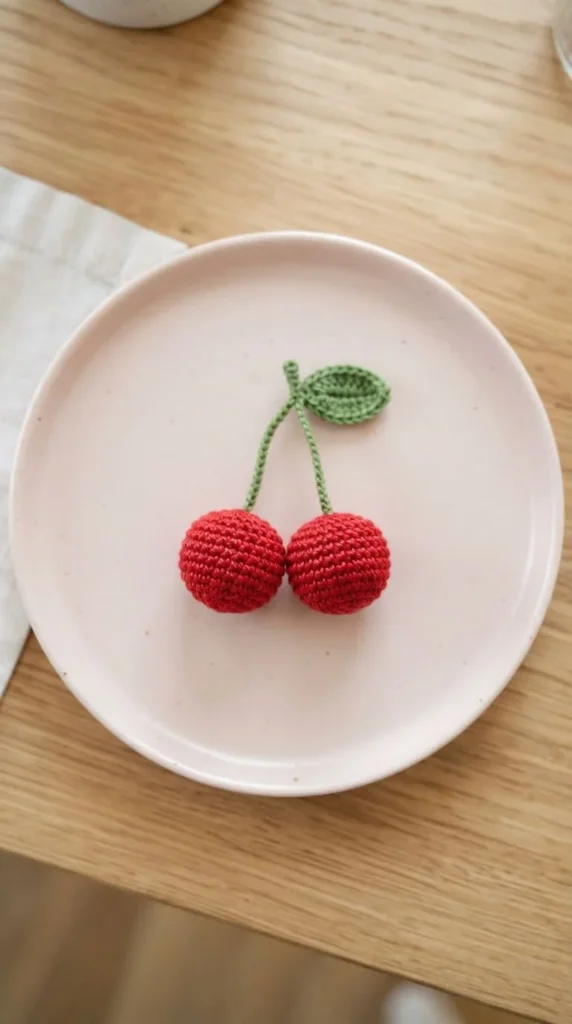
A cherry charm is two small round shapes joined by a shared stem, which makes it one of the quicker food-themed builds on this list. Each cherry is worked as a simple sphere, and the stem is a short crocheted cord or twisted yarn strand connecting them.
Red or deep burgundy yarn with a slight sheen looks closest to a real cherry, though a matte finish still reads clearly at this small size. A tiny embroidered highlight in white or pale pink adds a bit of realism without much extra effort.
This charm pairs naturally with other fruit-themed pieces, so it’s worth making alongside a citrus slice or a small strawberry if you want a coordinated “fruit charm” set for a bag or a gift bundle.
Because both cherries share one stem and one attachment point, make sure that connection point is reinforced with a few extra stitches, since it carries the weight of both pieces whenever the charm swings.
13. Citrus Slice Charm
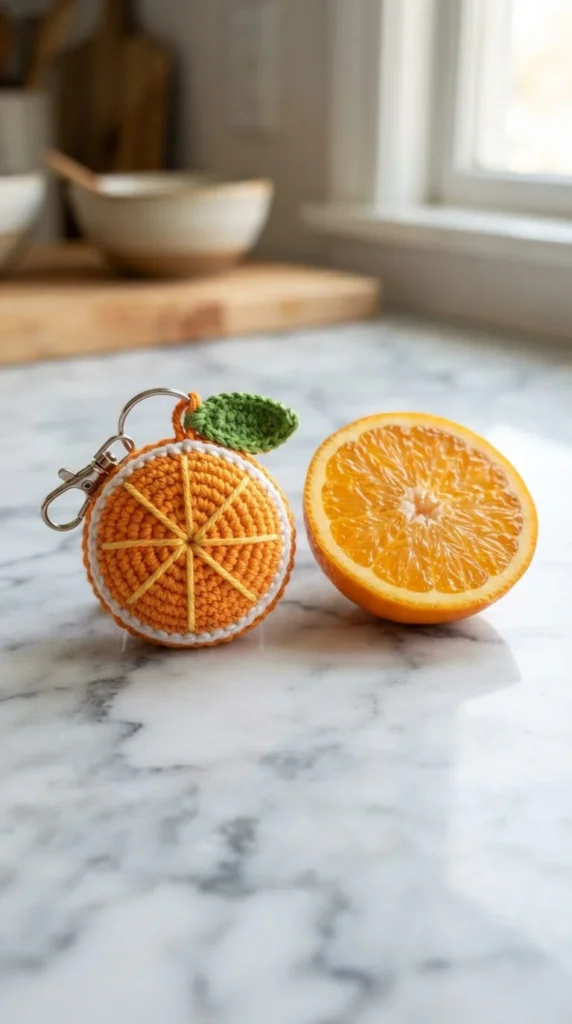
This flat, round charm mimics a slice of orange, lemon, or lime using pie-slice segments worked in a contrasting rind color around the edge. It’s typically made flat rather than stuffed, or only lightly stuffed, which keeps it thin enough to lie against a bag without bulging.
The segment lines are usually created with surface crochet or embroidery over a solid round base, rather than crocheted as separate pieces. This makes it more approachable than it looks, since you’re adding detail on top of an already-finished round shape.
Bright, saturated yarn colors work best here: true orange, sunny yellow, or a fresh lime green, since muted or heathered yarns make the segments harder to see clearly.
Bundle idea: a mixed set of three citrus slices in different colors makes an easy, cohesive-looking bundle for a market table, since they share the same shape and construction but each pop in a different shade.
14. Tiny Mushroom Charm
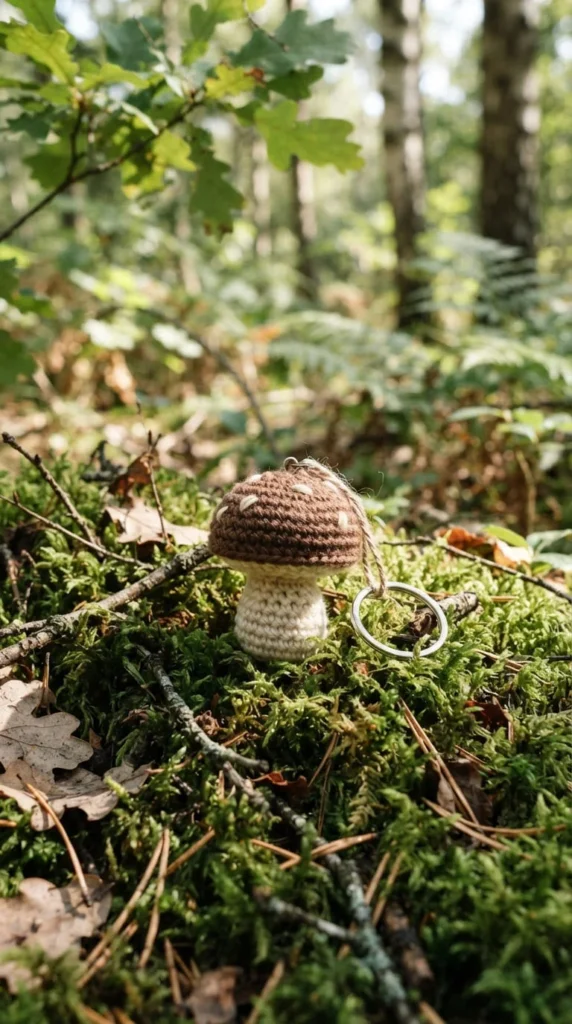
The mushroom is built in two pieces, a rounded cap and a shorter cylindrical stem, joined together after each is finished separately. Brown, red, or tan caps with a cream stem give the most recognizable mushroom look.
This shape has been showing up often in newer amigurumi charm designs, likely because it’s visually distinct from the animal faces and food shapes that dominate most keychain lists, which makes it a good way to offer something a little different.
Small white French knots scattered across a red cap give it a toadstool look if you want a slightly more storybook feel rather than a realistic mushroom.
Keep the stem slightly shorter and wider than you might expect. A stem that’s too thin and tall tends to bend or crease at the seam where it meets the cap after repeated handling, while a shorter, sturdier stem holds its shape.
15. Mini Cactus Charm
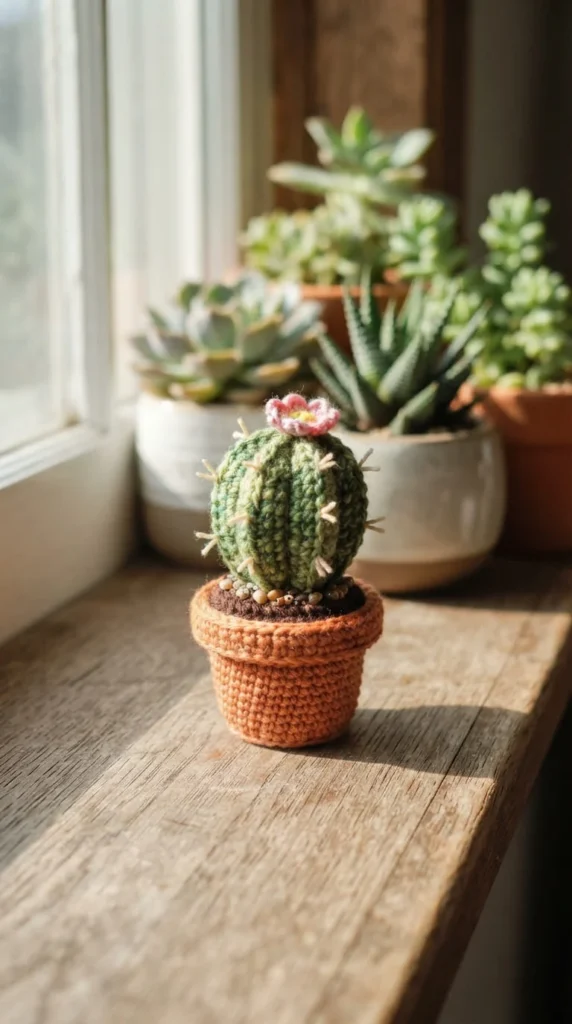
A cactus charm combines a green textured body, usually worked with bobble or popcorn stitches to mimic ridges, with a small crocheted “pot” base in terracotta or brown. Unlike most charms on this list, this one is often left partly unstuffed near the pot for a flatter attachment point.
Bobble stitch rounds give the cactus body its ridged texture without needing any embroidery, which makes this a satisfying project if you enjoy textured stitchwork more than smooth amigurumi shaping.
A tiny pink or yellow flower stitched to the top is optional but adds a nice pop of color against the green body.
Because the pot base is often flat-bottomed rather than round, this charm tends to sit more still than others when clipped to a bag, which some people prefer for a cleaner, less swingy look. It also photographs well sitting upright on a shelf between uses.
16. Flower Bag Charm
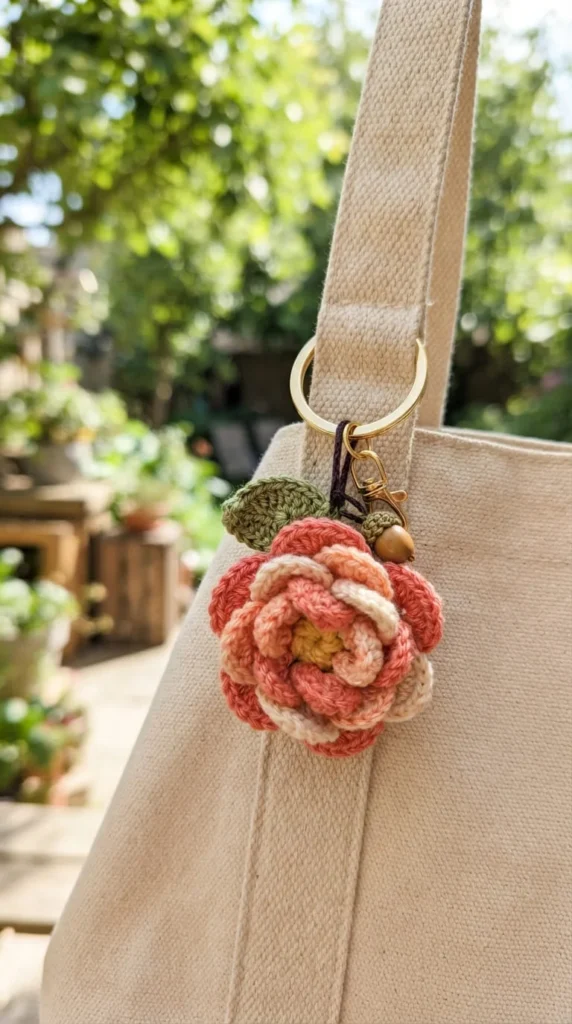
The flower charm is usually built from two or three layered rounds of petals in slightly different sizes, stacked and stitched together in the center, with a small leaf added off to one side. A gold or silver key ring at the top finishes the look and doubles as decoration.
This is one of the most common “first bag charm” projects because the petal rounds use basic increase and decrease stitches you’d already know from making a simple circle, just repeated in layers.
Two-tone color combinations work especially well: a soft pink outer layer with a yellow center, or lavender with a white center, both read clearly as a flower shape even from a distance.
Attachment tip: stitch the ring loop through the very center of the flower rather than through a single outer petal. This spreads the weight more evenly and keeps the charm from twisting or hanging crooked once it’s attached to a bag.
17. Personalized Initial Keychain
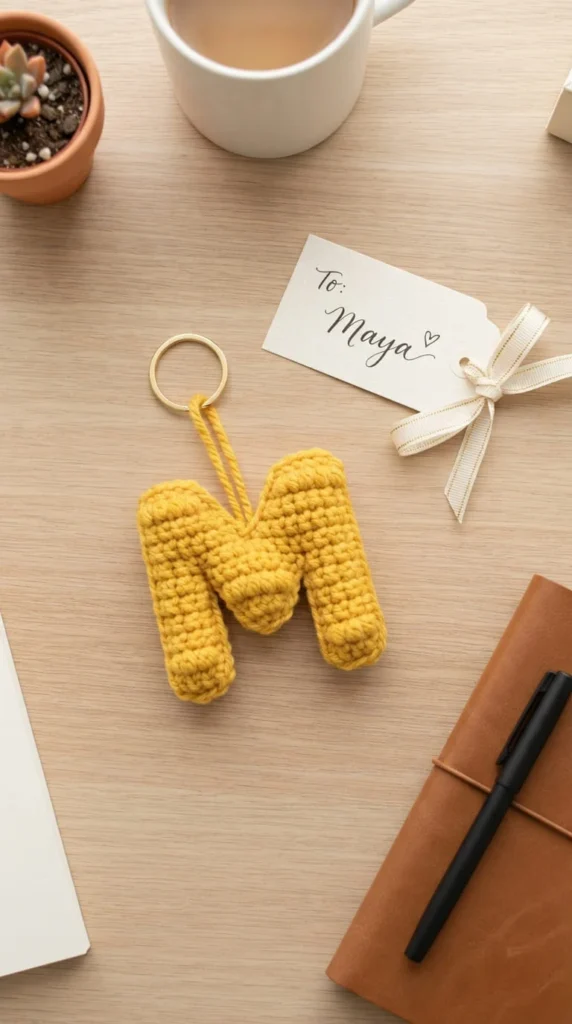
A single letter shape, worked flat using single crochet rows built up and shaped to match the letter’s outline, makes for a charm that feels personal without requiring a full character design. This is one of the more requested custom items if you’re making these to sell.
Letters with fewer curves, like A, E, L, or T, are noticeably easier to shape cleanly than rounded letters like S or O, so it’s worth starting with a straight-edged letter if this is your first attempt.
Bright, solid yarn colors work better than variegated or speckled yarns here, since a busy color pattern can make the letter shape harder to read at a glance.
Pricing note: custom or personalized items like an initial charm are generally priced a little higher than a standard animal or food design, since each one is made to a specific request rather than kept as ready-made stock.
18. Fidget Bead Keychain
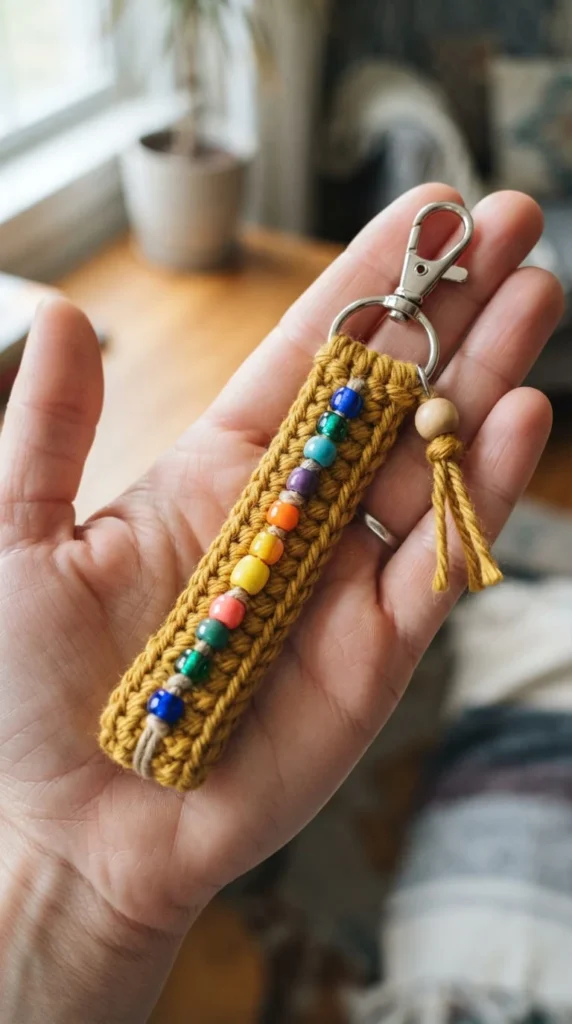
This design skips the “character” format entirely and focuses on texture and movement instead. A short crocheted strip or small tube is threaded with a few wooden or acrylic beads that can be slid back and forth, giving the charm a tactile, fidget-friendly quality.
It’s a good option for someone who wants a keychain that does something rather than just hangs there. Textured stitches like bobbles or popped single crochet along the strip also add a sensory element even without the beads.
This style tends to appeal to a slightly different buyer than the animal or food charms, often people looking for a small stress-relief object rather than a decorative accessory, so it’s worth listing separately if you’re selling online.
Material note: choose beads with smooth, rounded holes so the yarn or cord threading through them doesn’t fray with repeated sliding. A rough-edged bead hole will wear down fiber strands faster than a polished one.
19. Mini Pouch or Wallet Charm
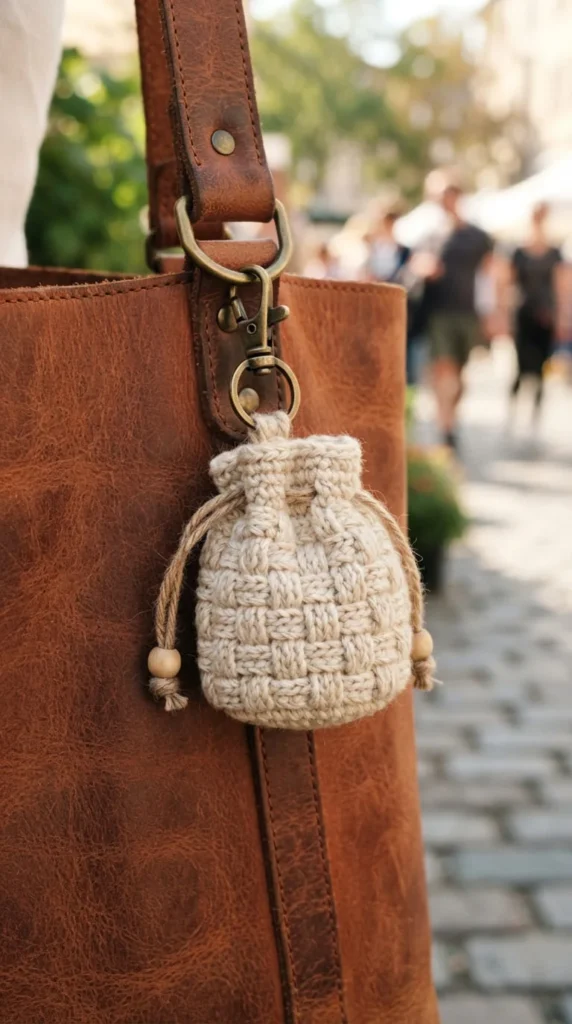
Unlike the character-based charms on this list, a mini pouch charm is actually functional. It’s a small crocheted bag, often with a drawstring or a tiny zipper, sized to hold a couple of coins, a folded bill, or a small charm of its own.
A basket-weave or textured stitch pattern gives this piece a woven look that holds its shape a little better than plain single crochet, which matters since a pouch needs enough structure to stay open rather than collapsing flat.
This is a slightly more involved project than most on this list, since you’re working a flat or slightly rounded base, building up the sides, and adding a closure. It’s worth trying once you’re comfortable with basic amigurumi shaping.
Yarn choice matters more here than on purely decorative charms, since the pouch gets actual use. A firmer cotton or cotton-blend yarn holds its structure under repeated opening and closing far better than a soft, stretchy acrylic.
20. Seasonal Trio Bundle
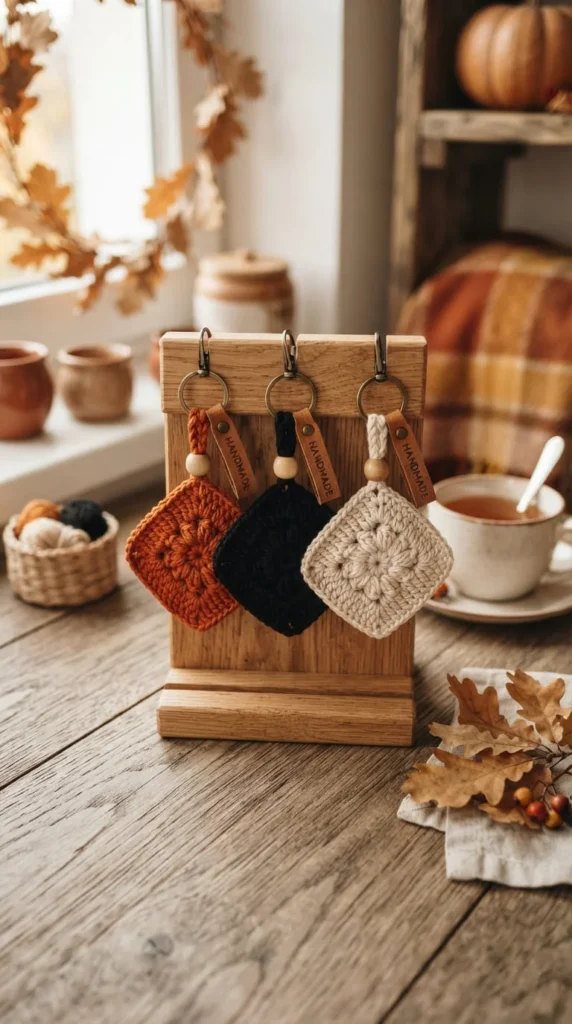
Instead of designing a brand-new charm, this idea is about packaging three existing designs, say a ghost, a pumpkin, and a candy corn, together as a themed set on a shared ring or in a small labeled bag. It’s an easy way to increase the value of a sale without adding new patterns to learn.
A trio works well because it’s small enough to feel like a gift rather than an overwhelming set, but varied enough to give the buyer some choice in how they use each piece.
Keep the color palette consistent across all three items in the bundle, sticking to two or three shared colors like orange, black, and cream, so the set feels intentional rather than like three random leftover charms grouped together.
This same approach works for any season or theme: a pastel trio for spring, a fruit trio for summer, or a cozy trio using warm neutral tones for winter gifting.
21. Pastel Animal Bundle
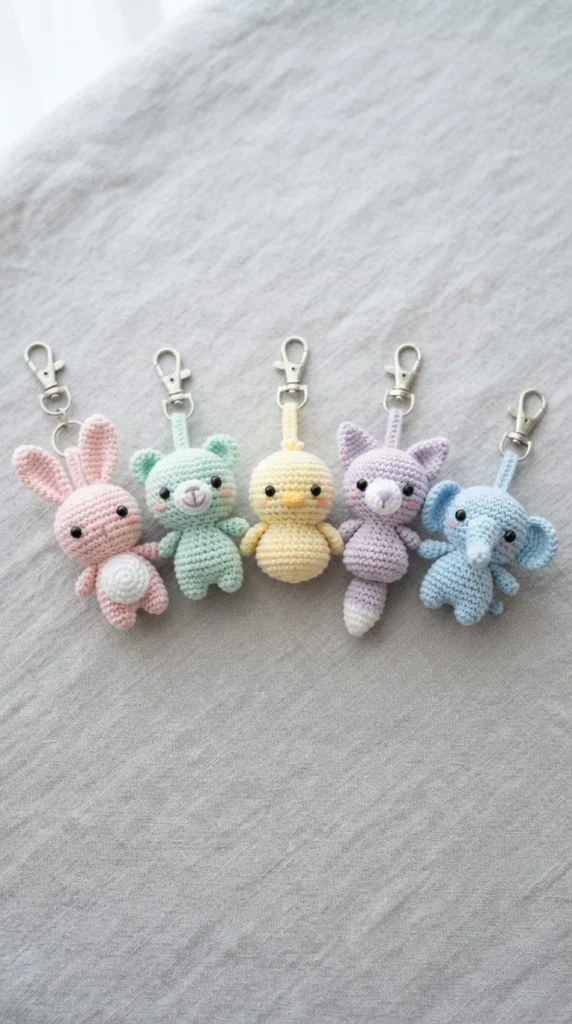
This bundle idea groups several animal-shaped charms, cat, bear, kitten, whale, and bunny for example, using a shared pastel color story rather than a shared species or season. The goal is visual cohesion across a group of otherwise unrelated designs.
Choosing four or five colors from the same palette family, like soft pink, lavender, mint, butter yellow, and pale blue, and rotating through them across each animal, gives a whole table or shop section a coordinated look even though the shapes are all different.
This approach is especially useful if you already have several animal patterns and don’t want to design something new. You’re essentially restyling existing charms into a themed collection using color alone.
Display tip: when photographing or arranging a pastel bundle for sale, group the charms so similar colors sit next to each other rather than alternating randomly. This makes the color story easier for a shopper to notice at a glance.
22. Kid-Safe Embroidered Face Variant
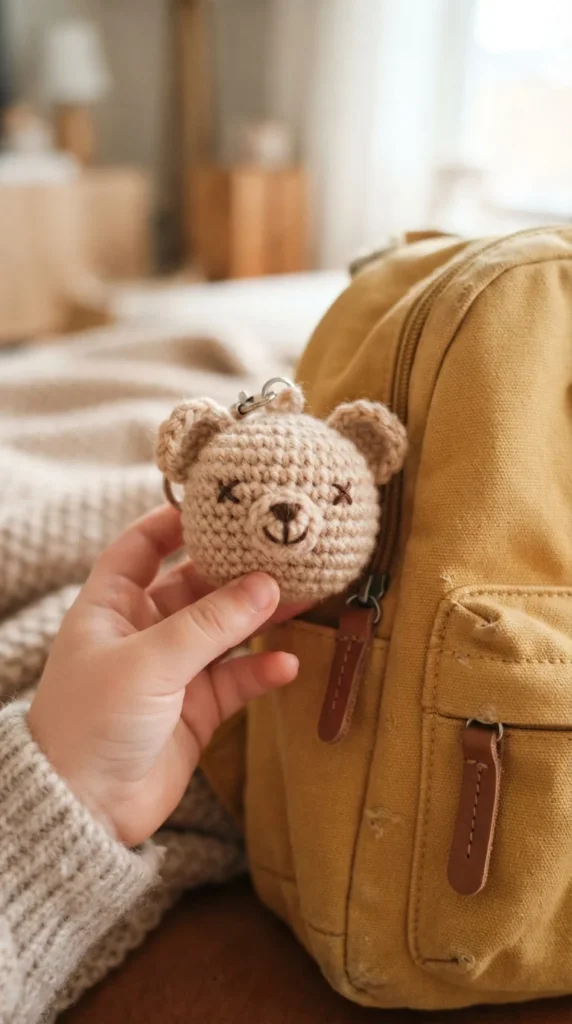
Any of the animal or character charms on this list can be adapted into a kid-safe version by swapping plastic safety eyes for embroidered French knots or small satin stitches. This removes any small part that could work loose over time, which matters more on an item meant for a child’s backpack or lunch bag.
Embroidering the face takes a little more time than snapping in plastic eyes, but it also opens up more expressive options, like sleepy half-closed eyes or a small stitched smile, that aren’t available with standard safety eye shapes.
If you’re making these to sell, it’s worth labeling kid-safe variants clearly in your listing description, since some buyers are specifically searching for charms without small removable pieces.
Reinforcement tip: knot embroidery thread securely on the inside of the piece and add a small dab of fabric glue at the knot before closing the seam, so the stitched features stay in place even after repeated tugging.
23. Everyday Carry Charm With a Reinforced Loop
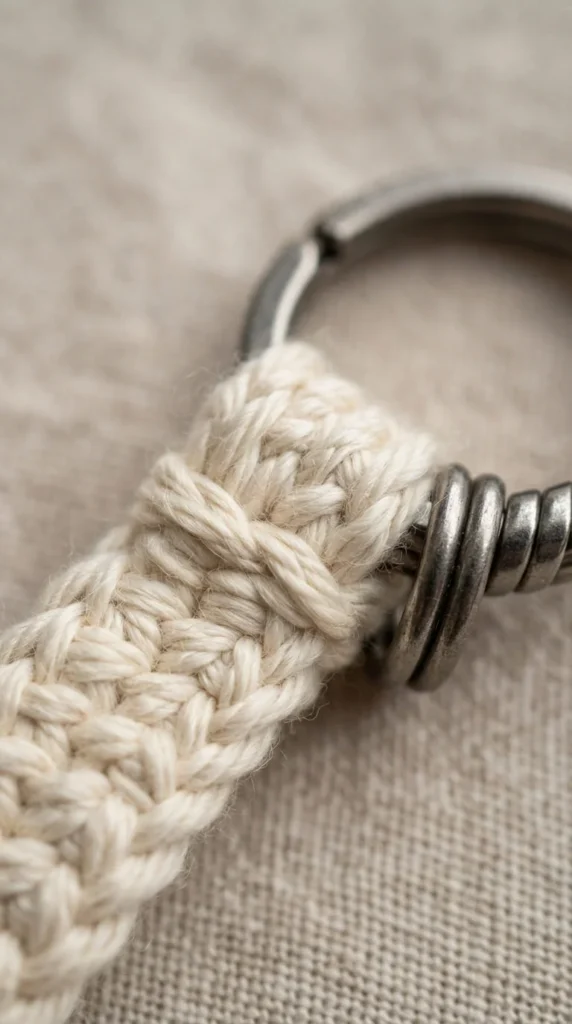
This last idea isn’t a new shape, it’s a construction method worth applying to any charm you plan to use daily rather than just display. Instead of a single loop of chain stitches at the top, work the attachment loop with double or triple strands, or reinforce a single loop with a few extra whip stitches around it.
A split ring, rather than a lobster clasp, is generally the more durable hardware choice for a keychain that gets pulled in and out of a bag or pocket multiple times a day. Lobster clasps are more prone to snapping under repeated stress on a small scale.
Cotton or a cotton-polyester blend also tends to hold its shape and resist pilling better than pure acrylic when a charm rubs against keys, a phone, or the inside of a bag lining every day.
If you’re building charms specifically for regular use rather than as gifts or decoration, treat this reinforced-loop approach as a standard step rather than an optional upgrade, since it’s usually the attachment point, not the charm itself, that fails first.
Conclusion
Crochet keychain plushies work because they’re small enough to finish quickly but detailed enough to feel like a real project. Whether you start with a simple ghost or jump straight into a jellyfish with braided tentacles, the same basic skills carry across almost every design on this list: rounds, light stuffing, and a secure attachment loop.
If you’re making these for yourself, pick a shape that matches how you’ll actually use it, a flatter charm for a crowded bag pocket, a rounder one for a set of keys. If you’re making them to sell, pay attention to the details that don’t show up in most patterns: sturdy hardware, yarn that resists wear, and bundling ideas that turn single charms into a small, coordinated collection.
Pick one or two designs from this list, gather a few colors of cotton or cotton-blend yarn, and see which shape you reach for first.