
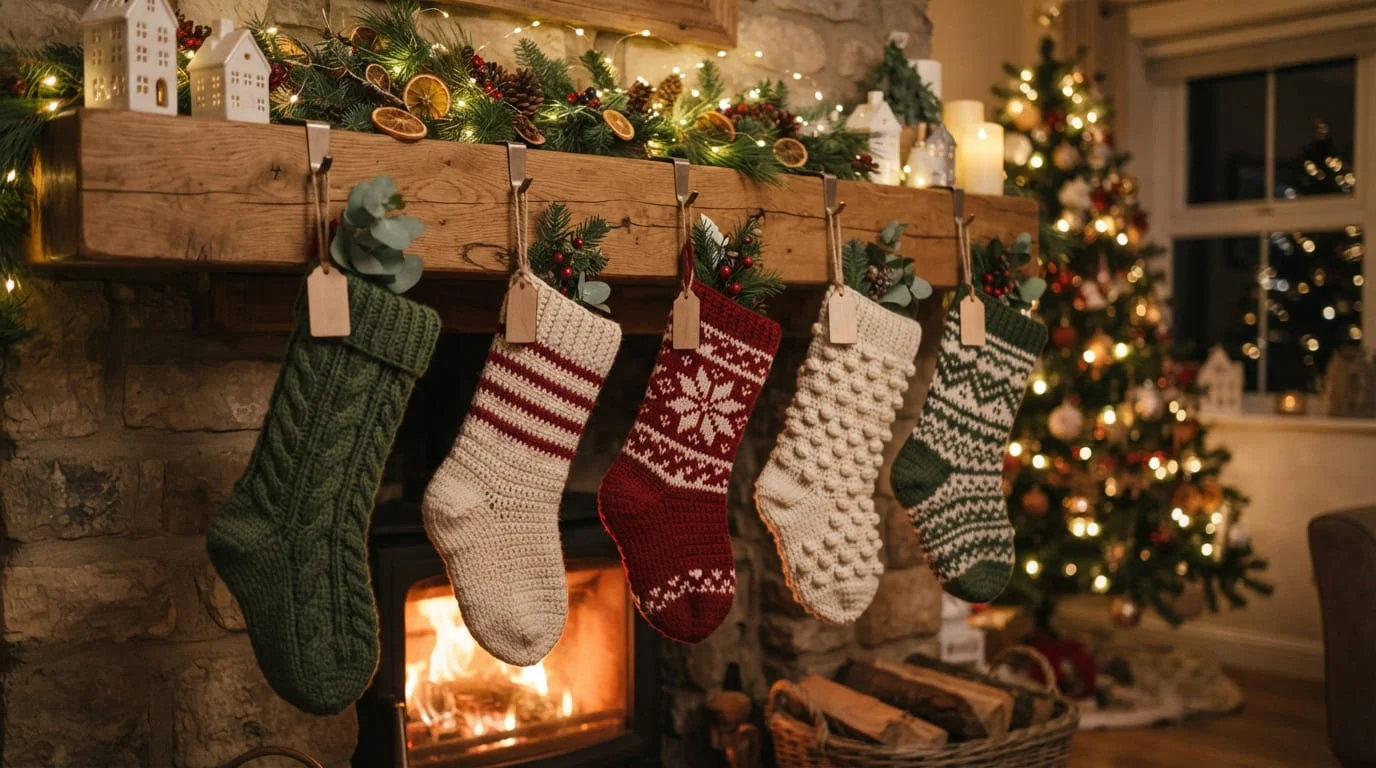
There’s something about a handmade stocking hanging on the mantel that a store-bought one just can’t match. It’s soft, it’s a little imperfect in the best way, and it usually gets used year after year.
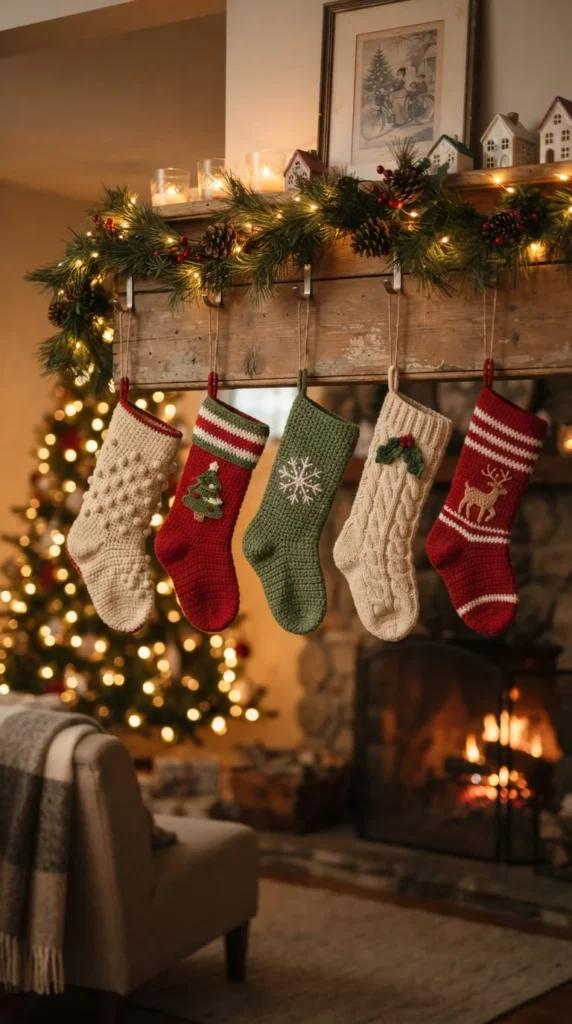
If you’ve never crocheted a stocking before, this guide walks you through the whole process, from picking the right yarn to shaping the heel to adding your own personal touches. No advanced skills required, just a little patience and a few evenings by the fire.
Why Crochet Your Own Stocking
A crocheted stocking is a low-pressure project with a big payoff. You’re not fighting a deadline, and even a slightly wobbly first attempt still looks charming once it’s stuffed with gifts.
It’s also one of the easier ways to give a handmade gift that actually gets used. Unlike a lot of crochet projects, a stocking doesn’t need to fit anyone. There’s no sizing chart to worry about.
Choosing the Right Yarn and Hook
Stockings get handled a lot, filled with heavy gifts, hung on hooks, and stored away for eleven months at a time. That means durability matters more here than in a lot of other projects.
Worsted weight (4) or super bulky (6) yarn is the standard choice, and for good reason. It works up fast and holds its shape without going floppy.
A few things to keep in mind when picking yarn:
- Acrylic or acrylic blends tend to hold their shape better than 100% cotton for a project like this.
- Sturdy, structured yarns (the kind sold for blankets or amigurumi) resist stretching under the weight of gifts.
- A hook one size larger than the yarn label suggests often gives a slightly looser, more flexible fabric, which is easier to stuff.
If you’re making several stockings for a family or a charity drive, buy your yarn in one batch. Dye lots can vary slightly between production runs.
Starting at the Toe with a Magic Ring
Most modern stocking patterns start at the toe and work upward, which is easier than it sounds. You begin with a magic ring (sometimes called a magic circle), a small adjustable loop that lets you close the center tightly with no visible gap.
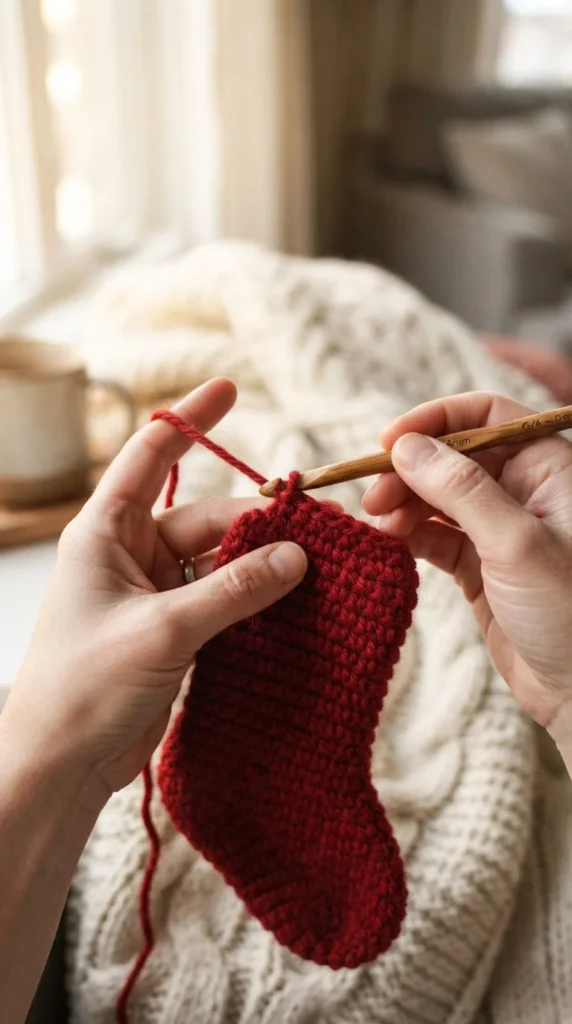
From there, you increase stitches evenly around for a few rounds to shape the rounded toe, then work straight rounds for the foot. This bottom-up, seamless construction is popular because there’s very little sewing at the end.
Shaping the Heel
The heel is where most beginners slow down, and that’s completely normal. It’s the one part of the pattern that isn’t just “repeat this round.”
Heel shaping usually involves:
- Working a flat, turned section instead of continuing in the round.
- Decreasing stitches gradually to curve the fabric around the heel.
- Rejoining to continue working in the round up the leg.
Go slow here and count your stitches after every row. If your heel looks a little lumpy the first time, don’t rip it out right away. Stockings hide a lot once they’re stuffed and hung.
Working the Leg and Adding Color
Once the heel is done, you’re back to straight rounds up the leg, which is the easiest and most relaxing part of the whole project. This is also where color changes happen.
A classic look uses one color for the toe and heel and a contrasting color for the leg, with maybe a third shade in the cuff. Two-color designs are popular because they’re simple to execute but still look intentional.
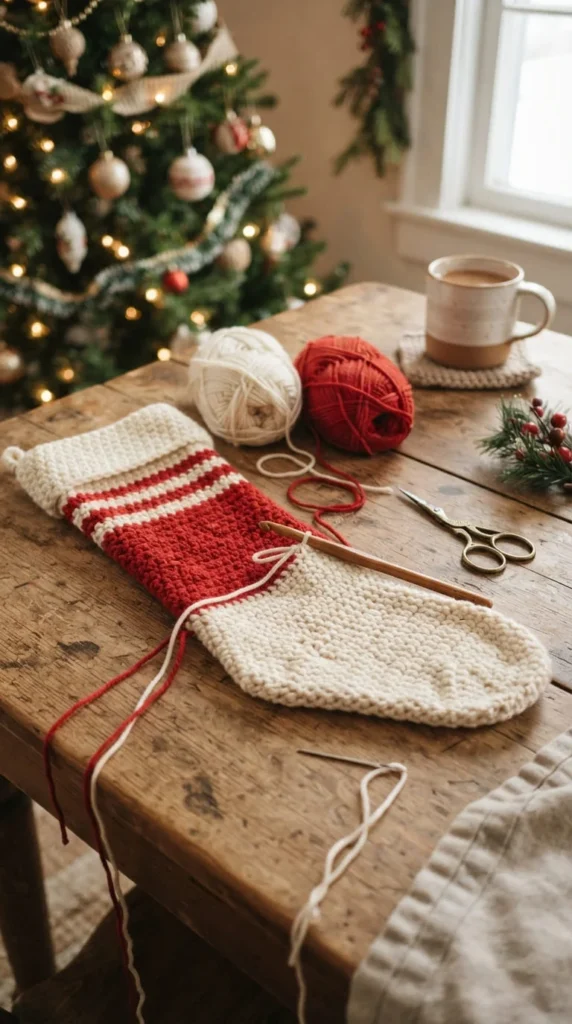
If you want something more decorative, overlay mosaic crochet creates a layered, almost knitted look with patterns like trees or snowflakes. It takes more practice and a slower pace, but it’s a great “next project” once you’ve made a plain stocking or two.
Finishing Touches That Make It Feel Complete
The cuff and hanging loop are what turn a tube of yarn into an actual stocking.
- Work 5 to 6 rounds at the top in a contrasting color, then fold it over for a classic cuffed look.
- Add a chain-15 or so hanging loop, secured at the back seam, so it hangs evenly on a mantel hook.
- Weave in all your ends carefully. Loose ends are the first thing that unravels after a few years of storage.
Making It Personal
This is the step that turns a generic stocking into a keepsake. A few easy ideas:
- Crochet or embroider an initial or name onto the cuff.
- Add a small appliqué, like a snowflake, tree, or reindeer.
- Sew on a leather or ribbon tag with a name for a cleaner, more polished look.
- Match sibling stockings using the same base pattern in different colorways.
Personalized touches like these are also what make handmade stockings feel worth the extra time, whether you’re keeping them or giving them as gifts.
Caring for Your Finished Stocking
A well-made crochet stocking can easily last decades if you take a little care of it between holidays:
- Spot clean instead of machine washing when possible.
- Store it flat or loosely folded in a breathable bag, not squished in a tight box.
- Keep it away from direct sunlight for long stretches, since some yarn colors can fade over time.
Final Thoughts
Crocheting a Christmas stocking isn’t complicated once you break it down into stages: toe, foot, heel, leg, cuff. Each part is manageable on its own, even if the finished stocking looks impressive as a whole.
Save this guide for later and try these ideas when you’re ready to start your own set of handmade holiday stockings!