
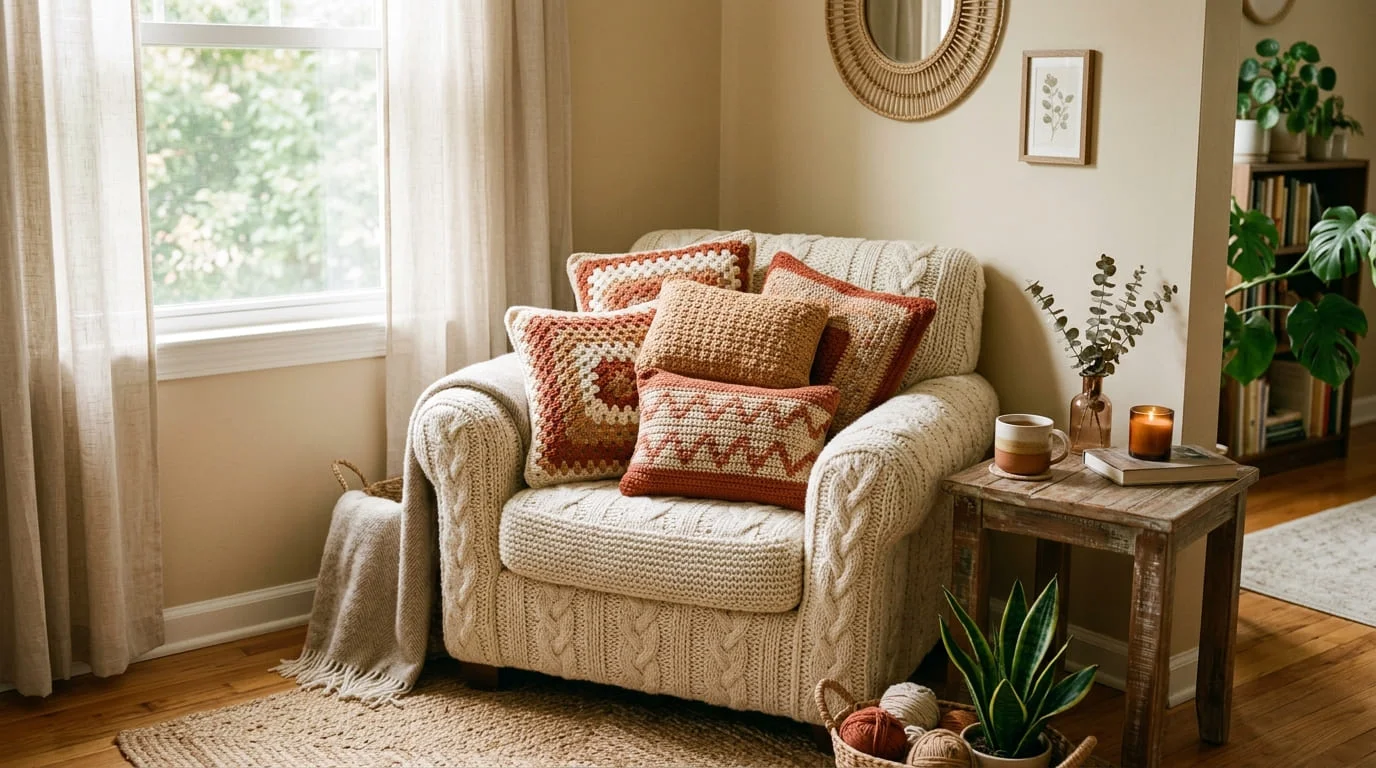
There’s something deeply satisfying about sinking into a couch surrounded by pillows you made yourself. A handmade crochet pillow adds texture, warmth, and personality to any room in a way that store-bought accents just can’t match. Whether you’re a confident beginner or a seasoned hook-wielder looking for a weekend project, this guide walks you through everything you need to create a beautiful decorative pillow from start to finish.
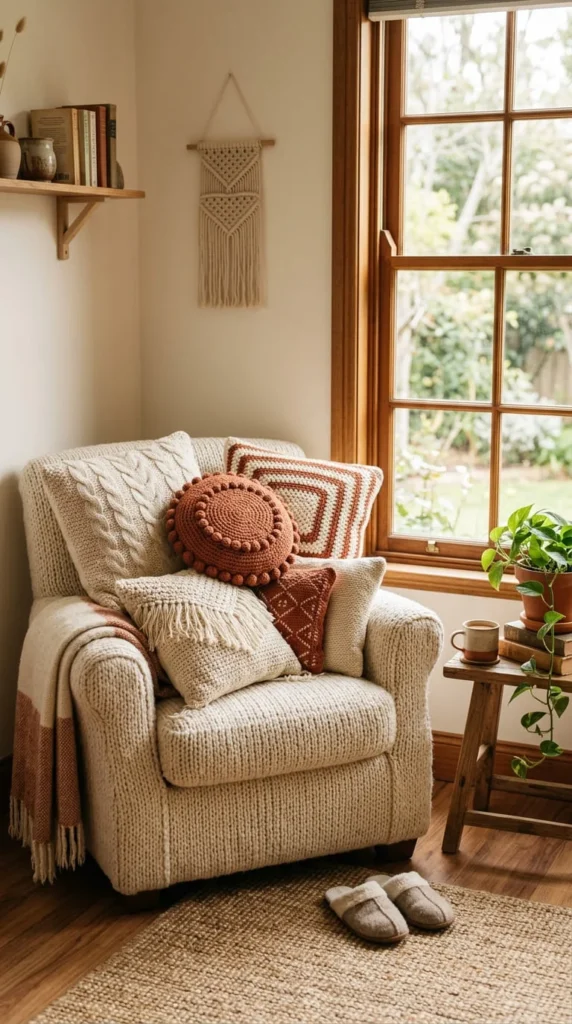
By the end of this guide, you’ll know exactly what materials to gather, which stitches work best, and how to finish your pillow so it looks polished and professional.
Why Crochet Your Own Pillow Cover?
Crocheting your own pillow cover isn’t just about saving money, though that’s a nice bonus. It’s about control. You choose the color palette, the texture, the size, and the finishing touches that match your space perfectly.
A few reasons crocheters love this project:
- It’s a great stash-buster for leftover yarn.
- Pillow covers are small enough to finish in a few evenings.
- They make thoughtful, personal gifts for housewarmings or birthdays.
- You can easily swap covers seasonally without buying new pillows.
Gathering Your Materials
Before you pick up your hook, get your supplies together so you’re not pausing mid-project to run to the craft store.
You’ll need:
- Medium-weight (worsted) yarn, roughly 2–4 skeins depending on pillow size
- A crochet hook sized to match your yarn label (usually a 5.0mm–6.0mm hook)
- A yarn needle for weaving in ends and seaming
- Scissors
- A pillow insert or polyester stuffing
- A zipper or a few buttons if you want a closable cover
If you want a pillow with real drape and softness, cotton or a cotton-acrylic blend works beautifully. Wool blends add a cozy, rustic look but can feel heavier.
Choosing the Right Stitch Pattern
The stitch you choose shapes the entire personality of your pillow. Here are a few beginner-friendly options that create eye-catching texture:
- Single crochet – dense, tight, and perfect for a clean, minimalist look.
- Half double crochet – slightly airier with a soft, ribbed texture.
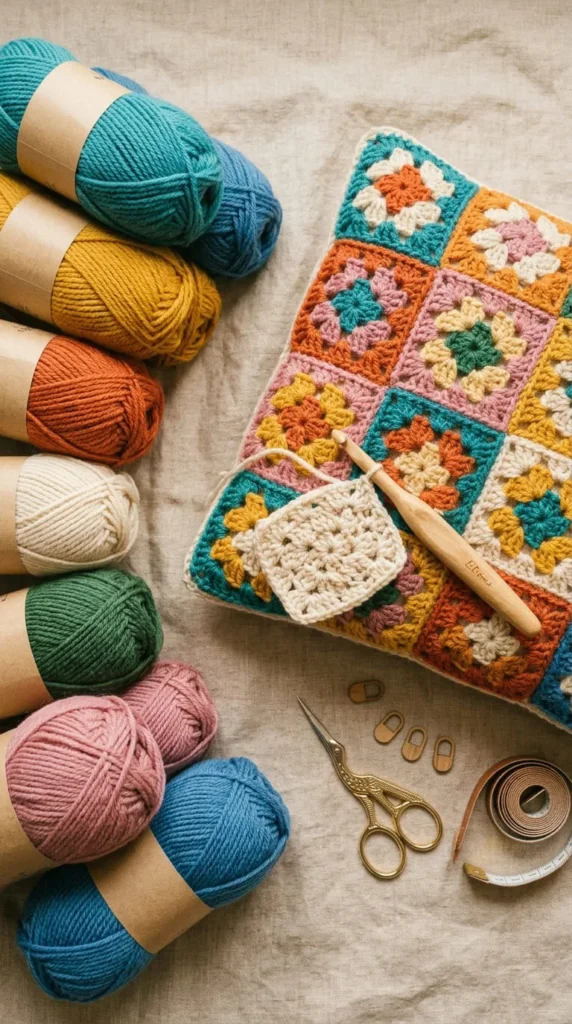
- Granny squares – classic, colorful, and endlessly customizable.
- Bobble or puff stitch – adds dimension and a plush, tactile feel.
If this is your first pillow project, single crochet or half double crochet are the most forgiving since they’re easy to keep even and require less counting.
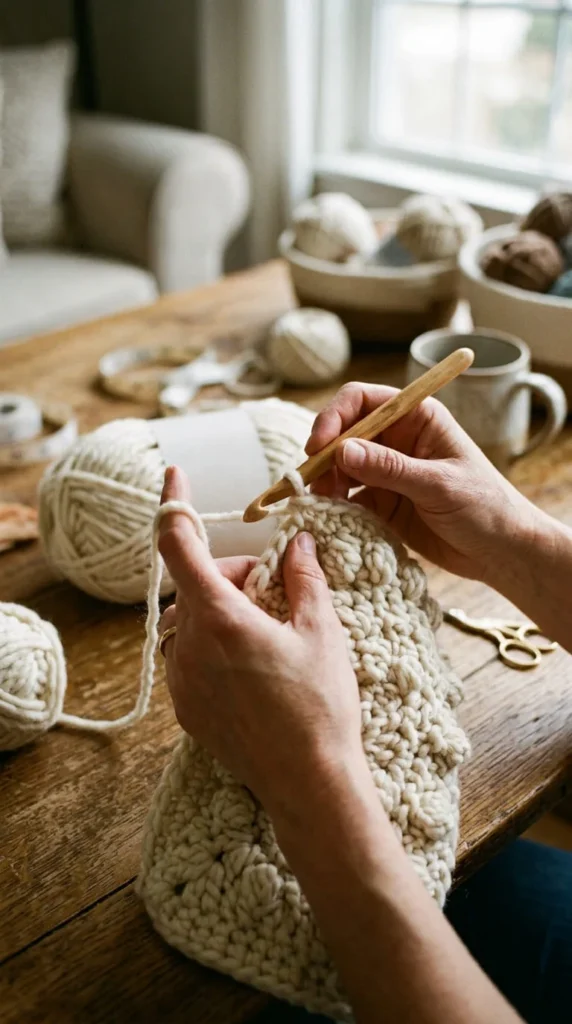
Step-by-Step: Crocheting Your Pillow
1. Swatch and Check Your Gauge
Before diving in, crochet a small test square using your chosen stitch and yarn. This helps you confirm how many stitches per inch you’re getting, which determines your final pillow size. Skipping this step is one of the most common reasons pillows end up too small or too large.
2. Chain Your Foundation Row
Chain enough stitches to reach your desired width, plus a couple extra for turning stitches depending on your pattern.
3. Work Your Panel
Crochet row after row in your chosen stitch until your panel is roughly square, or until it matches the size of your pillow insert. Keep your tension consistent so the fabric doesn’t pucker or flare.
4. Make a Second Panel (or Fold in Half)
You can either crochet two identical panels or work one long rectangle and fold it in half. Folding saves you a seam, which is a handy shortcut if you’re short on time.
5. Seam Three Sides
Using your yarn needle, seam three sides together with a whip stitch or slip stitch, leaving one side open for stuffing.
Adding the Finishing Touches
This is where your pillow really comes to life.
- Insert your pillow form or stuffing evenly, pushing it into the corners so there are no lumpy gaps.
- Close the final side with a matching seam, or add a zipper if you want a removable cover.
- Weave in all loose yarn ends carefully so nothing unravels later.
- Consider adding a decorative edge, like a scalloped border or simple fringe, for extra flair.
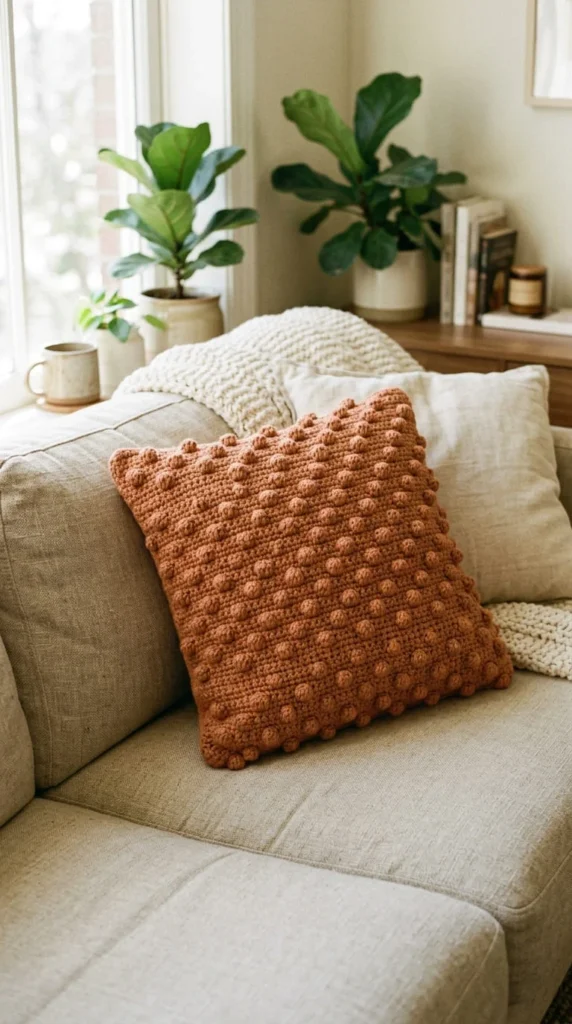
Tips for a Professional-Looking Finish
- Block your finished panels before seaming. Light steaming or a damp cloth helps stitches lie flat and even.
- Match your seaming yarn to your pillow color so stitches blend in seamlessly.
- If your pillow looks slightly uneven, a firm insert (rather than loose stuffing) often smooths out minor inconsistencies.
- Don’t be afraid to mix stitch patterns on the front and back for a reversible, two-in-one design.
Creative Variations to Try
Once you’ve mastered the basics, experiment with:
- Color-blocked panels using contrasting yarn shades
- Fringed or tasseled edges for a boho look
- Chunky yarn and a large hook for an oversized, plush statement pillow
- Mixing granny squares with solid panels for a patchwork effect
Final Thoughts
Crocheting a decorative pillow is one of the most rewarding small projects you can take on. It’s quick enough to finish in a few sittings, flexible enough to match any decor style, and personal enough to make your home feel a little more like you.
Save this guide for later and try these ideas when you’re ready to pick up your hook and create something cozy!