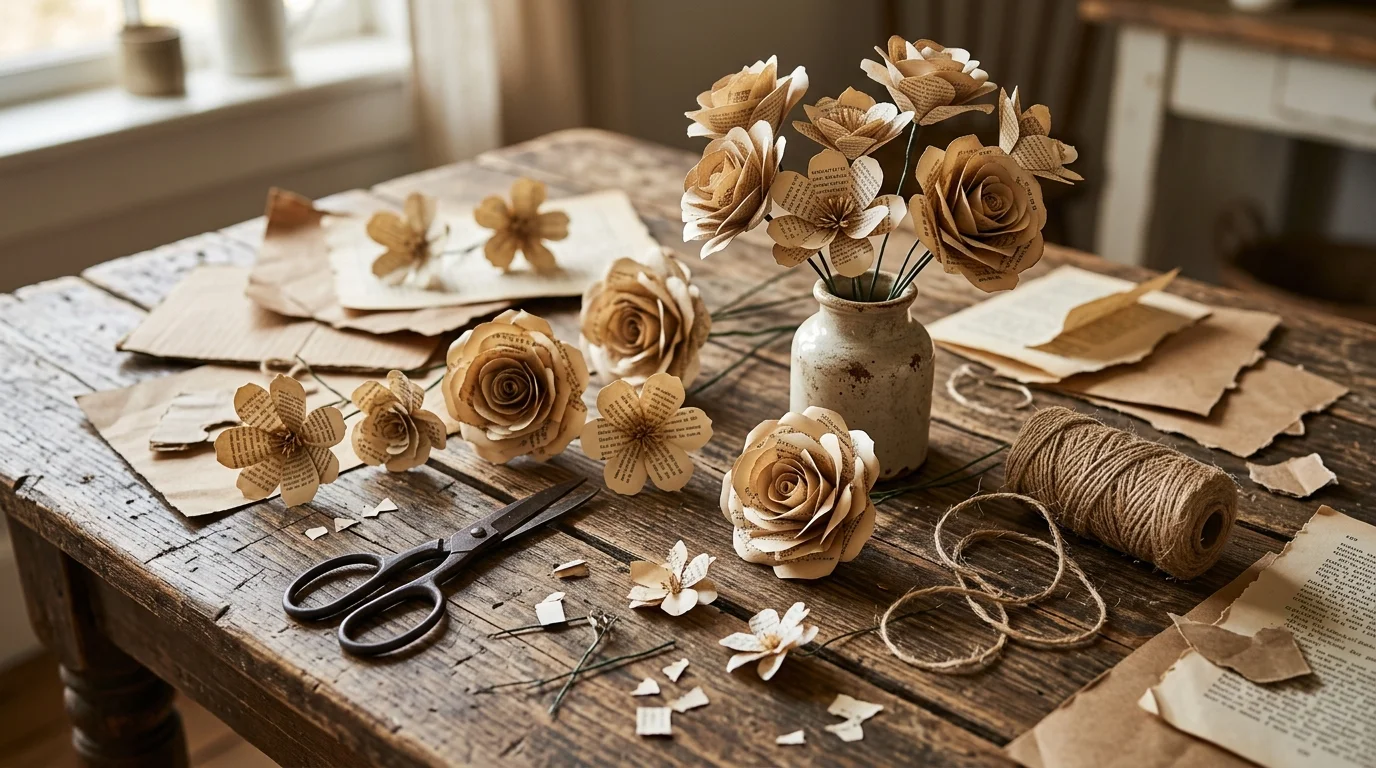
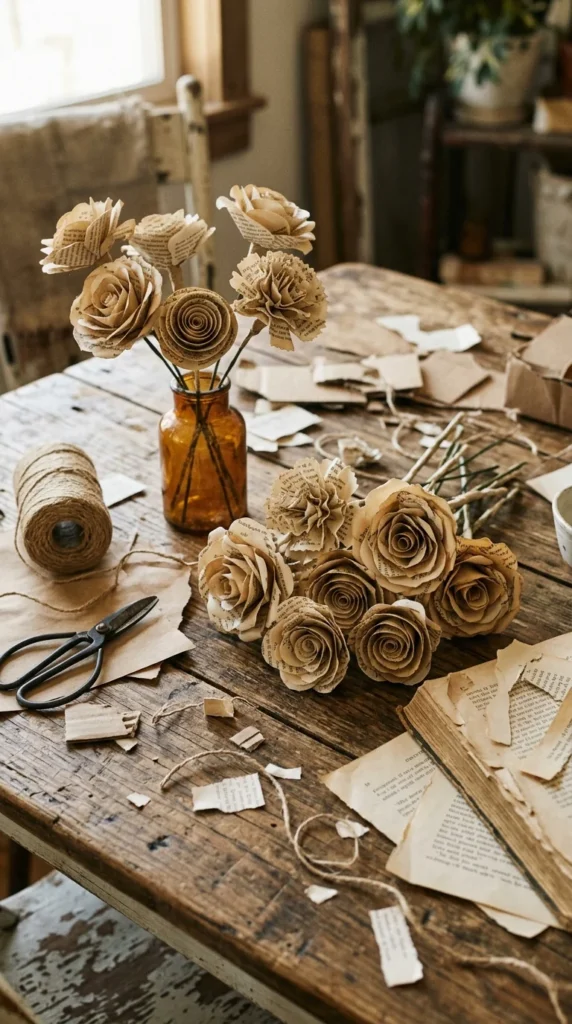
There is something wonderfully timeless about flowers made from old book pages. Their soft, aged paper, printed words, and slightly imperfect petals create a vintage look that feels warm, personal, and surprisingly elegant. Best of all, you can turn unwanted books, recycled cardboard, and a few basic craft supplies into beautiful decorations.
Book page flowers come in several styles, including simple spiral roses, layered-petal blooms, folded flowers, cone flowers, and rustic sunflowers. In this guide, you’ll learn how to choose your materials, make an easy book page flower, shape the petals, and use your finished flowers around your home.
Choose the Right Book Pages
Before cutting anything, choose your paper carefully. Old book pages are popular because their slightly aged color naturally creates a vintage appearance. Thin pages are usually easier to roll and fold, while heavier paper creates sturdier petals. Very fragile pages may tear during shaping, so test one page first.
If you don’t want to use an old book, good alternatives include:
- Music sheets
- Dictionary pages
- Kraft paper
- Recycled paper
- Plain cream or ivory paper
If you’re using a real book, avoid rare, collectible, sentimental, or actively used books. A damaged, unwanted, or thrifted book is a much better choice for an upcycling project.
Gather Your Supplies
You don’t need an expensive craft collection to make these flowers. For a basic project, gather:
- Old book pages
- Craft scissors
- Pencil
- Cardboard or cardstock
- Hot glue gun or tacky glue
- Skewer, pencil, or paintbrush handle for shaping
- Optional buttons, twine, ribbon, or paper embellishments
A cardboard circle is especially useful when making larger flowers because it gives the petals a stable foundation.
If children are helping, use tacky glue instead of a hot glue gun, or have an adult handle the hot glue.
Make an Easy Spiral Book Page Flower
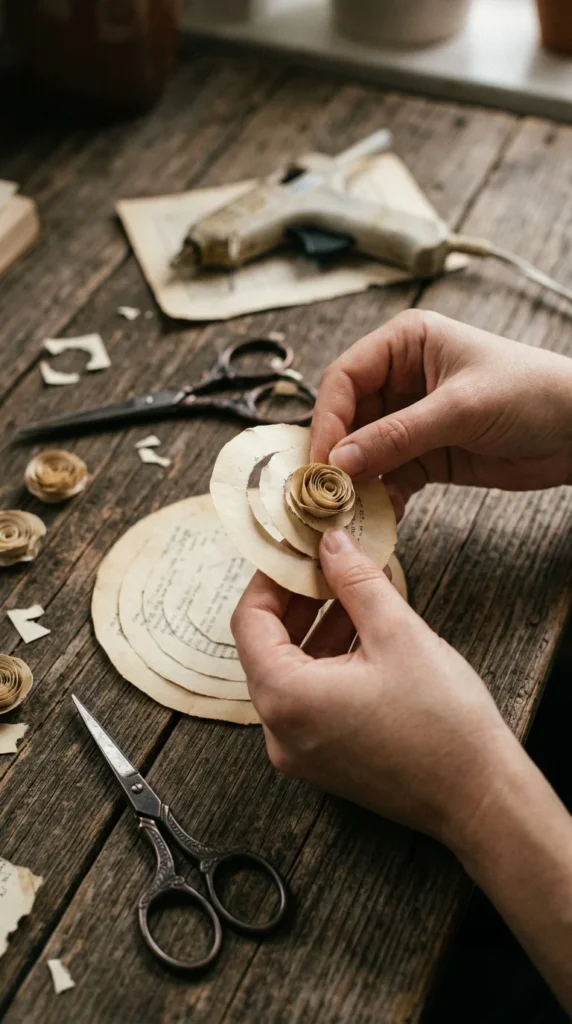
A spiral rose is one of the easiest styles for beginners. The basic process is simple: cut a circle, turn it into a spiral, roll the paper, and secure the center.
Step 1: Cut a Circle
Take one book page and cut it into a rough circle. It doesn’t have to be perfectly symmetrical. In fact, slightly irregular edges can make the finished flower look more handmade and rustic.
Step 2: Cut the Spiral
Starting near the outside edge, cut the circle into a continuous spiral toward the center. Keep the strip reasonably even. A wider spiral creates a looser flower, while a narrower one creates a tighter bloom.
Step 3: Roll the Paper
Begin rolling from the outside end and continue toward the center. Keep the first few turns fairly tight, then allow the flower to loosen slightly as it develops.
Step 4: Secure the Center
When you reach the middle, use a small dab of glue to secure the center tab underneath the rolled flower. Hold it briefly until the adhesive sets.
Create Fuller Flowers With Layered Petals
For a larger, more dimensional flower, try the layered-petal method. This style uses large, medium, and small petals, placing the smaller pieces toward the center.
Cut several petals in three different sizes. Cardstock templates can help you keep the shapes consistent, especially when you’re making several flowers for a wall arrangement.
Shape each petal by gently curling its edges around your fingers, a skewer, or a paintbrush handle. Then attach the largest petals to a small cardboard or cardstock backing. Continue with the medium layer and finish with the smallest petals.
The important rule is to build from largest to smallest. This creates depth and prevents the center from becoming too crowded.
Try Cone and Folded Flower Designs
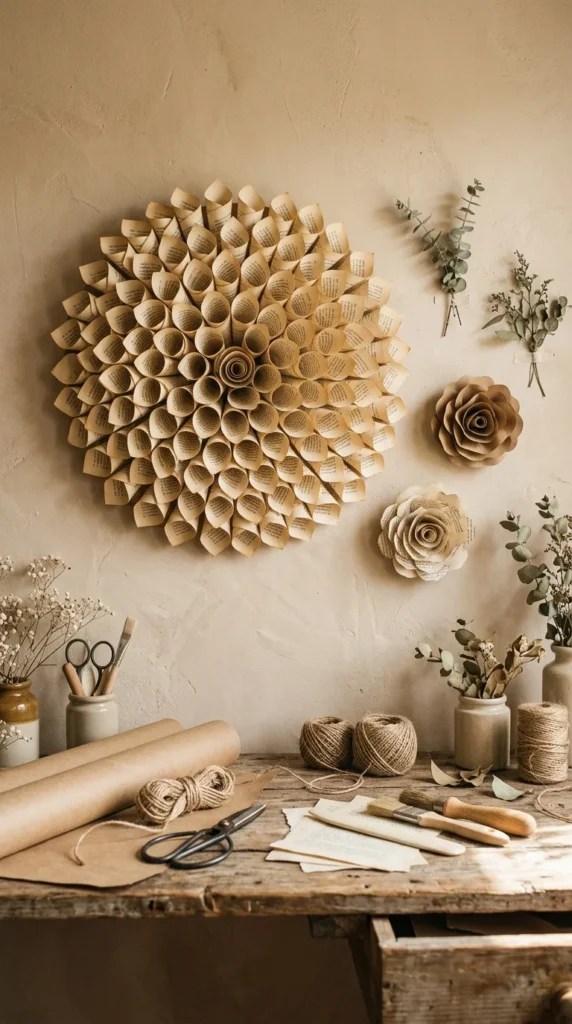
If you want something bigger and more dramatic, cone flowers are excellent for wall décor. Individual book pages are rolled into loose cones and attached around a cardboard circle in layers. Starting with quarter marks on the backing can help keep the arrangement balanced.
Folded flowers offer another option. Paper squares are folded several times, shaped, cut, and unfolded to create symmetrical blooms. Squares of at least about four inches can be easier to handle when learning this technique.
Shape and Decorate the Petals
The cutting is only half the process. Shaping gives paper flowers their natural appearance.
Gently curl the outer edges of the petals rather than leaving them completely flat. You can also slightly bend individual petals in different directions to create a more organic bloom.
For extra character, consider:
- Distressing the edges with ink
- Adding subtle watercolor
- Using muted vintage colors
- Adding a button or jewel to the center
- Creating a fringed paper center
- Adding ribbon or twine
- Mixing book pages with kraft paper
Don’t worry about making every flower perfect. Small differences in shape and spacing are part of the charm of handmade vintage décor.
Ways to Use Book Page Flowers
Once you’ve made a few flowers, there are many ways to display them. Attach flat flowers to a gallery wall, wreath, picture frame, or decorative sign. Add stems made from skewers, twigs, lollipop sticks, or craft wire to create a paper flower bouquet.
They also work beautifully for:
- Gift wrapping
- Gift bags and gift cards
- Wedding décor
- Boutonnieres
- Seasonal displays
- Rustic table arrangements
- Vintage-style wall art
For a cohesive display, combine several flower sizes instead of making every bloom identical.
Make Your Flowers Last Longer
Paper naturally reacts to moisture and humidity. Keep finished flowers away from damp areas, and consider lightly sealing them if they will be displayed for a long time.
If you want to experiment with dampening paper to make it more flexible, test a scrap page first. Ink can bleed and very old paper can tear when wet.
For storage, keep flowers in a dry box where they won’t be crushed. Large wall flowers can also be stored flat if their construction allows it.
Final Thoughts
Making book page flowers is an easy way to transform forgotten paper into something beautiful. Start with a simple spiral rose if you’re new to paper crafts, then experiment with layered petals, cone flowers, folded blooms, and seasonal designs as your confidence grows.
The beauty of this craft is that you don’t need perfect materials or perfect cuts. A few old pages, some glue, and a little creativity can create decorations with genuine vintage character.
Save this guide for later and try these ideas when you’re ready!