A beautiful scrapbook starts with a cover that can handle all the memories added inside. Instead of buying a ready-made album, you can make a sturdy scrapbook cover from cardboard boxes, cereal boxes, or other flat packaging you already have at home. With careful measuring, a good paper wrap, and a flexible spine, even simple recycled cardboard can become a strong handmade album cover.
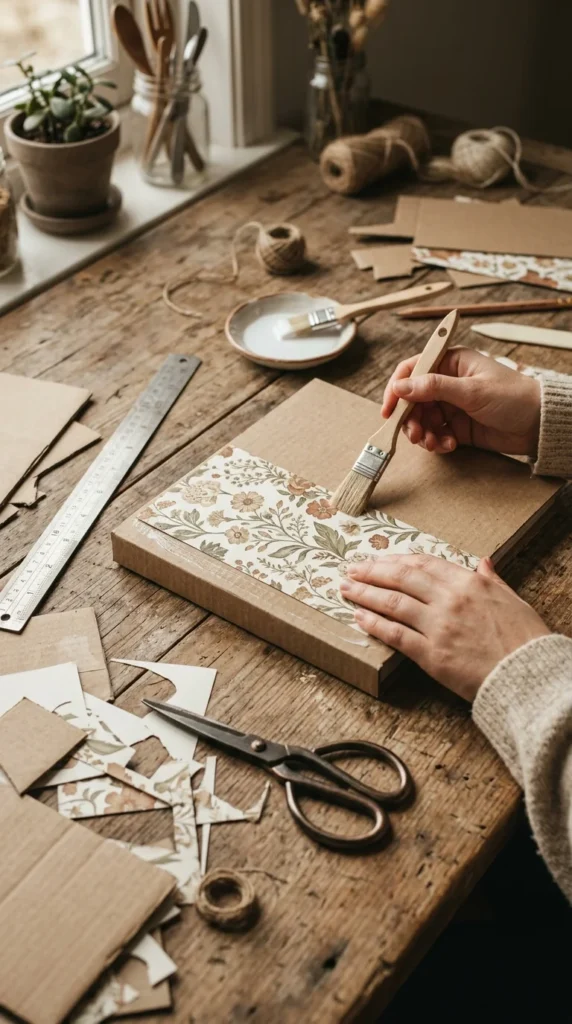
This guide explains how to choose the right cardboard, measure the cover, create the front and back boards, leave room for the spine, wrap the cardboard neatly, and prepare it for binding.
Choose the Right Cardboard
The cardboard you choose affects how sturdy the finished scrapbook will feel. Thin cereal-box cardboard is easy to cut with scissors and works well for small albums or beginner projects. Shipping-box cardboard is thicker and can provide more support, although rough edges may require extra trimming.
For a more durable hardcover album, dense chipboard around 2–3 mm thick is commonly used. Recycled cardboard is a practical low-cost choice, while thicker chipboard is better for larger albums that will hold many decorated pages.
Look for cardboard that is:
- Flat rather than warped
- Free from deep creases
- Firm enough to resist bending
- Large enough for your planned cover
- Clean and dry
If the cardboard feels too flexible, laminate two thin pieces together. Crossing the grain direction can help create a more rigid board.
Measure the Front, Back, and Spine
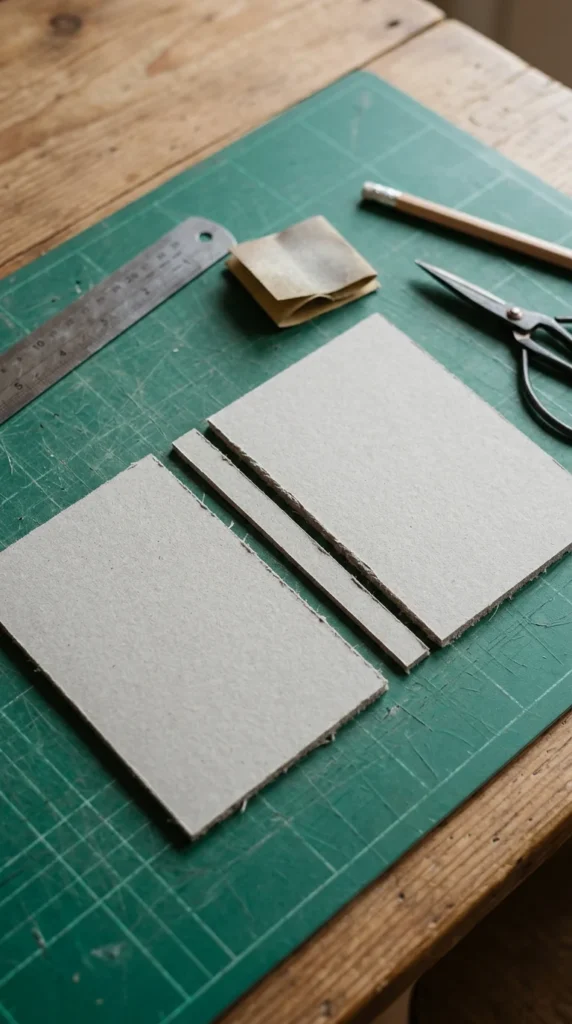
A hardcover scrapbook normally uses two separate boards connected by a flexible spine strip. The front and back covers should usually be slightly larger than the pages so the edges of the pages remain protected.
Before cutting, measure your page size and decide how many pages will go inside.
For example, if your pages are 5 × 6 inches, you could make the cover slightly larger, such as 5.5 × 6.5 inches. Exact dimensions can vary depending on your binding method and how much decoration will be added.
The spine also deserves attention. A very narrow gap can make the cover difficult to open, while a wide or weak spine may feel loose.
For a small handmade album, a simple three-part structure works well:
- Front cover board
- Flexible spine strip
- Back cover board
Keep the spine separate from the rigid boards so it can bend naturally when the scrapbook opens.
Cut and Smooth the Cardboard
Once your measurements are ready, mark the cardboard with a ruler. Check every measurement twice before cutting.
For thin recycled cardboard, strong scissors may be enough. Thicker board may require a craft knife and a stable cutting surface. If you are making the scrapbook with children, use pre-cut cardboard or a scissors-only method rather than sharp cutting tools.
After cutting, inspect all four edges. Rough cardboard can create bumps beneath the decorative paper or make the finished album uncomfortable to handle.
Trim loose fibers and lightly smooth rough areas with fine sandpaper. One recent precision scrapbook guide uses 220-grit sandpaper for edge cleanup.
Wrap the Boards With Scrapbook Paper
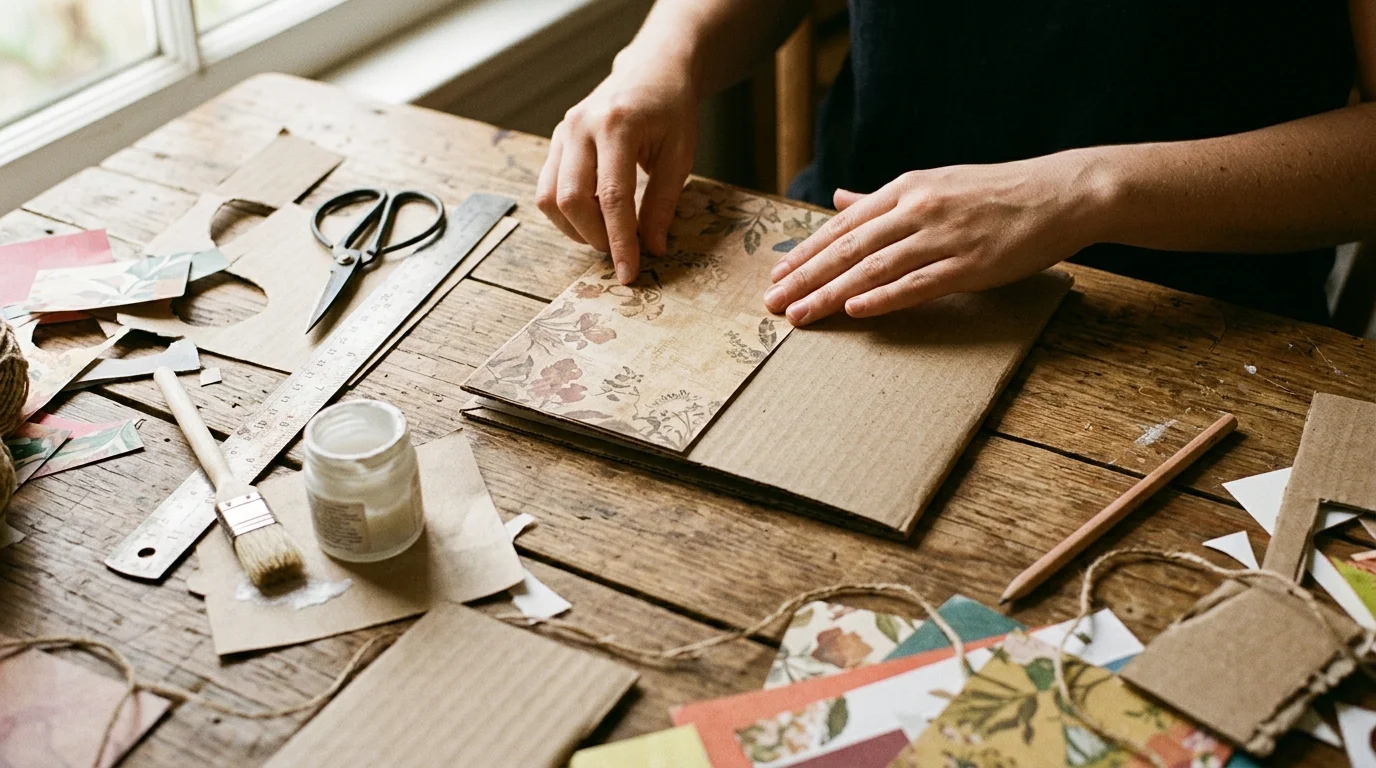
Decorative paper hides the plain cardboard and gives the cover its personality. You can use scrapbook paper, old maps, gift wrap, handmade paper, fabric, or even clean magazine pages.
Do not cut the covering paper exactly to the board size. Leave enough material around every edge to fold over the cardboard.
Apply a thin, even layer of adhesive rather than a heavy coat. Too much glue can create lumps, wrinkles, or wet spots beneath the paper.
Place the cardboard onto the paper and smooth from the center outward. A ruler, scraper, bone folder, or brayer can help remove trapped air.
Pay special attention to the corners. Fold the side and top flaps neatly, trim away excess material where necessary, and press each corner firmly.
A clean corner can make a simple cardboard cover look much more professional.
Let the Cover Dry Flat
Drying is part of the construction process, not an afterthought. If the wrapped board is moved while the adhesive is still wet, the paper can shift or develop wrinkles.
Place the covered boards on a clean, flat surface. A light, even weight can help keep the cardboard flat while it dries.
If you use Mod Podge as both an adhesive and protective finish, allow the first layer to dry before adding more coats. A recent Mod Podge guide recommends drying the initial layer for about 15–20 minutes and adding two or three additional coats for a sealed finish.
Do not rush this stage. A smooth, flat cover provides a much better base for photographs, stickers, fabric, lettering, or other decorations.
Build a Flexible Spine
The spine is what allows the front and back covers to move independently. Attach the spine strip so there is a deliberate gap between each rigid board.
The exact gap depends on your cardboard thickness, page stack, and binding style. A scrapbook with many thick embellishments may require more room than a small album with simple paper pages.
Before permanently attaching everything, fold the cover gently and test its movement.
The finished structure should open without forcing the boards against each other.
If the spine feels stiff, check whether the boards are touching the spine area or whether too much adhesive has hardened across the flexible section.
Choose a Simple Binding Method
Once the cover is complete, select a binding style that matches your album.
Binder rings: Punch evenly spaced holes and use rings. This is useful when you expect to add or remove pages later.
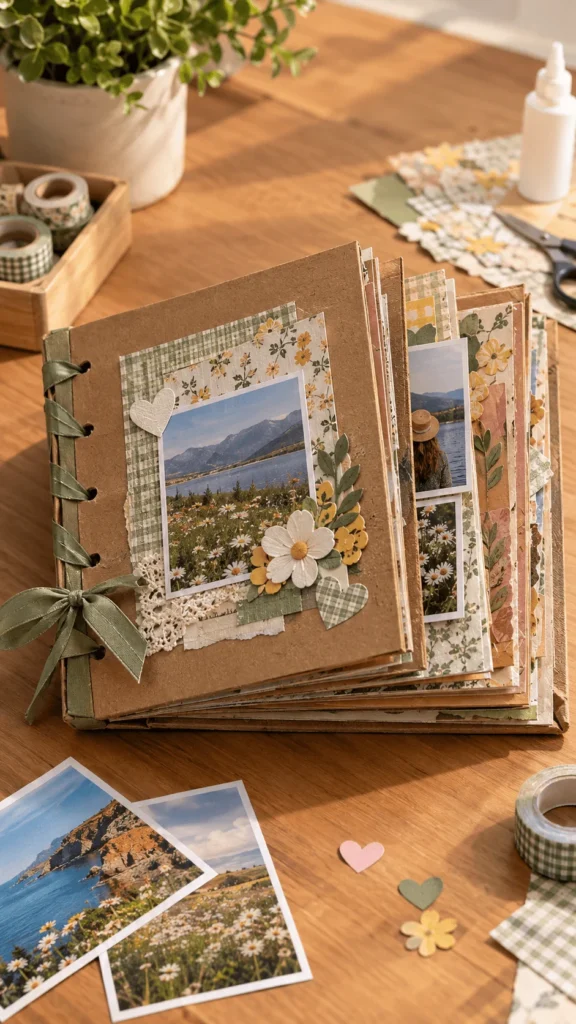
Ribbon or string: Punch holes through the pages and covers, then tie them together. This is inexpensive and works well for casual handmade albums.
Yarn: A soft yarn binding is particularly suitable for children’s or recycled-material scrapbooks.
Accordion binding: Scored paper strips can connect pages and create a flexible structure without traditional stitching.
For any punched binding, make a test page first. Use it as a template so the holes line up consistently across the entire album.
Fix Common Cardboard Cover Problems
A few small issues can affect the finished album, but most are easy to prevent.
Warped cover: Use flatter cardboard, apply less adhesive, and dry the board under light weight.
Wrinkled paper: Apply a thinner adhesive layer and smooth from the center toward the edges.
Bulky corners: Trim excess paper before folding the final flap.
Stiff spine: Increase the gap between the boards and keep heavy adhesive away from the flexible area.
Torn binding holes: Reinforce the hole area with an extra paper layer or choose a second cardboard layer.
Album will not close: Reduce the depth of bulky decorations and check the spine width.
Before attaching the pages permanently, open and close the album several times. Make sure the pages turn freely and the cover does not pull against the binding.
Decorate Your Cardboard Scrapbook Cover
Once the structure is dry and stable, the fun part begins. You can personalize the cover with photographs, patterned paper, fabric, pressed flowers, ribbon, stickers, vinyl lettering, old maps, or recycled packaging.
Try choosing one main focal point rather than covering every part of the surface. A favorite photograph surrounded by a few coordinated details can look more polished than a crowded arrangement.
For a travel scrapbook, use a map and ticket-inspired details. For a family album, feature one meaningful photograph. For a graduation book, combine school colors with a portrait and simple paper shapes.
The cardboard provides the structure; your materials tell the story.
Conclusion
Making a cardboard scrapbook cover is an affordable way to build a sturdy handmade album from simple materials. Start with flat cardboard, measure the front and back boards carefully, leave room for a flexible spine, and use a thin layer of adhesive when wrapping the cover.
Smooth the paper carefully, finish the corners, let everything dry completely, and test the binding before adding heavy decorations. With these steps, an ordinary cardboard box can become the foundation of a personalized scrapbook made to hold your favorite memories.
Save this guide for later and try your own cardboard scrapbook cover when you’re ready!