

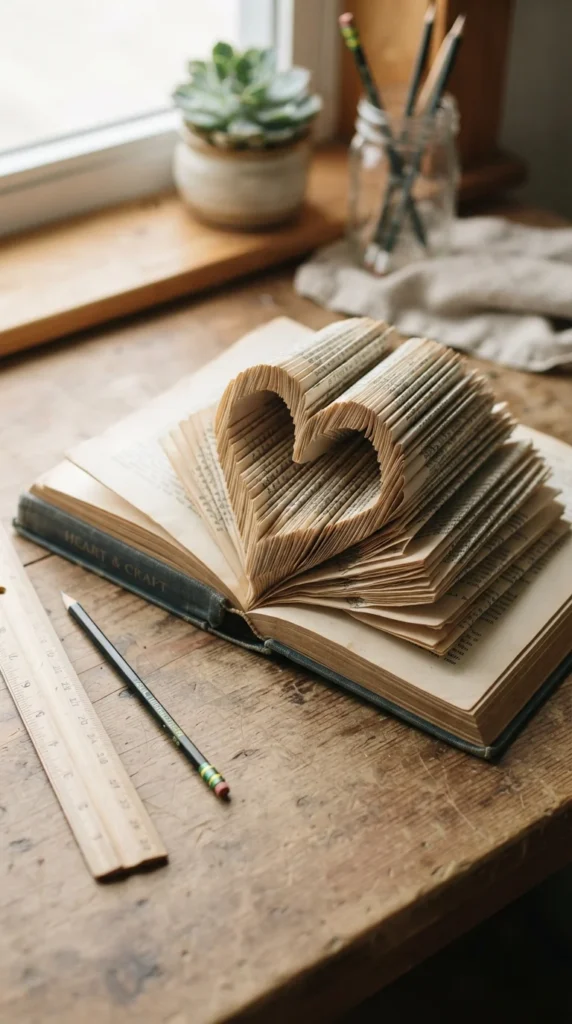
Old books can become beautiful home decor with nothing more than careful folding, a ruler, and a little patience. Folded book art is especially appealing for beginners because a simple pattern can create a striking three-dimensional shape without complicated materials. This guide walks you through choosing the right book, preparing the pages, measuring a basic design, and creating clean folds that hold their shape.
Choose the Right Book for Folding
The book you choose can make the project much easier. A hardcover book with roughly 300–500 pages is a practical starting point because it provides enough pages for many simple designs.
Look for a book with:
- A sturdy binding
- Matte or slightly flexible paper
- Pages that are not extremely thin
- A cover that can stand upright
- No sentimental or collectible value
A used novel from a thrift store is often a good practice choice. Avoid valuable, rare, signed, or personally meaningful books.
Paperback books can also work, especially when the binding is flexible and the pages are thick enough to handle repeated folds. Before committing to the full project, fold two or three sample pages near the middle of the book. This quick test shows how the paper behaves and whether it cracks easily.
For a first project, choose a simple heart, triangle, tree, or short word pattern rather than a highly detailed design.
Gather a Few Simple Tools
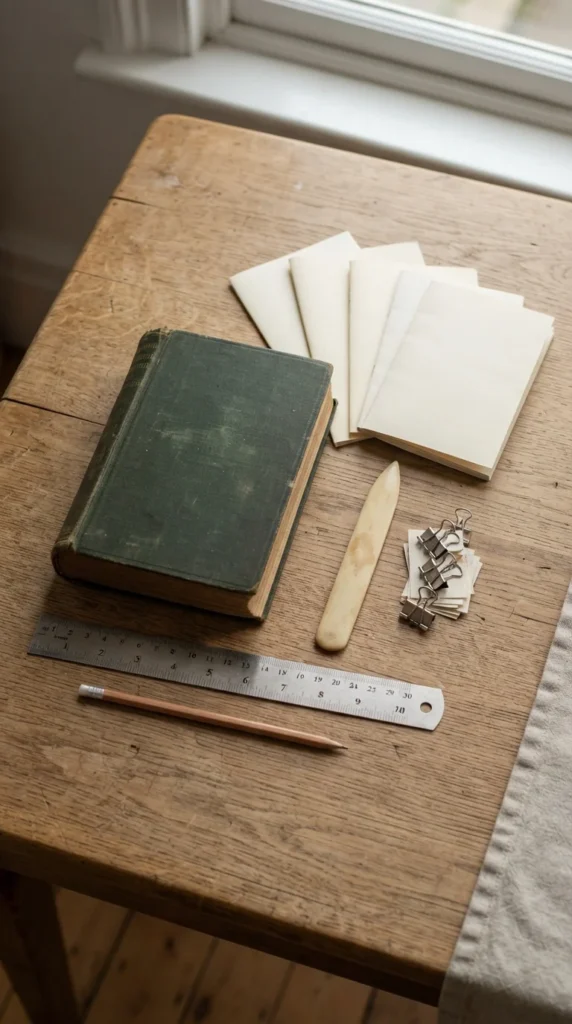
You do not require a large craft kit to begin. Most folded book art projects can be completed with three basic tools:
- A ruler for accurate measurements.
- A pencil for small page marks.
- A bone folder for crisp creases.
A bone folder gives you a smooth way to press folds without relying heavily on your fingernail. If you do not have one, the edge of an old plastic card can work as a substitute. Use a smooth edge rather than anything sharp.
Keep a few binder clips or rubber bands nearby too. They can hold completed groups of pages together while you work on another section.
Good lighting also helps. Place the book on a flat surface where you can clearly see small pencil marks. If you plan to fold for a couple of hours, keep your shoulders relaxed and take short breaks.
Prepare and Mark the Book
Before folding, gently open the book and check how the pages sit against the spine. The goal is to make the binding flexible enough for the pages to spread without putting excessive pressure on it.
Open several sections gradually instead of forcing the book completely flat.
For a basic measure-mark-fold method, use the same measuring point on every page. Consistency matters more than speed. If the first mark is made 2 inches from the outer edge, keep using that exact reference point throughout the pattern.
A simple workflow is:
- Choose your design.
- Check its required page count.
- Match that requirement to your book.
- Mark the first few pages.
- Test-fold the marked pages.
- Continue only after the shape looks correct.
Do not mark hundreds of pages at once if you are new to the craft. Working in smaller batches makes mistakes easier to spot.
Fold the Pages Into Your Design
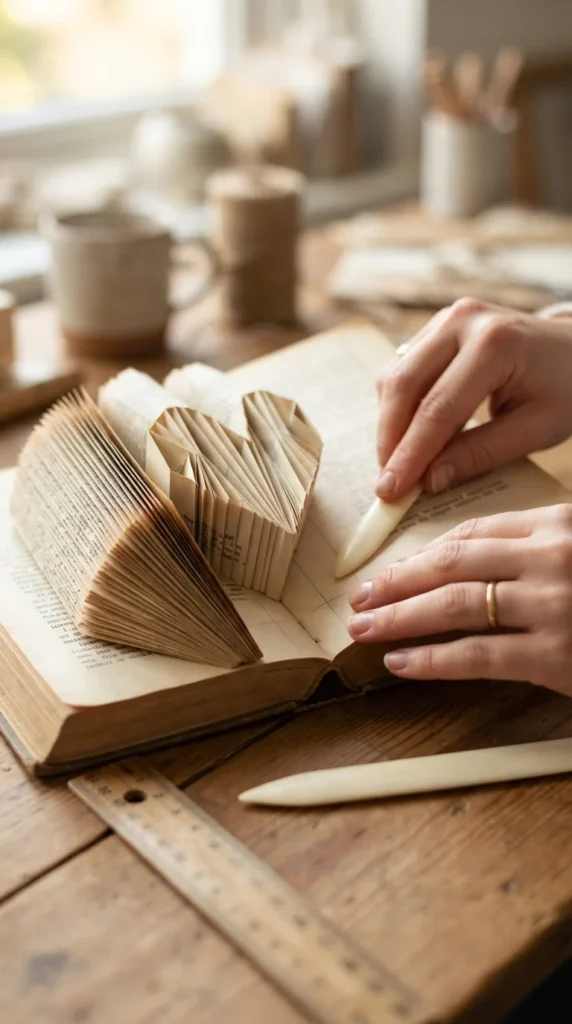
Now comes the satisfying part: turning flat pages into a three-dimensional shape.
For a beginner design, make two folds on each selected page so the outer edges move inward toward the center of the page. Press each crease firmly but gently. Fold away from yourself when possible, using consistent pressure from page to page.
After completing several pages, close the book slightly and check the emerging shape. This gives you an early view of whether the folds are forming the intended outline.
If a page begins to tear, stop and reduce the pressure. Thin or brittle paper can split when folded sharply. Slightly rounded creases are preferable to forcing a paper edge into an extreme angle.
Use a clip to hold completed sections together. This keeps finished pages organized and makes the project easier to handle as the folded shape grows.
Fix Uneven Folds Before Finishing
Small inconsistencies are much easier to correct early than after the entire book has been folded.
If your shape looks uneven, compare several neighboring pages. Check whether your measuring point changed or whether one crease was pressed farther than the others.
Common problems include:
- Crooked edges: Recheck your ruler placement.
- Uneven height: Use the same reference edge on every page.
- Torn paper: Reduce pressure and avoid forcing brittle sheets.
- Weak shape: Press completed creases again with a bone folder.
- Wrong proportions: Compare your test fold with the original pattern.
Do not erase every pencil mark immediately. Keeping the marks until the section is finished can help you maintain consistency.
Once the complete design looks right, gently fan the pages open and adjust the spacing by hand. Avoid pulling individual pages aggressively, especially near the spine.
Add a Personal Touch to Your Finished Book Art
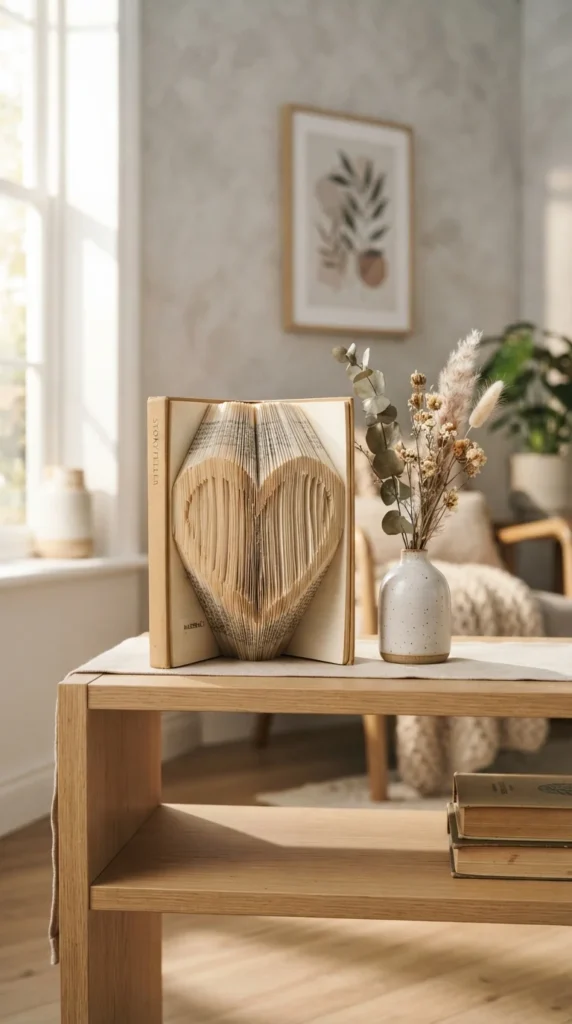
Folded books work beautifully as personalized gifts and handmade decor. A heart can suit an anniversary, while a simple initial or short word can create a meaningful display for a bedroom, office, or reading corner.
You can also place the finished piece on a shelf beside framed photos, plants, or other paper crafts. For weddings, folded book designs can serve as table decor when made from appropriate discarded books and paired with simple floral arrangements.
If you want to experiment further, try patterns based on:
- Hearts
- Trees
- Paw prints
- Simple initials
- Short words such as “HOME”
- Geometric shapes
Once you are comfortable with basic folding, you can explore Cut & Fold techniques or digital pattern generators. These methods allow more detailed shapes, but starting with straightforward folds gives you a solid feel for page measurement and paper handling.
Turn an Old Book Into Handmade Art
Folded book art becomes much easier when you focus on three things: a suitable book, consistent measurements, and gentle folding. You do not have to start with an elaborate pattern or expensive equipment. A simple heart can teach you nearly everything required for your first project.
Choose an unwanted book, test a few pages, mark carefully, and work through the design one section at a time. Save more advanced patterns for later, once your hands are comfortable with the basic technique.
Save this guide for later and try your first folded book art project when you’re ready!