
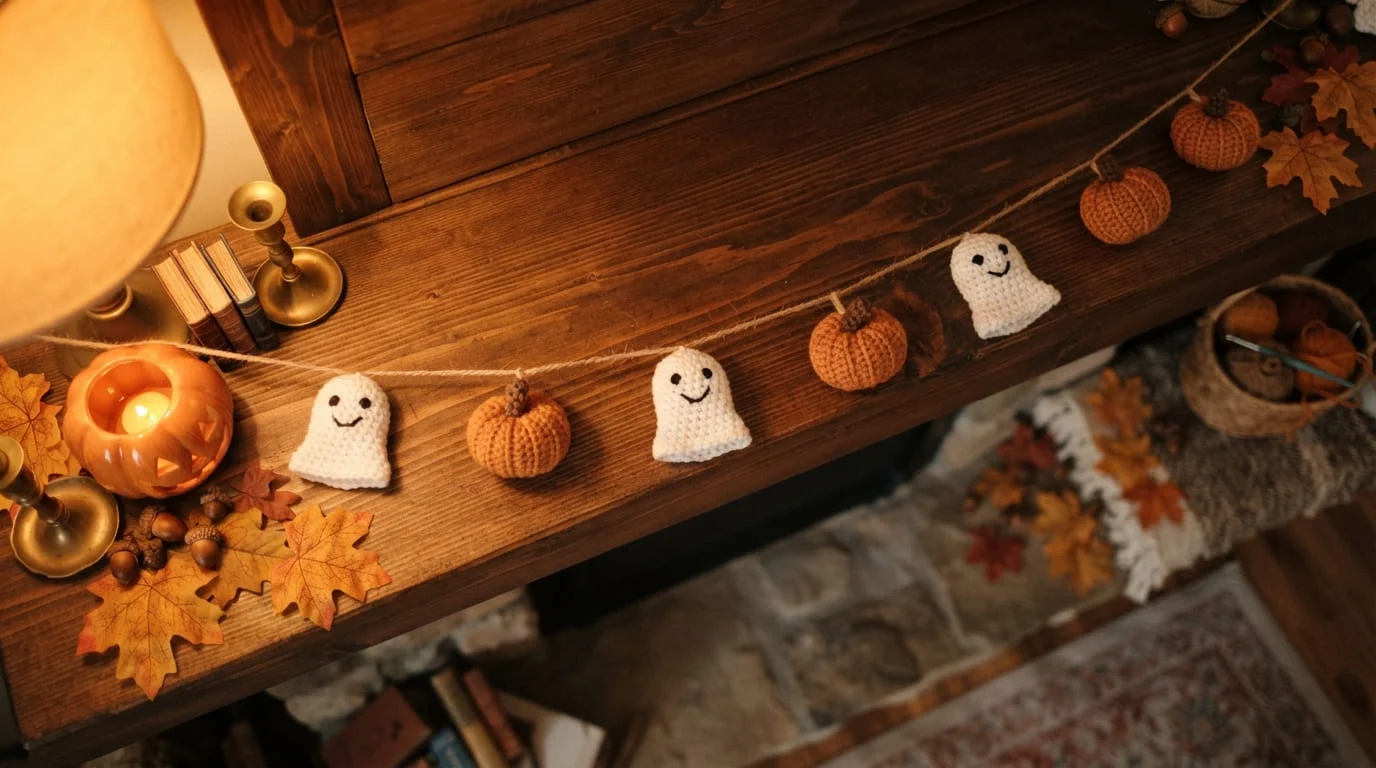
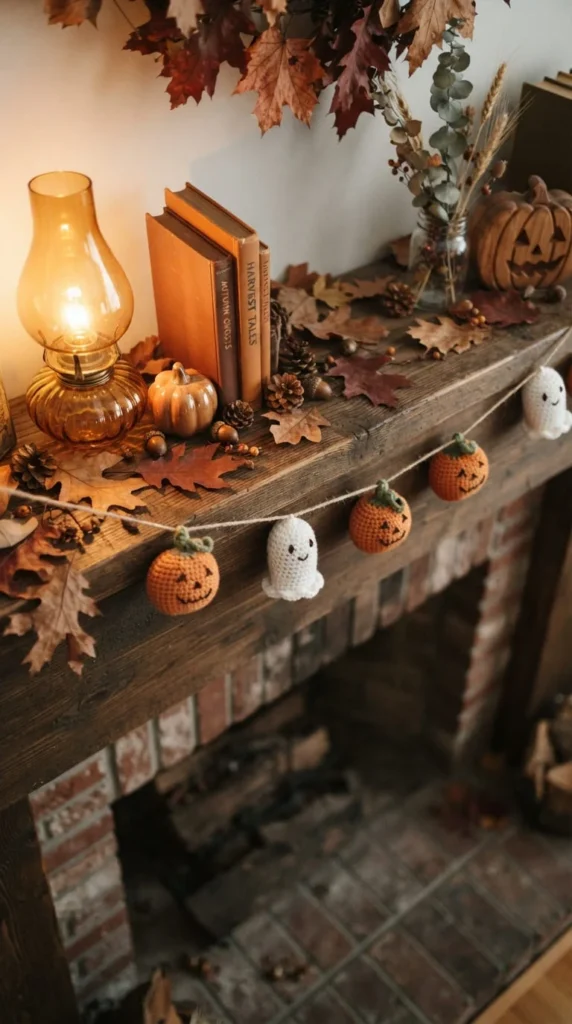
There’s a particular kind of satisfaction that comes from hanging a garland you made yourself, and crochet Halloween garland ideas give you exactly that without demanding a whole weekend of your time. Whether you’re after a quick spider web strand for a dorm window or a full mixed-motif banner for a mantel, the projects below cover a wide range of skill levels, yarn types, and display spots. You’ll find beginner-friendly ghosts and pumpkins, monochrome skull designs for a more grown-up look, glow-in-the-dark options for nighttime parties, and a few practical tips on spacing, attachment, and storage that most tutorials skip over. Grab a hook and a few skeins in black, orange, white, or whatever palette suits your space, and let’s get into it.
1. Classic Ghost Parade Garland for Total Beginners
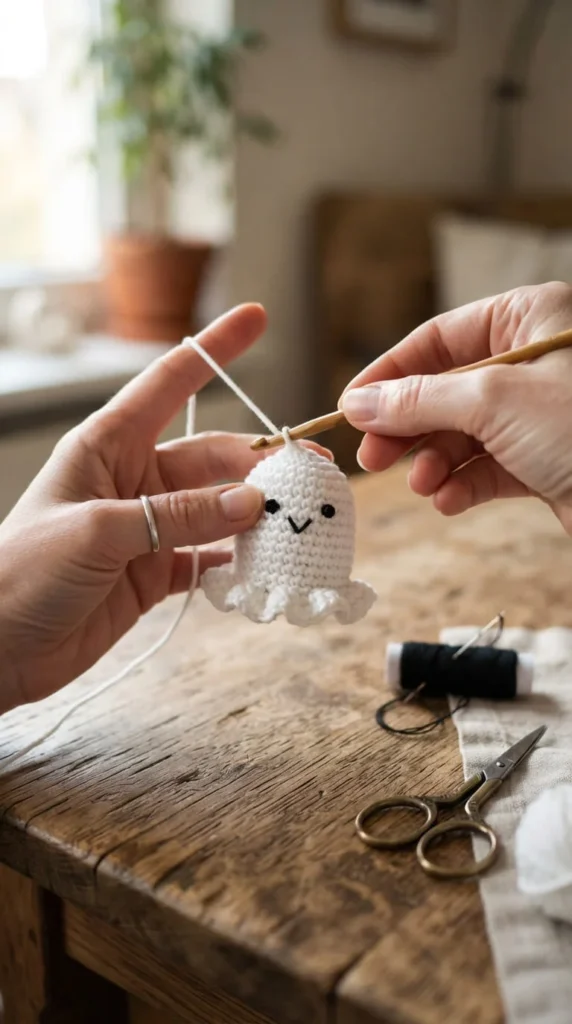
If you’ve never made a Halloween garland before, start here. A ghost parade garland uses one basic shape repeated in a single color, which means you only need to learn one motif before your whole project is finished. Most ghost shapes are worked as a simple rounded body with two straight or slightly flared ends, so there’s no shaping to memorize and barely any color changes to manage.
Use a soft white or cream worsted-weight yarn so the shape holds without curling, and keep the stuffing light so each ghost stays flat enough to hang cleanly. A few dots of black embroidery thread or two small buttons give each ghost a face, and you can vary the expressions slightly so the row doesn’t look identical from ghost to ghost.
String five to nine ghosts along a length of twine or crochet chain, leaving even gaps between each one. This project works especially well as a last-minute afternoon project because a single ghost usually takes under twenty minutes once you’re comfortable with the pattern. It’s also a great teaching project if you’re introducing a child or a new crocheter to seasonal makes.
2. Smiling Jack-o’-Lantern String for Doorways
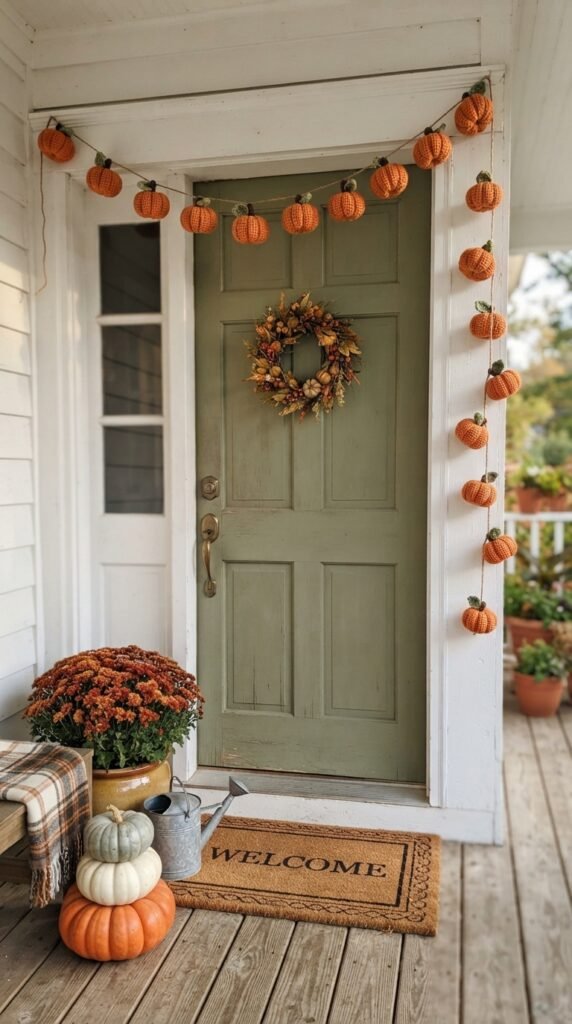
Pumpkins are the second easiest motif to master, and a row of them strung across a doorway reads as instantly festive without leaning too spooky. Work each pumpkin as a slightly ribbed or textured round shape in orange, then add a small green stem and a curled tendril for extra dimension.
Faces are optional here. A plain orange pumpkin garland looks clean and works for readers who want something more decorative than scary, while carved jack-o’-lantern faces in black yarn or felt give the same shape a more traditional Halloween mood. You can even alternate the two styles along one garland for variety.
Doorways take more visual weight than shelves or windows, so size your pumpkins slightly larger than you would for an indoor mantel garland. Six to eight pumpkins spaced about four inches apart usually fills a standard door width without looking sparse. Because pumpkin shapes are naturally round and compact, this pattern uses less yarn than ghost or bat motifs, which makes it a good option if you’re working through scrap yarn from other projects.
3. Cobweb Lace Garland for a Minimalist Look
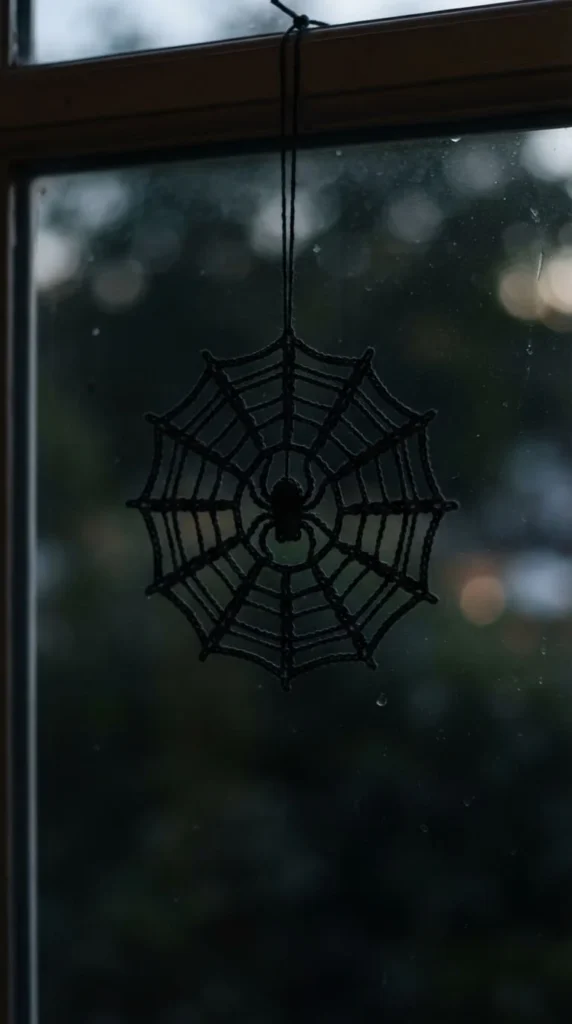
Spider webs are widely considered the easiest and fastest Halloween motif to crochet, mostly because they’re worked in the round using simple chain spaces rather than solid stitches. That open, lacy structure means each web uses very little yarn and comes together in just a few rounds.
This makes cobweb garlands ideal for anyone who wants Halloween décor without the clutter. A single row of black or white lace webs strung along a window looks intentional and a little elegant rather than cluttered, especially compared to bulkier stuffed motifs. Cotton thread gives the cleanest, most web-like drape, though a lightweight acrylic works fine for a softer, fuzzier finish.
Because webs are flat, they photograph beautifully against a bright window or a plain wall, and they’re one of the few Halloween motifs that genuinely suit a minimalist or Scandinavian-style room. Try five or six webs spaced generously apart rather than crowding them together. If you’re new to lace crochet, this is a forgiving place to practice reading chain-space patterns before moving into denser motifs.
4. Whimsical Black Cat Silhouette Garland
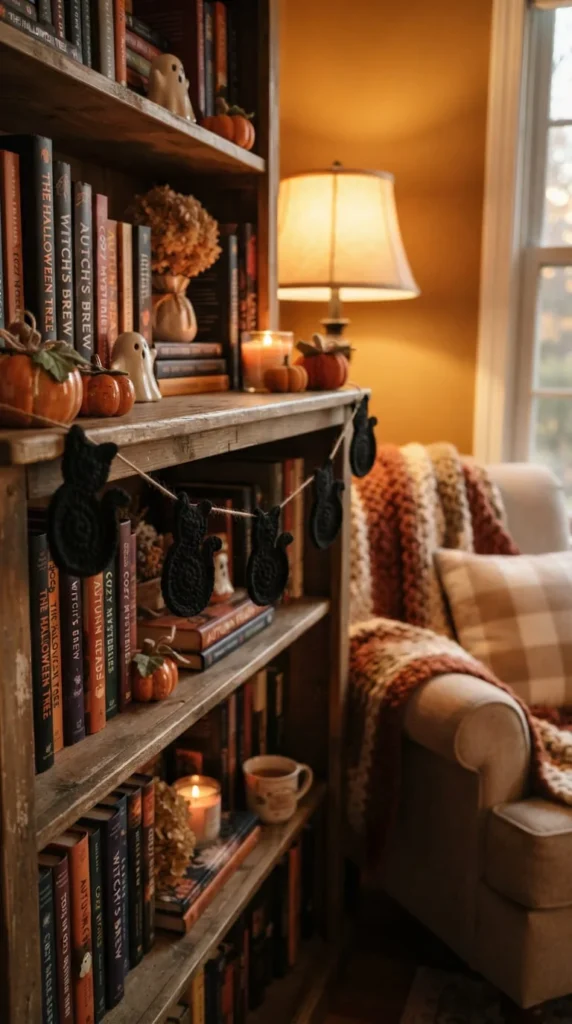
A black cat garland brings a slightly more advanced silhouette into the mix once you’re past total-beginner motifs. Cats are usually worked flat, either as a sitting profile or an arched-back Halloween pose, and the curved tail and pointed ears take a little more shaping than a round ghost or pumpkin.
Solid black acrylic yarn gives the cleanest silhouette, and a single green or yellow bead for each eye adds just enough detail without overcomplicating the shape. Because the cat motif has more visual detail than a plain circle, you don’t need many repeats — three to five cats spaced between other motifs usually reads as plenty.
This is also a natural motif to pair with pumpkins or witch hats for a mixed garland rather than a repeating pattern of cats alone. If you have pets at home, keep the eyes sewn on securely rather than using loose beads, since small parts can be a hazard if a curious cat or dog gets close to the finished garland. Store finished cat motifs flat to avoid the ears folding out of shape between seasons.
5. Mini Witch Hat and Pumpkin Bunting
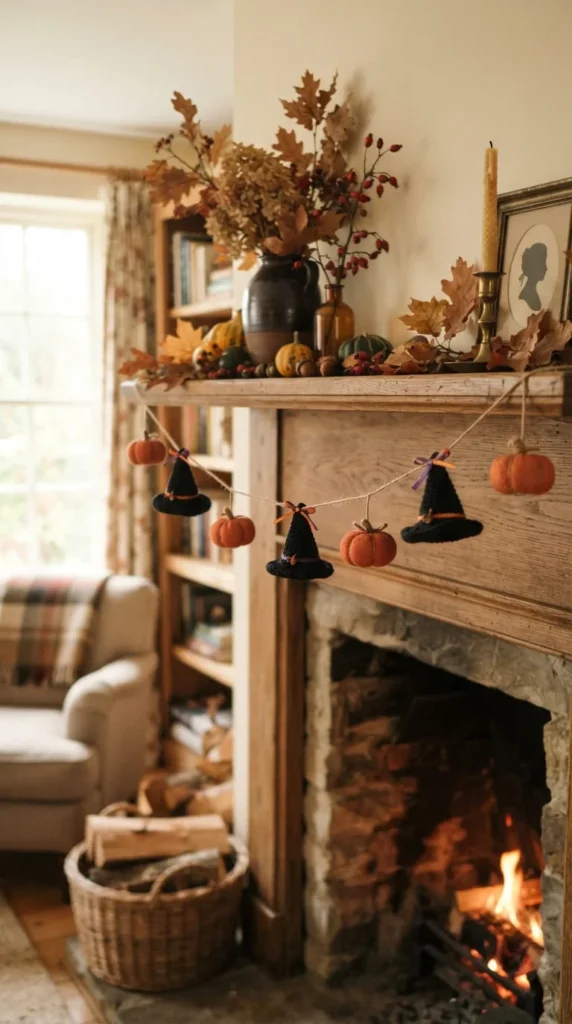
This pairing has become one of the more current takes on Halloween garland design, and it works because the two shapes contrast so well — a tall pointed witch hat next to a round little pumpkin. Hats are usually worked as a simple cone shape with a flat brim, while the pumpkins can be as basic as a ribbed sphere.
String the two motifs in an alternating pattern along natural jute or cotton twine rather than plain black cord. The warmer, more textured twine suits a mantel or doorway display and photographs well against wood or brick backgrounds. Keep the hats a touch smaller than the pumpkins so the visual rhythm doesn’t feel top-heavy.
Because both shapes are small, this garland uses relatively little yarn, and it’s a good project for using up leftover black and orange scraps. It also looks appropriate for a longer season than more overtly spooky garlands, so many people leave it up through Thanksgiving as part of a broader autumn display rather than taking it down the day after Halloween.
6. Monochrome Skull Garland for a Quiet, Grown-Up Look
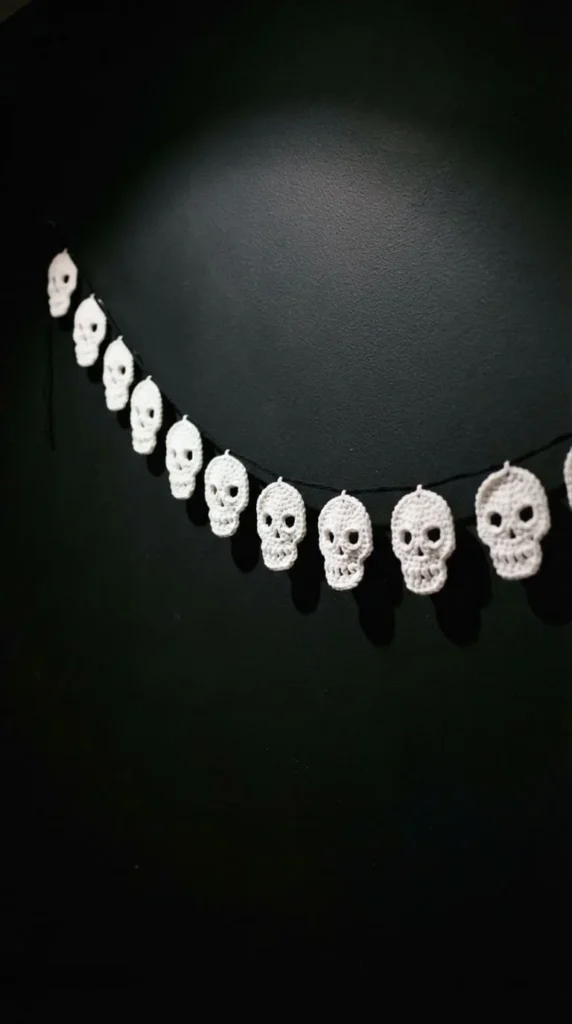
If your Halloween taste leans more sophisticated than cute, a monochrome skull garland is worth trying. White skull motifs strung on plain black cord against a dark wall create a striking, almost gallery-like effect that skips the usual orange-and-black cliché entirely.
Skulls are typically worked flat with simple increases and decreases to shape the rounded cranium and jaw, and basic surface embroidery or a contrast yarn creates the eye sockets and nose. One popular beginner version estimates roughly fifteen minutes per skull once you’re familiar with the shape, which makes a full garland of six to eight skulls a genuinely achievable single-session project.
This style suits apartments, offices, or anyone hosting a more understated gathering rather than a costume party. Cream or ivory yarn instead of stark white softens the look slightly if pure white feels too clinical against your wall color. Because the design relies on contrast rather than color variety, it also photographs cleanly for sharing online.
7. Glow-in-the-Dark Ghost String for Nighttime Parties
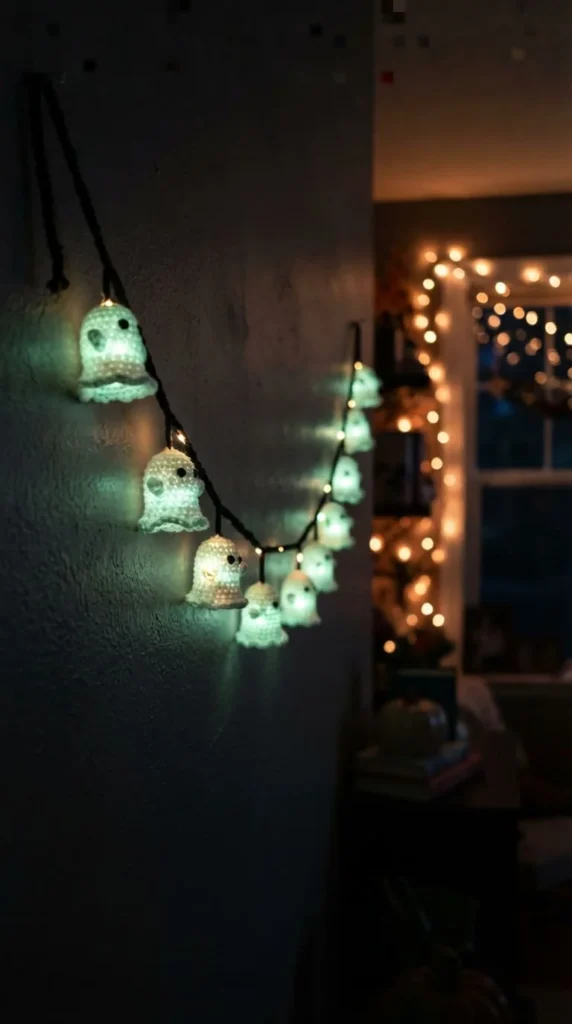
For a garland that does something a little different once the lights go down, work your ghost motifs in a glow-in-the-dark yarn instead of standard white acrylic. The shapes look like an ordinary cream-colored ghost garland during the day, then take on a soft green or blue glow after dark once they’ve absorbed some light.
This works best for outdoor-adjacent covered spaces like a porch or a screened patio where guests will actually notice the effect, since a well-lit living room won’t show much glow at all. Charge the yarn under a bright lamp or sunlight for a few minutes before a party starts so the effect is strongest right when guests arrive.
Keep the stuffing minimal so the glow yarn sits close to the surface rather than buried under bulk. This garland pairs well with a few strands of warm string lights turned off during a “reveal” moment, which tends to be a memorable detail at a Halloween gathering with kids or teens. It’s a small upgrade to a familiar pattern that makes the finished piece feel distinct.
8. Candy Corn Garland for a Playful, Child-Friendly Touch
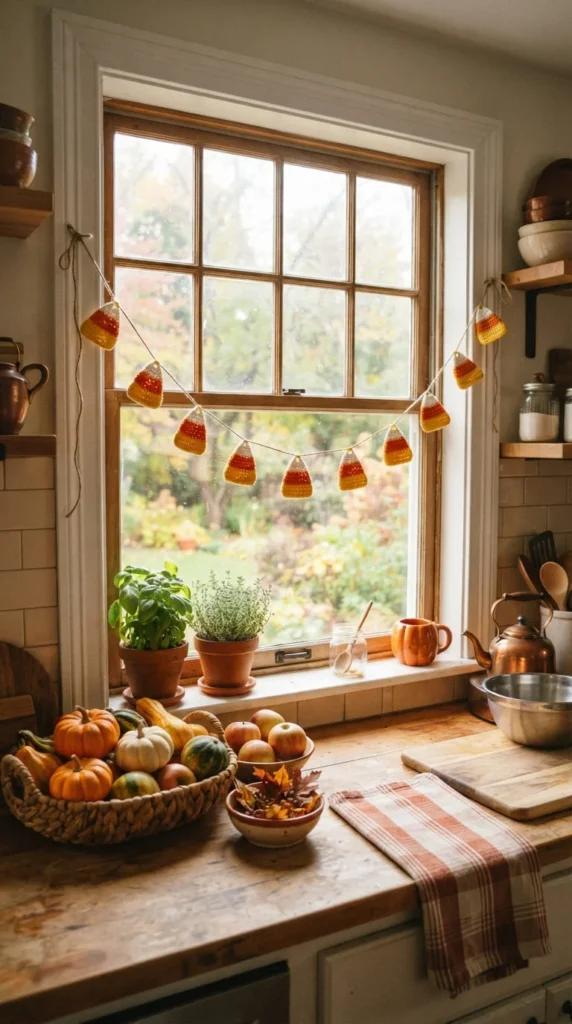
Candy corn shapes bring in yellow, orange, and white without leaning gothic at all, which makes this one of the more child-friendly options on this list. Each piece is usually worked in three simple color bands from base to tip, so it’s a good project for practicing color changes if you haven’t done much colorwork before.
Because the shape is small and triangular, candy corn garlands look great strung close together rather than widely spaced, almost like bunting rather than individual hanging motifs. This density also makes the garland feel bright and full even at a shorter length, which is handy for a kitchen window or a kid’s bedroom where you don’t need a long piece.
Pair this with a cute-spooky styling approach rather than anything scary — smiling faces are optional and usually skipped altogether for this motif since the shape itself already reads as festive. It’s also one of the more forgiving projects for using up small amounts of yellow and orange scrap yarn left over from other Halloween makes.
9. Triangle Bunting with Appliqué Motifs
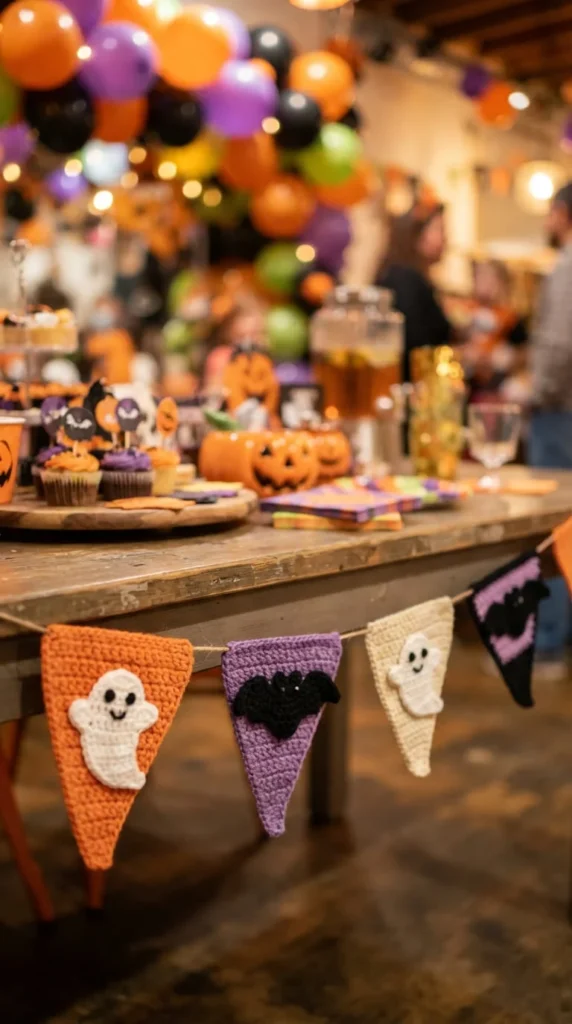
Bunting takes a different construction approach than a strand garland. Instead of individual motifs hanging from a cord, you crochet a series of connected triangular flags and then add small appliqué shapes — a ghost, a bat, a web — onto the surface of each flag.
This format suits party tables and photo backdrops better than mantels, since the flags create a continuous decorative line rather than separate dangling pieces. Work the triangles in a solid color first, block them flat so the points stay crisp, then stitch or glue on your chosen appliqués once the base flags are finished.
Mixing appliqué designs across the flags — rather than repeating the same one on every triangle — keeps the finished bunting visually interesting along its whole length. This is a slightly longer project than a basic strand garland because you’re essentially making two layers of crochet per flag, but it holds up well for reuse since the flat triangle shape stores easily without tangling the way hanging motifs sometimes do.
10. Mixed-Motif Rhythm Garland
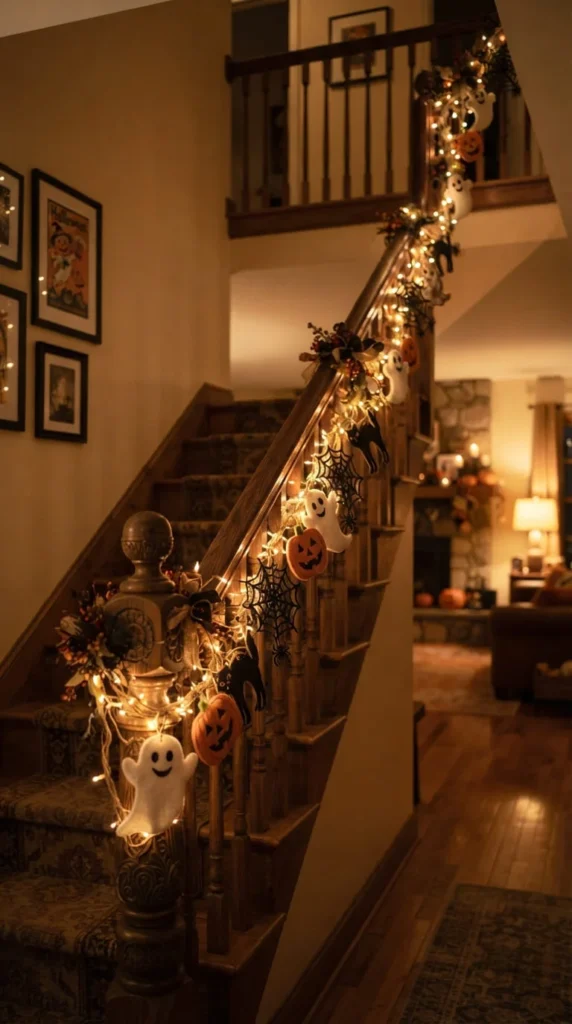
Once you’ve made a few individual motifs, combining them into one alternating garland creates far more visual interest than repeating a single shape end to end. A mixed-motif garland — ghost, pumpkin, web, cat, in rotation — reads as more intentional and less like a mass-produced pattern.
The key to making this work is keeping a consistent rhythm rather than scattering motifs randomly. Decide on a repeating sequence, such as ghost-pumpkin-web-cat, and stick to it along the whole length so your eye can follow a pattern rather than hunting for logic in the arrangement.
This is also a smart way to use up leftover motifs from other projects on this list. If you already have a spare skull, a couple of candy corn pieces, and three ghosts sitting in a project bag, a mixed garland lets you combine them into one finished piece rather than starting four separate small projects. Keep spacing even between motifs regardless of their size, since uneven gaps are more noticeable in a mixed design than in a single-motif garland.
11. Pastel Halloween Garland for Softer Spaces
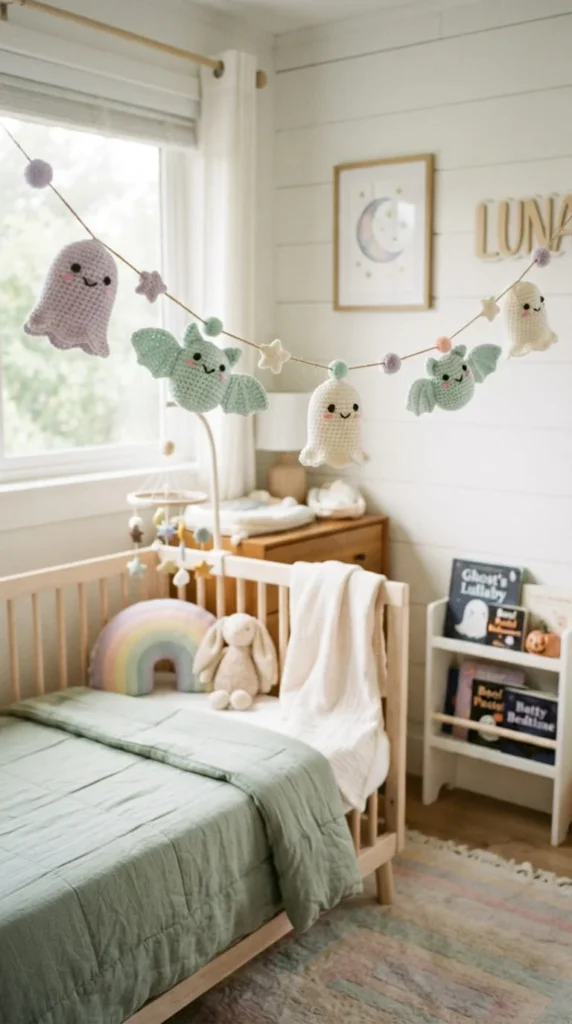
Not every home wants black-and-orange decor, and a pastel palette — lavender ghosts, blush pumpkins, mint bats, cream webs — gives Halloween crochet a gentler, more nursery-friendly look. This approach has grown popular among people decorating shared spaces, kids’ rooms, or homes that prefer a softer seasonal transition.
The construction methods are identical to the classic versions of each motif; only the yarn color changes. This makes pastel garlands a good option if you’re already comfortable with a pattern and just want a different finished look without learning anything new.
Pastel yarn can sometimes show stitch definition less clearly than saturated colors, so a slightly firmer worsted-weight yarn helps the shapes hold their form. This palette also transitions more easily into a general autumn display, since blush and cream tones don’t feel exclusively tied to October the way orange and black do. It’s worth trying if you want decor that can stay up a little longer without looking out of season.
12. Granny Square Halloween Banner
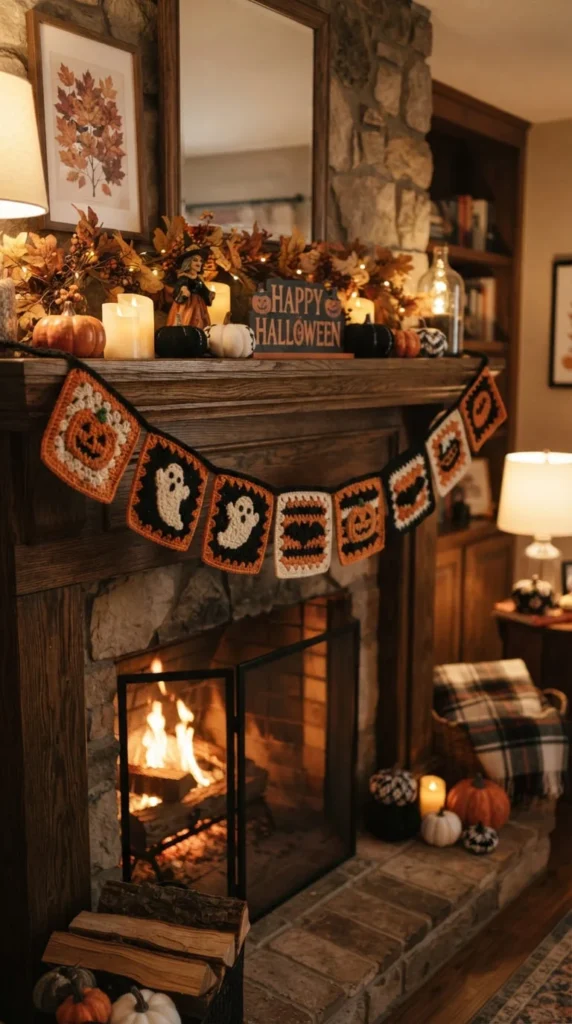
If you already know how to make granny squares, this is a low-effort way to repurpose that skill for the season. Work a run of small squares in alternating orange, black, and cream, then connect them with a chain or single crochet border to form one continuous banner rather than individual hanging motifs.
This style suits a mantel or long shelf particularly well, since the connected squares create a solid visual line rather than a strand with gaps. It’s also a practical option if you want something sturdier than lightweight hanging shapes, since granny squares lie flat and don’t shift or twist the way a strung motif garland can.
Adding a simple surface-crochet spider web or a small bat silhouette to a few of the squares breaks up the repetition without requiring a whole separate appliqué pattern. Because granny squares are a well-practiced skill for many crocheters, this project moves quickly and is a good choice if you want a substantial-looking garland without learning any new stitches.
13. No-Sew Chain Loop Garland for a Quick Afternoon Project
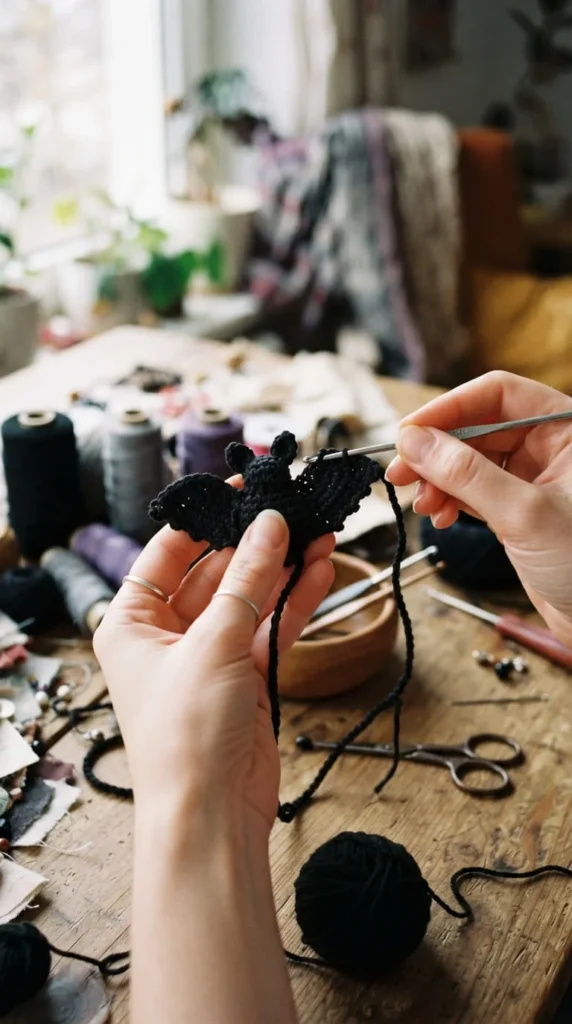
If threading a needle through finished motifs feels like the most tedious part of garland-making, this construction method skips it entirely. Instead of sewing each shape onto twine, you crochet a small chain loop directly into the top of each motif as you finish it, then simply slide the cord through that loop.
This approach works for almost any motif on this list — ghosts, pumpkins, bats, skulls — as long as you remember to leave the loop before fastening off. It cuts a meaningful chunk of time off the finishing stage, which matters if you’re trying to complete a whole garland in one sitting.
Because there’s no separate sewing step, this method also makes it easier to rearrange or replace motifs later, since you can simply slide pieces off and on the cord rather than unpicking stitches. It’s a good technique to standardize across a mixed-motif garland so every piece attaches the same way, keeping the finished project looking tidy and even along its length.
14. Reversible Halloween-to-Autumn Garland
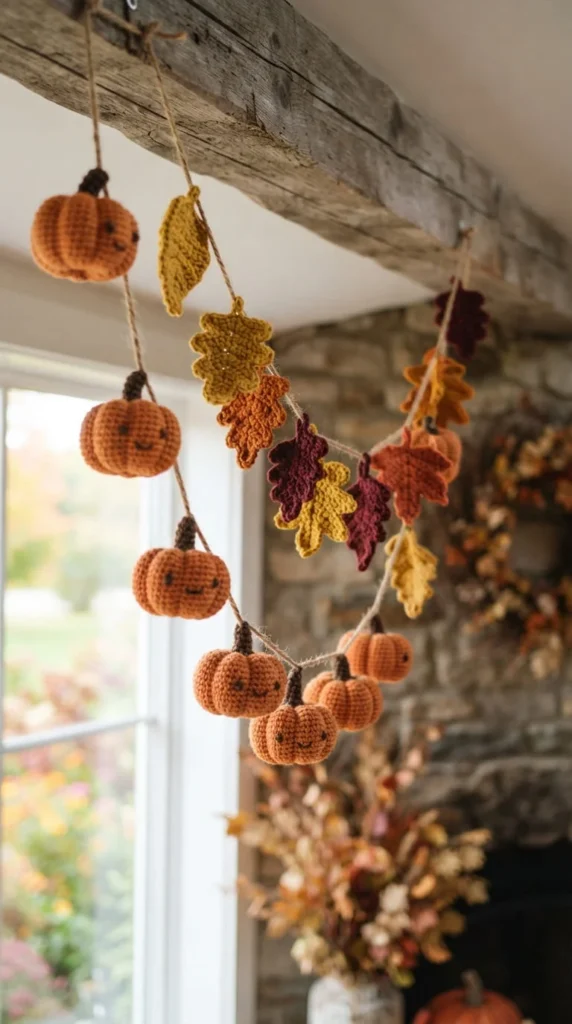
For anyone who likes their decor to last past a single weekend, a reversible garland gives you two looks from one project. Crochet each motif with a Halloween design on one face — a pumpkin, a ghost, a bat — and a general autumn design on the other, such as a leaf, an acorn, or a simple gourd shape.
This works most cleanly with flat, double-sided motifs rather than stuffed ones, since a flat shape can show a different embroidered or colorwork detail on each face without added bulk. Simple surface embroidery is usually enough to differentiate the two sides without doubling your crochet time.
Once Halloween passes, flip the garland around and it reads as a plain autumn decoration through Thanksgiving instead of going straight into storage. This is a practical answer for anyone short on decor storage space or anyone who wants their handmade projects to earn a longer season of use rather than a single week on display.
15. Modular Detachable Motif Garland for Easy Storage
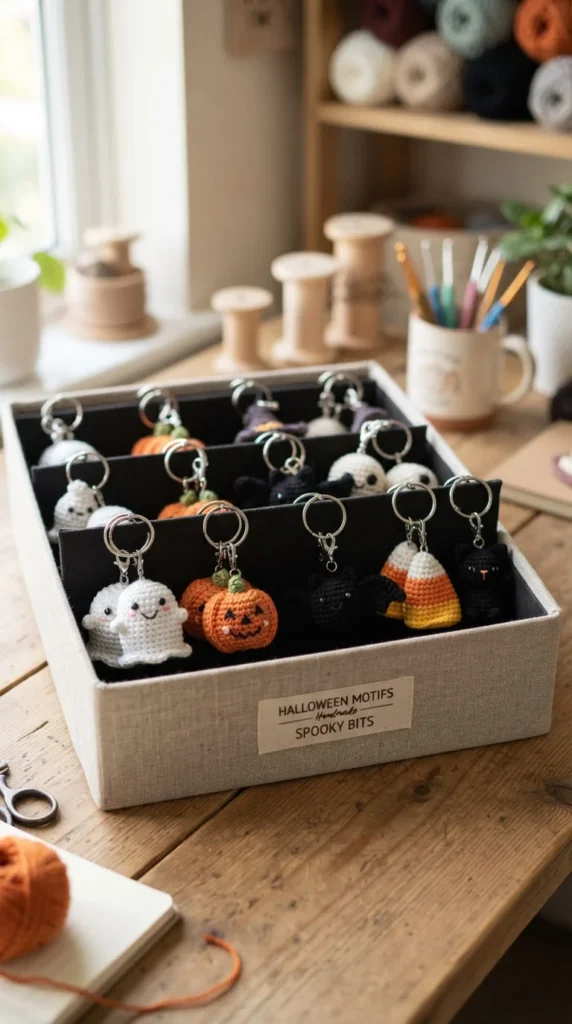
Instead of permanently attaching every motif to one length of cord, this method uses small rings or loops so individual pieces can be clipped on and off. Each motif gets its own tiny attachment ring worked into the top, and the cord itself stays plain and reusable year after year.
This modular approach solves two common problems at once. First, storage becomes far simpler, since motifs can be sorted into a labeled box rather than staying tangled on a length of twine. Second, it lets you swap the arrangement each year, adding new motifs or retiring ones that have gotten worn without redoing the whole garland.
It also means a mixed-motif garland can be rearranged in different sequences depending on the space you’re decorating, since nothing is permanently fixed in order. This takes slightly more setup than a straightforward sewn garland, but it pays off if you plan to reuse and expand your Halloween crochet collection over several seasons rather than starting fresh each year.
16. Classroom-Safe Oversized Motif Garland
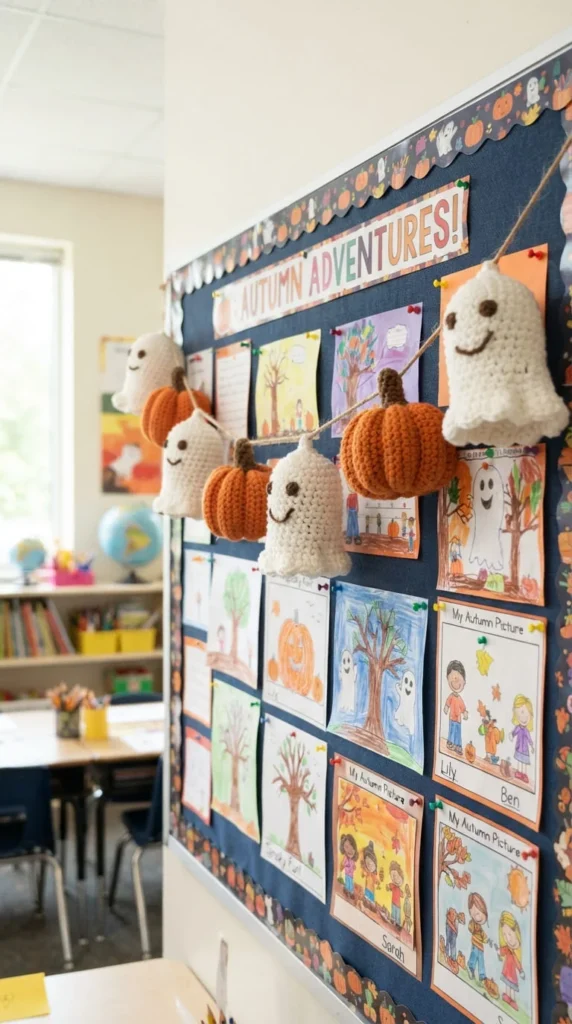
Garlands intended for a classroom or a young child’s room need a different approach than one for an adult living room. Scale each motif up — larger pumpkins, bigger ghosts — and skip any small attached pieces like beads, sequins, or loose buttons that could come off and become a choking hazard.
Use soft, washable acrylic yarn rather than anything with a rough or scratchy texture, and secure any facial details with embroidery rather than glued-on parts that might not hold up to handling. A slightly looser gauge also makes the finished motifs softer and more forgiving if little hands grab at them.
Hang the garland higher than reach height if it’s going in a classroom, or use a shorter length that stays close to a bulletin board if children will be interacting with it directly. This style trades some of the finer detail work seen in adult-oriented garlands for durability and safety, which matters more in a space where the decoration will get touched, tugged, and admired up close every day.
17. Apartment-Friendly Mini Shelf Garland
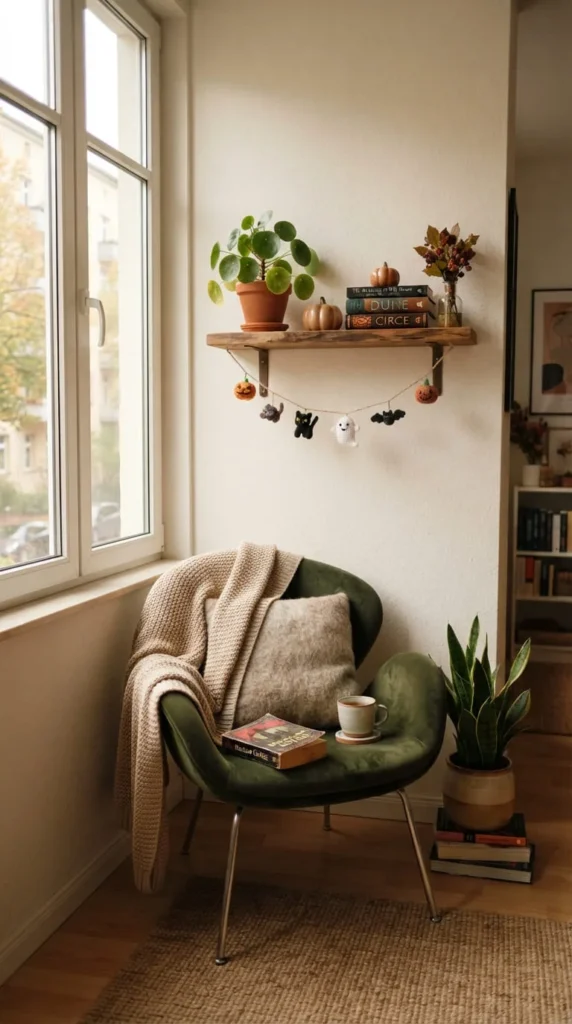
Not every home has a mantel or a long doorway to decorate, and a shorter garland scaled for a single shelf or a small window solves that without looking sparse. Three to five motifs on a foot-long cord is usually enough to read as a deliberate decoration rather than an unfinished project.
Choosing one or two motifs rather than a full mixed rotation keeps a short garland from feeling cluttered in a compact space. A trio of small ghosts or a pair of skulls with a web between them reads cleanly on a narrow shelf where a longer, busier garland would feel out of proportion.
This scaled-down approach also makes a good gift project, since a short garland finishes quickly and fits easily in a small box or gift bag. If you’re decorating a rental where hanging hooks aren’t an option, a mini shelf garland can simply rest across a windowsill or bookshelf ledge without needing to be mounted to a wall at all.
18. Textured Garland with Chenille and Metallic Accents
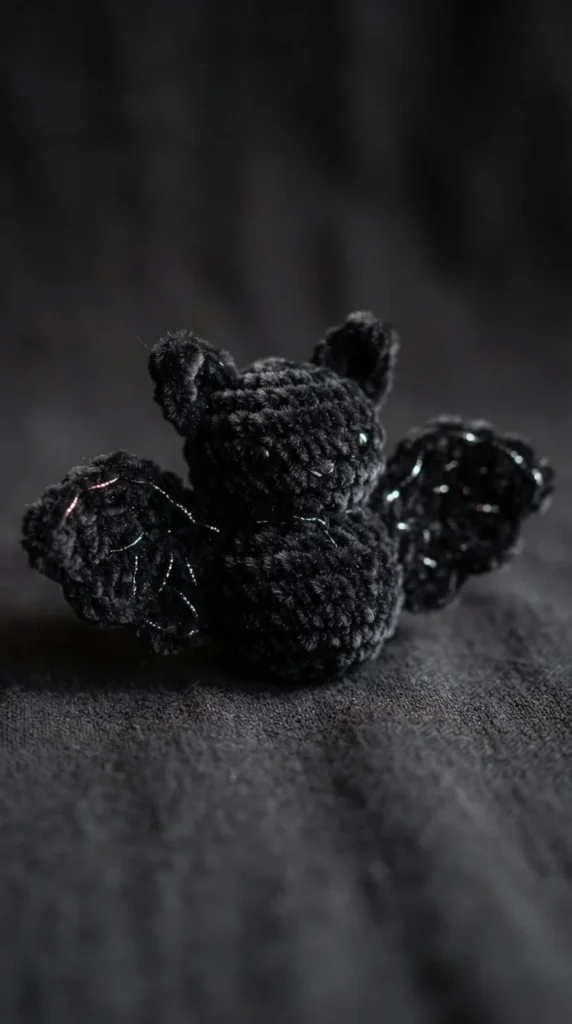
Yarn choice changes a garland’s character as much as color does. Swapping standard acrylic for chenille yarn on a bat or cat motif gives it a soft, velvety texture that catches light differently than a smooth stitch, while a thin metallic thread worked into a web or skull adds a subtle shimmer without looking costume-like.
Mixing textures across a single garland — a smooth acrylic ghost next to a fuzzy chenille bat — creates tactile variety that a photograph won’t fully capture but that guests notice when they touch or walk past the piece. This works especially well for a garland meant to be seen up close, like one hung near a seating area rather than high on a mantel.
Chenille can be trickier to work with than standard yarn since the pile makes stitch definition harder to see, so a larger hook and slightly looser tension usually helps. Metallic thread is easiest to manage held together with a standard yarn strand rather than worked entirely on its own, which keeps the fiber from splitting mid-stitch.
19. Personalized Name or Initial Garland
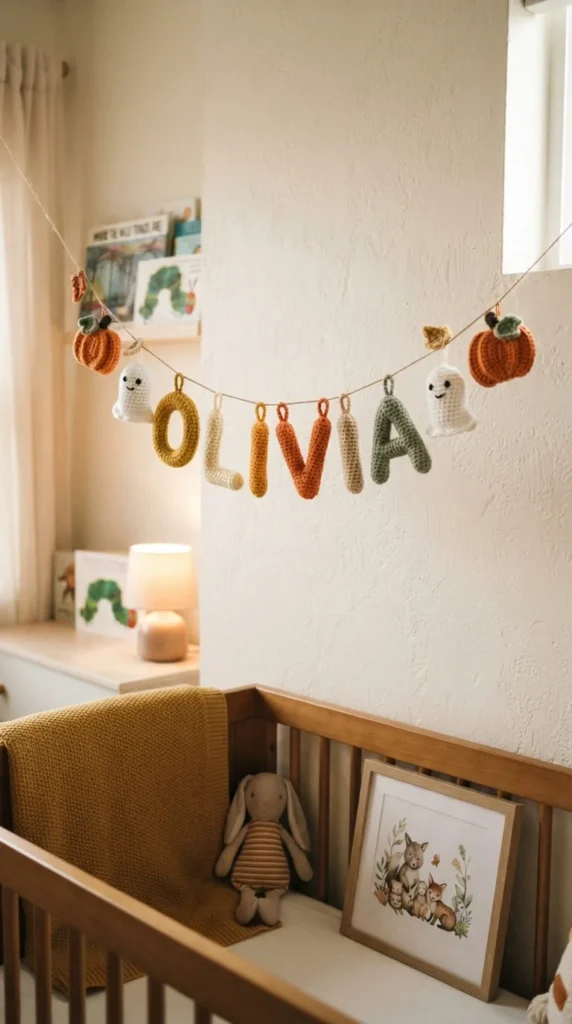
Adding a name or a single initial turns a generic Halloween garland into something that feels made for one specific person or room. Small letter motifs, worked flat in the same style as your other shapes, can be strung alongside pumpkins, ghosts, or bats to spell out a name across a bedroom wall or a party entrance.
This is a strong option for a birthday falling near Halloween, a new baby’s first fall, or simply personalizing a child’s room without a fully custom design. Keep the lettering simple — block-style single crochet letters read most clearly at a small scale compared to more decorative or cursive shapes.
Balance the name portion with a few seasonal motifs on either end so the garland doesn’t read purely as a nameplate. A short name paired with two or three pumpkins or ghosts on each side keeps the piece feeling festive rather than like a plain sign. This project also makes a genuinely personal handmade gift for a friend’s Halloween-loving kid or a coworker’s office door.
20. Photo-Booth Backdrop Garland for Parties
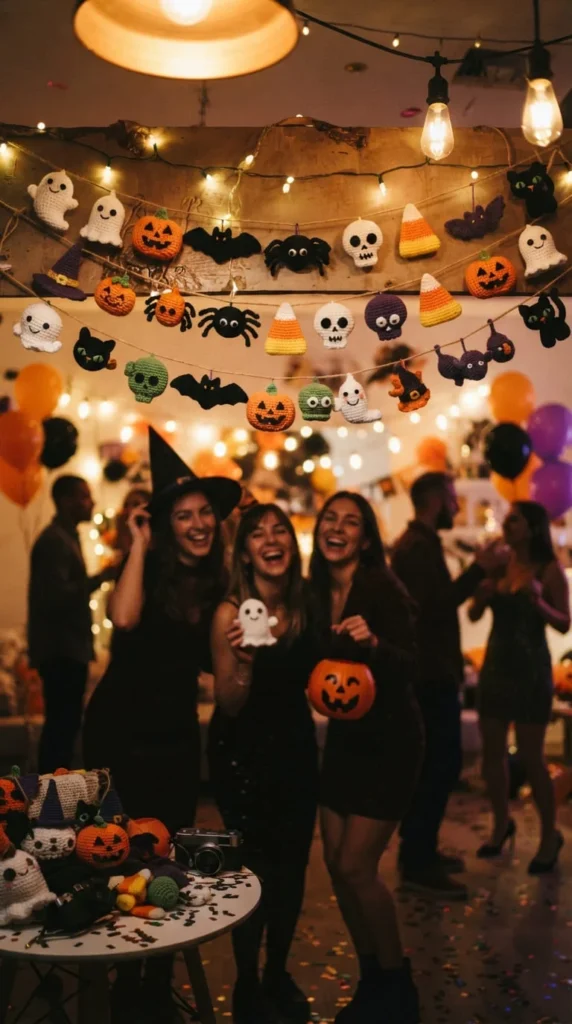
A garland built specifically as a photo backdrop needs different proportions than one meant for a mantel. Aim for a wider, denser design that fills the frame behind guests rather than a delicate strand with lots of negative space, since sparse gaps show up as awkward empty patches in photos.
Layer two or three garland strands at slightly different heights rather than relying on a single row, which gives the backdrop more depth and makes it look fuller in photographs than one flat line ever could. Mixing bright candy corn colors with classic black and orange motifs also helps the backdrop read well under typical indoor party lighting.
Because this garland will get handled, brushed against, and photographed up close all night, prioritize sturdier attachment methods over delicate loose threading. A backdrop that survives one enthusiastic group photo session is worth a bit more reinforcement at each attachment point than a garland meant only for quiet display.
21. Turning Leftover Motifs into Gift Tags and Coasters
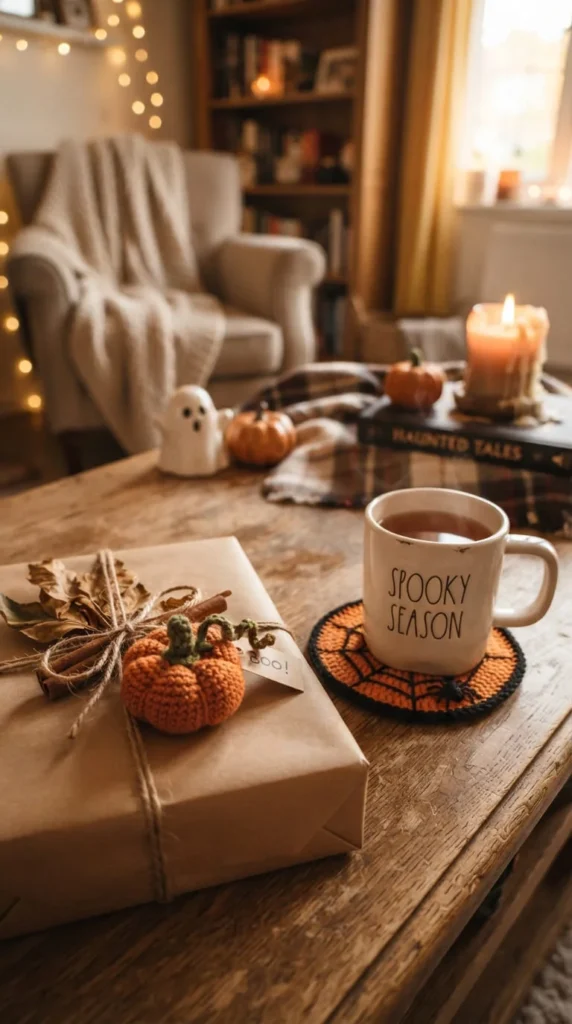
Once you’ve made a batch of ghosts, pumpkins, or bats for a garland, you’ll likely end up with a few spares or test pieces that didn’t quite fit the final arrangement. Rather than setting them aside, these small motifs make genuinely useful gift tags, coasters, or wreath accents with almost no extra work.
Add a small loop and a length of ribbon to turn any flat motif into a gift tag for a Halloween-season present. A slightly larger, well-blocked motif works as a mini coaster if it’s made with cotton yarn rather than acrylic, since cotton handles moisture and heat better. Several motifs glued or stitched onto a plain wreath form also make a quick seasonal wreath without starting an entirely new project.
This kind of repurposing is worth planning for from the start. If you know you’ll want extra gift tags later, make a few additional motifs in the same batch as your garland so the yarn and color match, rather than trying to recreate the exact shade weeks later from a different dye lot.
22. Doorway Statement Garland with Bold Color Blocking
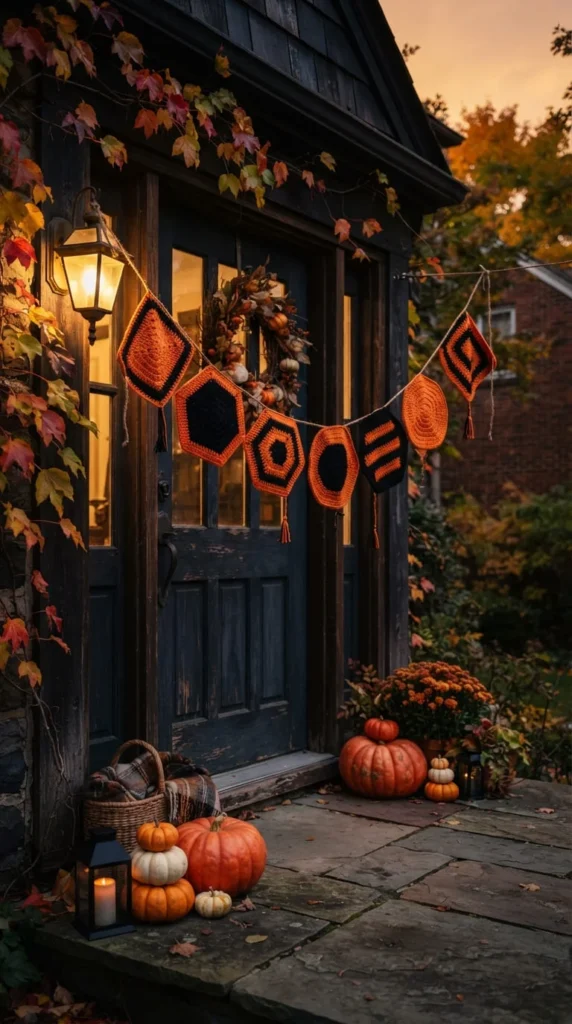
A doorway is seen from a distance more than any other display spot on this list, so subtle color work and fine detail tend to get lost. A bold, color-blocked garland — large solid orange pumpkins next to solid black cats, with minimal fine detail — reads clearly from across a yard or street in a way a delicate lace design won’t.
Scale matters as much as color here. Motifs that look appropriately sized on a mantel often look small and lost on a full-size door, so size up your pattern by adding an extra round or two to each shape. Thicker cord or ribbon instead of thin twine also helps the garland hold its shape and stay visible against a busy door background.
Because doorway garlands face more exposure to weather, wind, and passing traffic than an indoor mantel piece, reinforce every attachment point and consider a light fabric protectant spray if your door isn’t fully covered. This is one of the few spots on this list where a slightly less delicate, more graphic approach genuinely outperforms a finely detailed one.
23. Getting the Spacing and Attachment Right
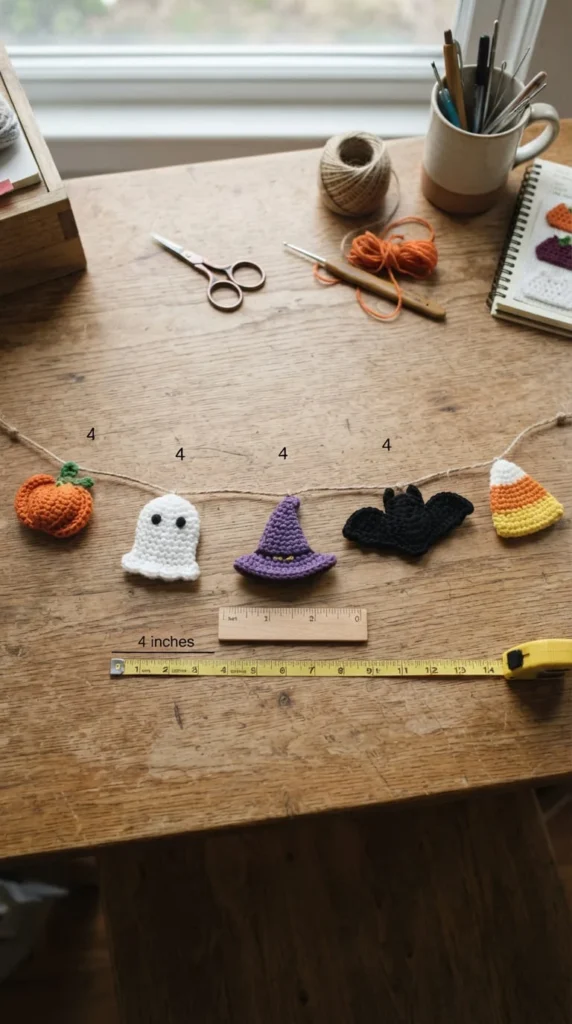
Even a beautifully crocheted set of motifs can look uneven if the spacing and attachment aren’t handled carefully, and this is a step many patterns skip over. Before threading anything permanently, lay your finished motifs flat along the intended cord length and adjust the gaps until the spacing looks even to your eye, not just measured with a ruler.
As a general guide, leave slightly more space between larger motifs and slightly less between smaller ones, since visual weight matters more than exact inches. Hidden loops worked into the back of a motif give the cleanest finish since no stitching shows from the front, while a simple chain loop is faster if you’re not worried about a completely invisible attachment.
Leave enough tail cord on both ends for a secure hanging loop, and weave in any loose yarn ends before you hang the finished piece rather than after, since it’s much easier to tidy up flat on a table. A few extra minutes spent on spacing and finishing is usually the difference between a garland that looks handmade in the best way and one that looks unfinished.
Conclusion
Between ghosts, pumpkins, skulls, and everything in between, there’s a version of this craft that fits almost any skill level, timeline, or decorating style. Start with a motif that matches how much time you actually have — a spider web or a single-shape ghost strand if you’re pressed for an afternoon, a mixed-motif or bunting design if you want something more involved to work on over a few evenings.
Keep a small stash of extra motifs from each project so you can build gift tags, coasters, or a modular garland later without starting from scratch. Pay attention to spacing and attachment details even on a simple design, since that finishing work is what separates a polished garland from a rushed one.
Pick one idea from this list that matches your space and your available time, gather a few skeins in your chosen palette, and start with a single motif before committing to a full garland. Once you’ve made one shape successfully, the rest of the project tends to come together quickly.