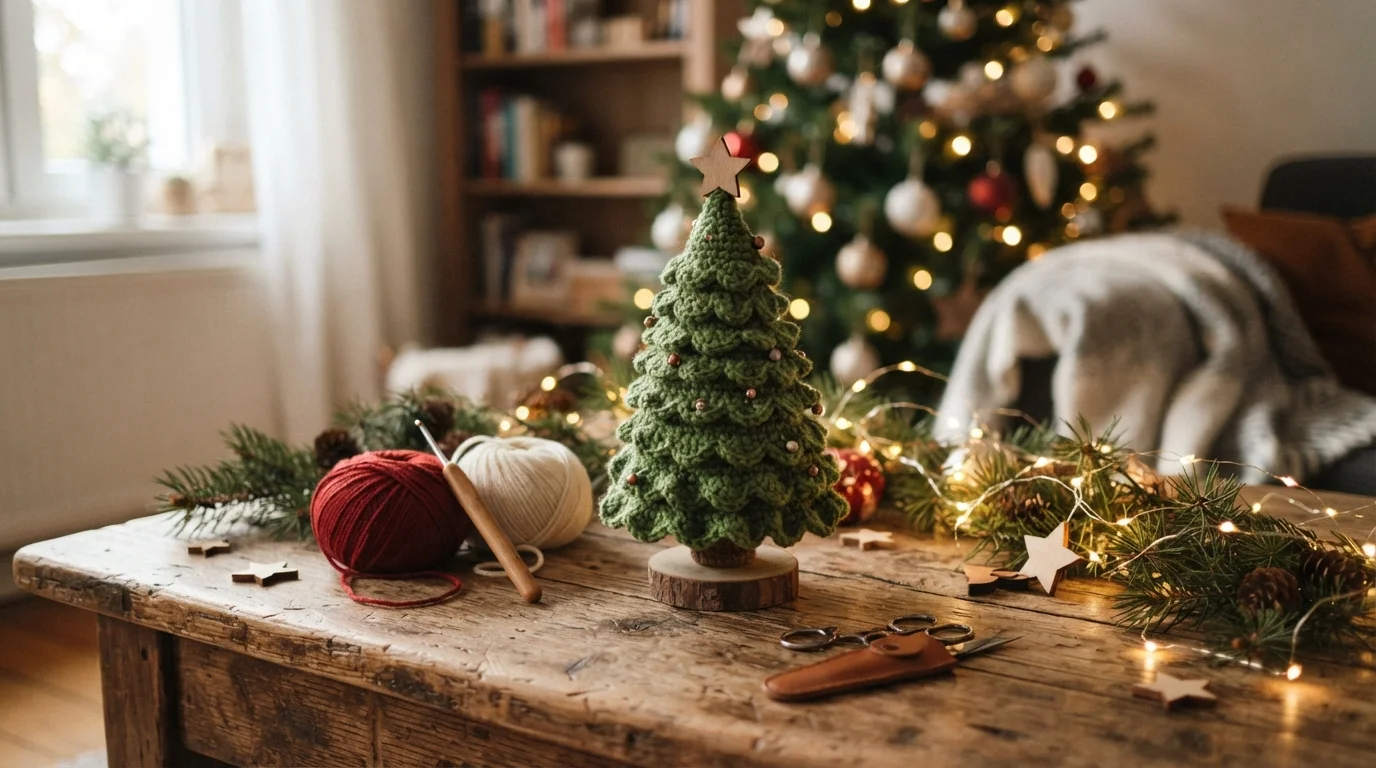
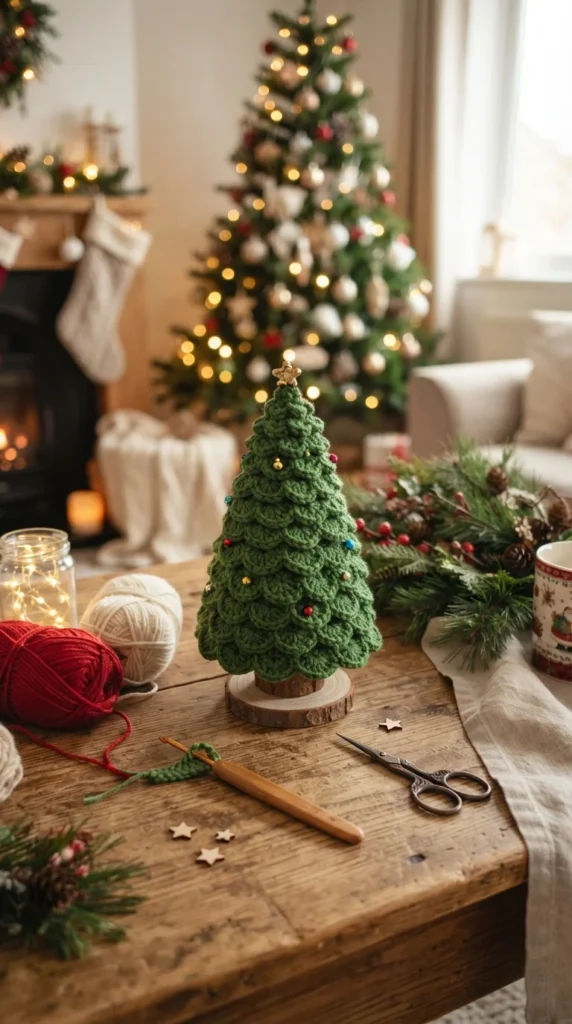
A handmade crochet Christmas tree can turn a small amount of yarn into a charming piece of holiday decor. Whether you want a tiny tree for your mantel, a tabletop decoration, or a handmade ornament, this project is simple enough for a relaxed weekend crochet session. Most small crochet tree designs rely on basic stitches such as single crochet, increases, and decreases, making them approachable for beginners.
What You’ll Need to Crochet a Christmas Tree
Before starting, gather your yarn and tools in one place. A small tabletop tree does not require much yarn, so this is a great stash-busting crochet project if you have leftover green yarn from previous projects.
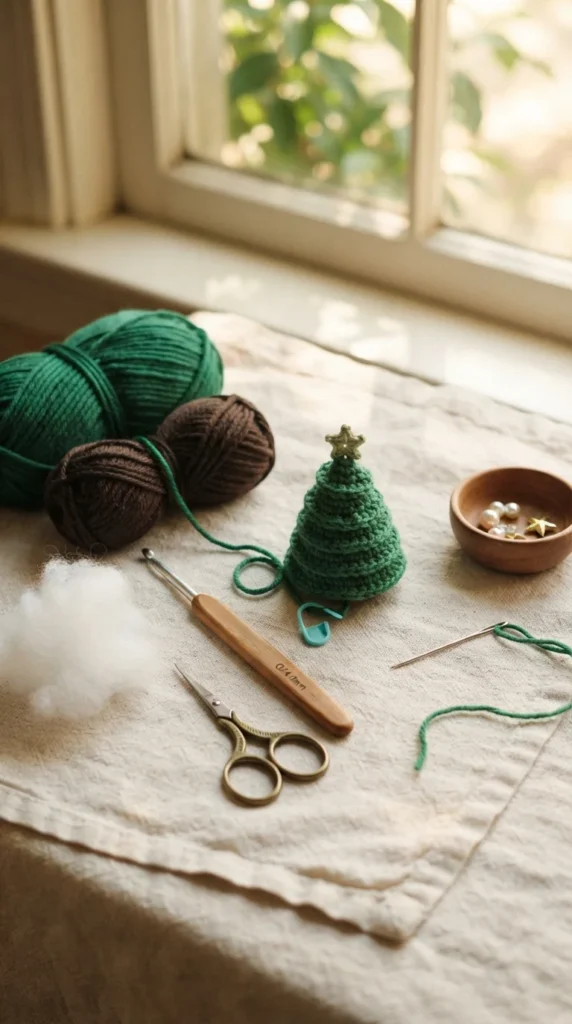
For a basic tree, you’ll need:
- Green worsted-weight or chunky yarn
- A crochet hook suitable for your yarn
- Small amount of brown yarn for the trunk
- Fiberfill stuffing
- Yarn needle
- Scissors
- Stitch marker
- Optional ribbon, beads, buttons, or a small star for decoration
Cotton yarn gives you a firm, defined stitch pattern, while plush or chenille yarn creates a softer Christmas tree with a cozy appearance. Plush yarn is also being used in current tree patterns for soft, chunky designs.
Choose the Right Crochet Tree Style
There are several ways to crochet a Christmas tree, so choose the shape that matches your skill level and intended use.
A 3D amigurumi Christmas tree is a good choice when you want a freestanding decoration. A flat tree applique is quicker and works nicely for gift wrapping, garlands, cards, or ornaments.
For a first project, I recommend a small stuffed tree. It gives you practice with working in the round without requiring a complicated pattern.
You can also choose between a no-sew design and a tree made from separate pieces. No-sew Christmas trees are especially appealing if you prefer to avoid joining several small parts.
Start With the Magic Ring
If you are making a round, stuffed crochet Christmas tree, the magic ring is a common way to begin. Many amigurumi tree patterns start with a small number of single crochet stitches worked into an adjustable loop.
Make your magic ring and work your first round of single crochet stitches into it. Pull the yarn tail gently to close the center.
If the magic ring feels difficult, don’t let it stop you. A chain-2 start can be used as an alternative in many simple patterns, although the finished center may look slightly different.
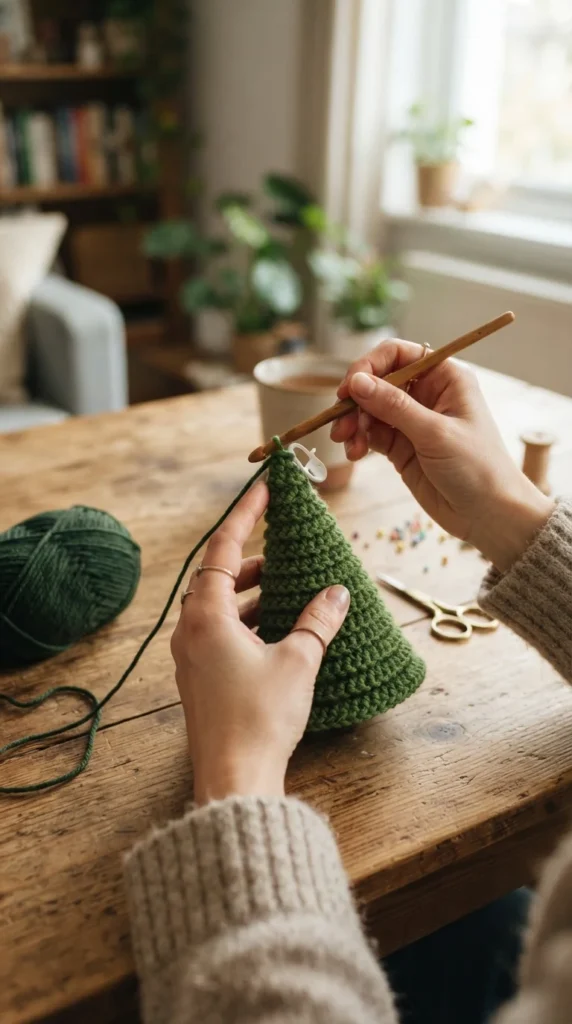
Place a stitch marker at the beginning of your rounds. This small step makes it much easier to keep track of where each round begins.
As you work upward, keep your stitches fairly even. Tight, consistent stitches help the tree hold its shape and prevent stuffing from showing through later.
Build the Tree Shape With Increases
The triangular Christmas tree shape comes from gradually changing the number of stitches as you work. In a typical 3D design, increases make the lower portion wider, while decreases help shape the upper section.
Continue working single crochet stitches while following your chosen stitch count. Keep track of every round rather than relying on memory.
A simple checklist can help:
- Count your stitches after each round.
- Place a marker at the round beginning.
- Check the shape every few rounds.
- Keep your tension consistent.
- Avoid adding extra stitches accidentally.
If your tree begins to look too wide or develops unexpected bumps, check the stitch count before continuing. Small counting errors can change the shape quickly in amigurumi.
Add the Trunk and Give the Tree Support
Once the tree body is complete, you can add a small trunk. Brown yarn works well for a traditional appearance, but cream or natural beige can create a minimalist look.
If your tree is stuffed, add fiberfill gradually instead of filling it all at once. Use small amounts and distribute them evenly with the back of your crochet hook or another blunt tool.
The base should feel firm enough to support the tree without becoming hard.
For a freestanding Christmas tree, you can also place a small weighted base inside or attach the tree to a simple crochet pot. Some current designs use crochet trunks, pots, cones, or other supports to help trees stand upright.
If the tree leans, check whether the stuffing is distributed evenly. A flat, firm bottom also helps keep a tabletop tree upright.
Decorate Your Crochet Christmas Tree
This is where you can make the project completely your own.
A small crochet star is a classic topper, but you can also use a pom-pom, tiny bow, wooden bead, or embroidered detail. Star toppers appear frequently in crochet Christmas tree designs.
For the tree body, try:
- Tiny embroidered stars
- Simple French knots
- Small crochet balls
- Contrasting yarn dots
- Mini bows
- Metallic embroidery thread
- A narrow ribbon garland
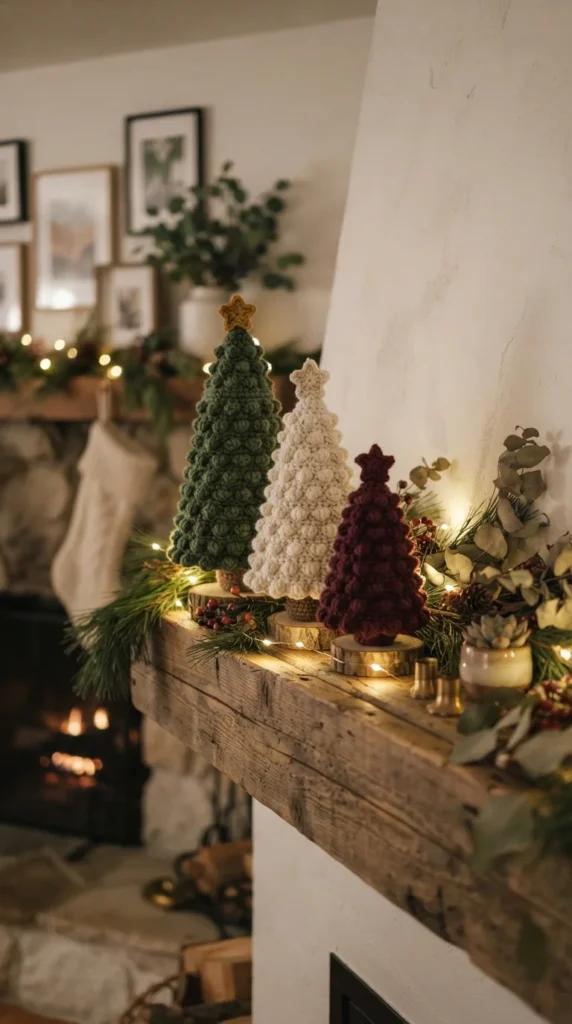
For a modern Christmas tree, try cream, sage, beige, or dusty red instead of bright green. A rainbow or scrap-yarn version can create a cheerful children’s decoration, while neutral yarn works well with Scandinavian-style decor.
Avoid adding heavy decorations to a very small tree because they can pull the branches out of shape.
Turn One Crochet Tree Into Holiday Decor
Once you’ve made one tree, you can easily adapt the idea into several different projects.
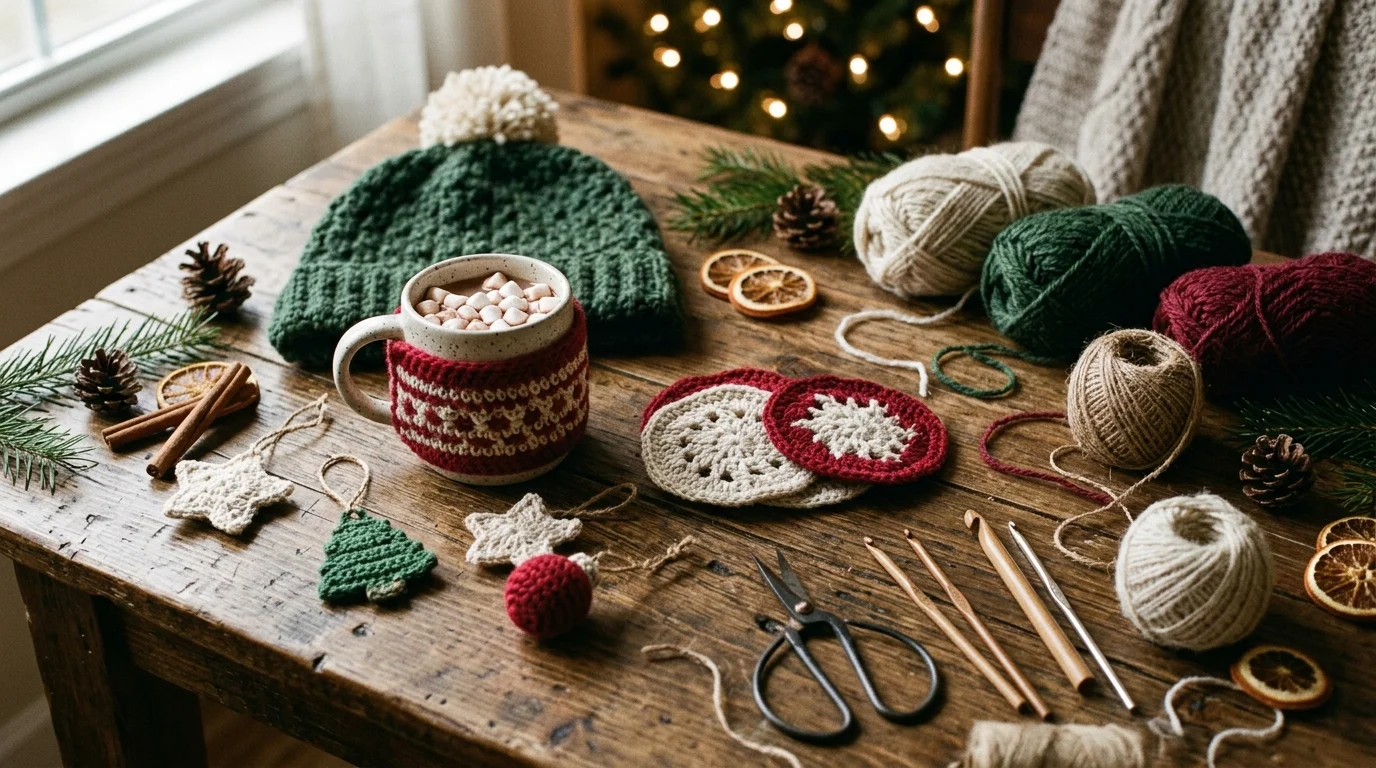
Make tiny versions as Christmas ornaments, gift tags, or package toppers. Several flat trees can be joined with yarn to create a simple holiday garland. Mini crochet trees are also commonly used as ornaments, gift tags, desk decorations, and small handmade gifts.
For a larger project, increase the yarn weight and hook size to create a bigger tabletop tree. You can also make several sizes and arrange them together as a small Christmas village display.
Using the same colors across different tree sizes will give your holiday decor a connected look without requiring every tree to follow exactly the same pattern.
Tips for a Neat Finished Tree
A few small details can make the finished project look much cleaner.
Count your stitches regularly. This is one of the easiest ways to prevent an uneven tree.
Use consistent tension. Loose stitches can make stuffing visible, while extremely tight stitches can make shaping difficult.
Stuff gradually. Check the silhouette as you go rather than waiting until the final round.
Secure the hanging loop well. If you’re making an ornament, weave the yarn through several stitches before trimming the end.
Block flat designs when needed. A flat crochet tree can look much cleaner after gently shaping it and allowing it to dry flat.
If you are making several trees, write down your yarn, hook size, and finished measurements. This makes it much easier to recreate the same size later.
Conclusion
Crocheting a Christmas tree is a practical little project that can become much more than a single decoration. Start with basic single crochet stitches, shape the body gradually, add light stuffing, and finish it with a star, bow, or your favorite handmade details.
Once you are comfortable with one tree, experiment with different sizes, yarn textures, colors, and display ideas. You can create ornaments, tabletop decorations, garlands, gift toppers, or a whole collection for your holiday home.
Save this guide for later and try your own crochet Christmas tree when you’re ready!