
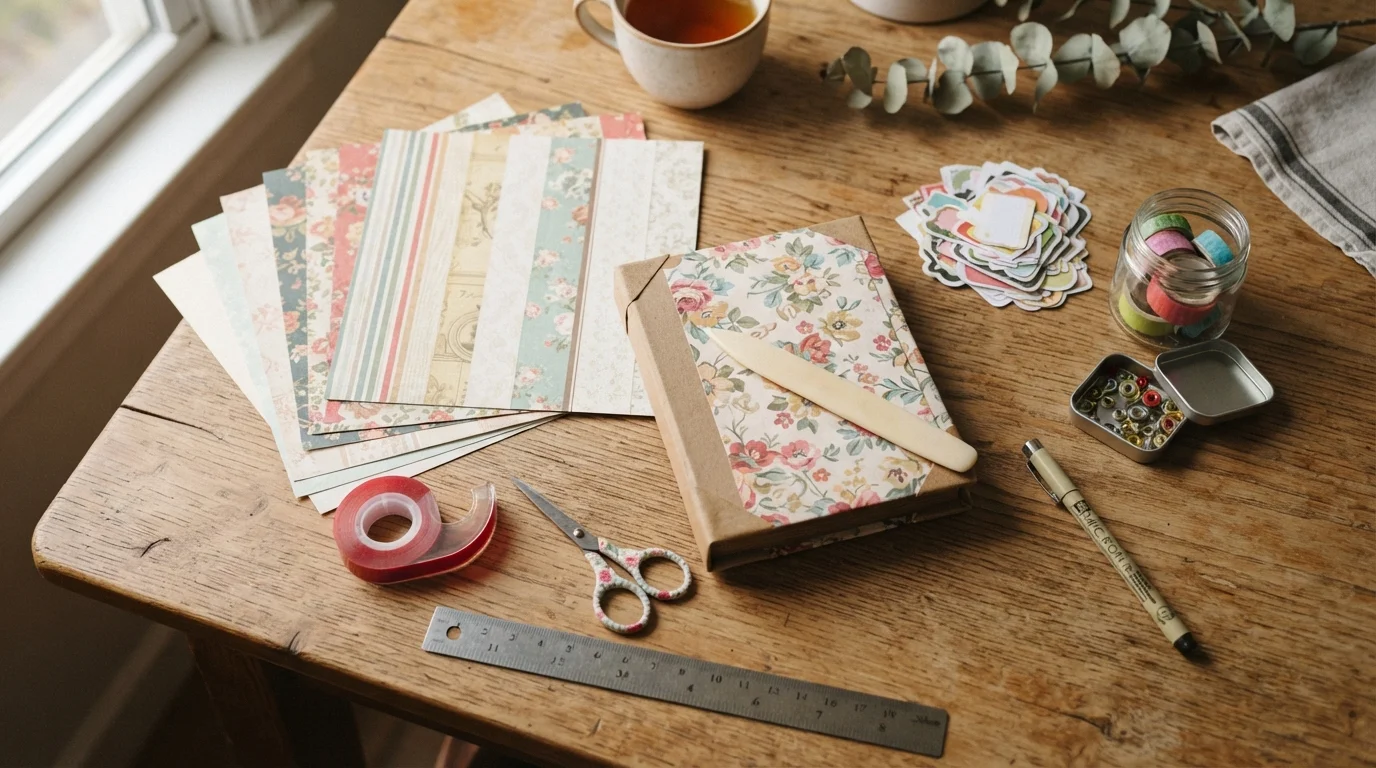
A scrapbook cover sets the tone for everything inside it, and you don’t need a stack of specialty tools to make one that looks polished. With a few basic craft supplies — cardstock, glue, patterned paper, and a little patience — you can build a cover that feels personal, sturdy, and genuinely beautiful.
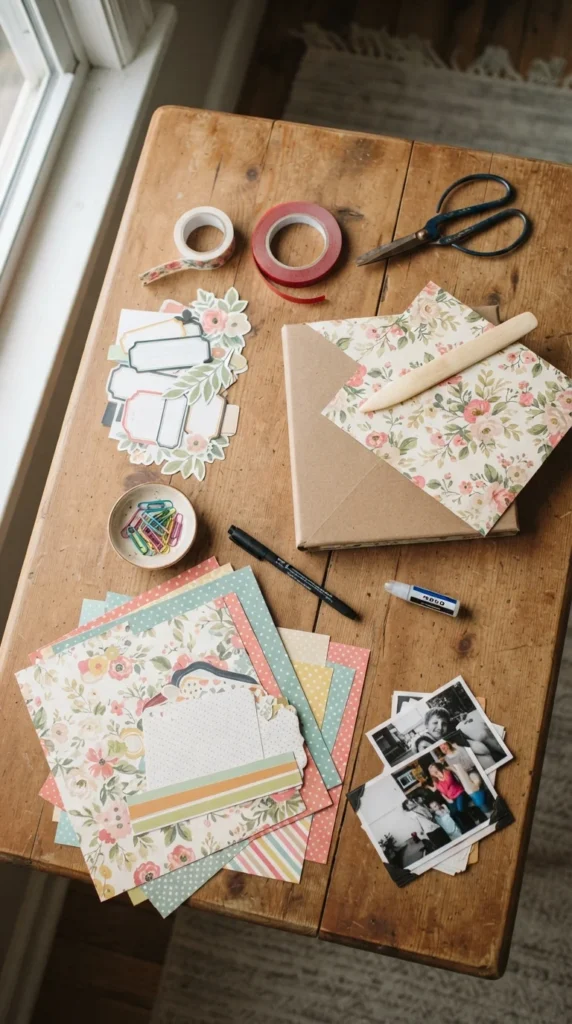
This guide walks through the whole process, from choosing your base material to adding the final decorative touches, so your cover looks like something you’d actually want to display.
Start With the Right Base Material
Every scrapbook cover begins with a sturdy base, and this choice affects how your finished album looks and feels.
Chipboard is the most popular option because it’s thick, rigid, and holds its shape without warping. Heavy cardstock works too, especially for smaller or lighter albums, but it won’t feel as substantial in your hands.
Before cutting anything, measure your page block — the stack of pages your cover needs to close around. This tells you how wide your spine needs to be, and skipping this step is the most common reason covers end up too tight or too loose.
A simple rule to remember:
- Use chipboard for hardcover, sturdy albums
- Use heavy cardstock for lighter, more flexible covers
- Always add a little extra width to your spine for pages, photos, and embellishments
Cut and Score Before You Wrap
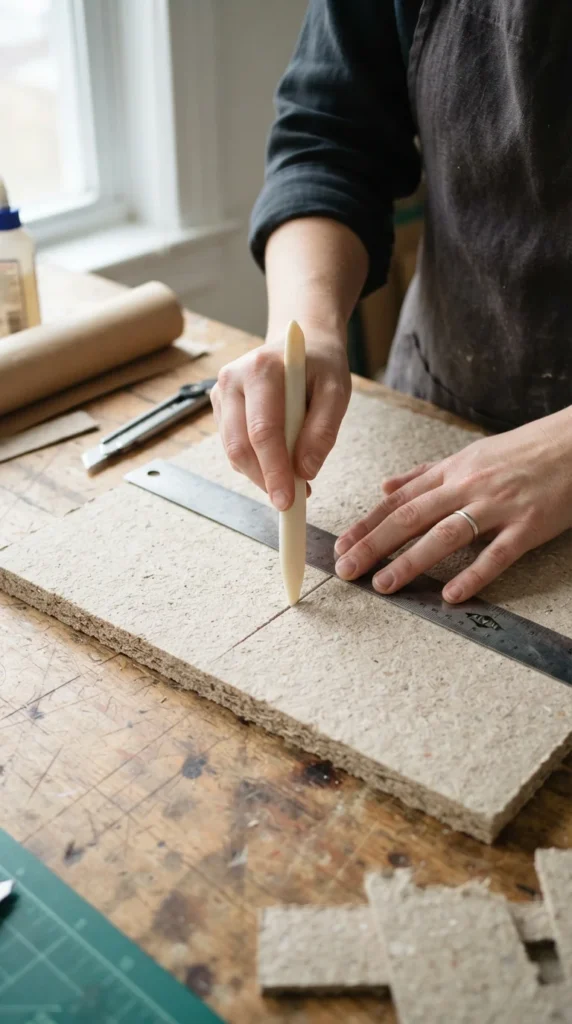
Once your boards are cut to size, scoring makes a real difference in how clean your folds turn out. A bone folder or the back of a butter knife works fine if you don’t have a scoring tool.
Score along the spine lines before you attach any paper. This keeps your album opening smoothly instead of cracking or buckling along an uneven fold.
Leave a small gap — usually a few millimeters — between your front cover, spine, and back cover pieces. That spacing lets the album bend naturally at the spine rather than fighting against a stiff, solid piece of board.
Wrap Your Cover With Clean, Tight Corners
This step is where a cover starts looking genuinely handmade in the best way, rather than messy or unfinished.
Lay your chosen paper or fabric face-down, place your boards on top, and trim the edges with enough allowance to wrap around each side. Cut the corners diagonally before folding — this small trick removes bulk and keeps corners from looking lumpy.
Double-sided tape tends to work better than liquid glue here, since it won’t wrinkle the paper or need drying time. Press firmly from the center outward to smooth out air bubbles as you go.
A few tips that make this stage easier:
- Fold and press one side at a time instead of rushing all four
- Use a ruler or bone folder to burnish edges for a crisp finish
- Trim excess paper before folding the final corner to avoid bulky overlaps
Build Your Aesthetic Around One Clear Idea
The most attractive scrapbook covers usually share one thing: they don’t try to do everything at once. Pick one visual direction — a color palette, a theme, a mood — and let that guide every decorative choice.
Some easy directions to try:
- A soft, minimal look using one background paper, one title, and a single small accent
- A vintage collage style with old-style paper, ephemera, and layered edges
- A botanical theme with pressed flowers, leaf illustrations, or green and cream tones
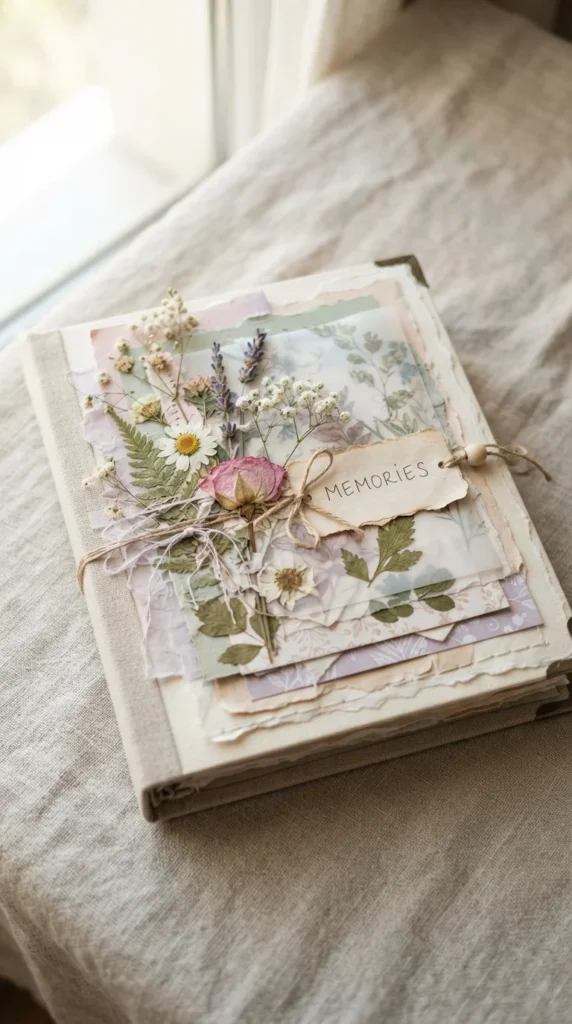
Whatever direction you choose, resist the urge to decorate every inch. A single strong focal point — one photo, one title, one illustration — usually looks more intentional than a cover covered edge to edge.
Add Personal Touches That Make It Feel Like Yours
This is where your scrapbook cover becomes something only you could have made.
Simple ideas that add personality without much extra effort:
- A handwritten title or name using a nice pen or marker
- A small framed photo mounted on a contrasting mat
- Pressed flowers, ribbon, or twine tucked under a corner
- A cut-out monogram or initial layered on patterned paper
If you have access to a cutting machine, personalized names or quotes cut from vinyl or cardstock add a clean, professional-looking detail. But even without one, hand-lettering or simple stamped letters work just as well for a homemade feel.
Layering a few elements — background paper, a contrasting mat, then your focal piece — instantly makes the cover look more finished than flat, single-layer decoration.
Final Thoughts
A beautiful scrapbook cover doesn’t require expensive tools or advanced bookbinding skills. It just needs a sturdy base, clean construction, and one clear aesthetic idea carried through from start to finish.
Take your time with the wrapping stage, keep your decoration focused rather than scattered, and add at least one personal touch that makes the album unmistakably yours.
Save this guide for later and try these ideas when you’re ready to start your own scrapbook cover!